

- Made by the team at
- motionVFX
- Menu languages offered
- English
- How you pay for it
- Not required
Screenshots
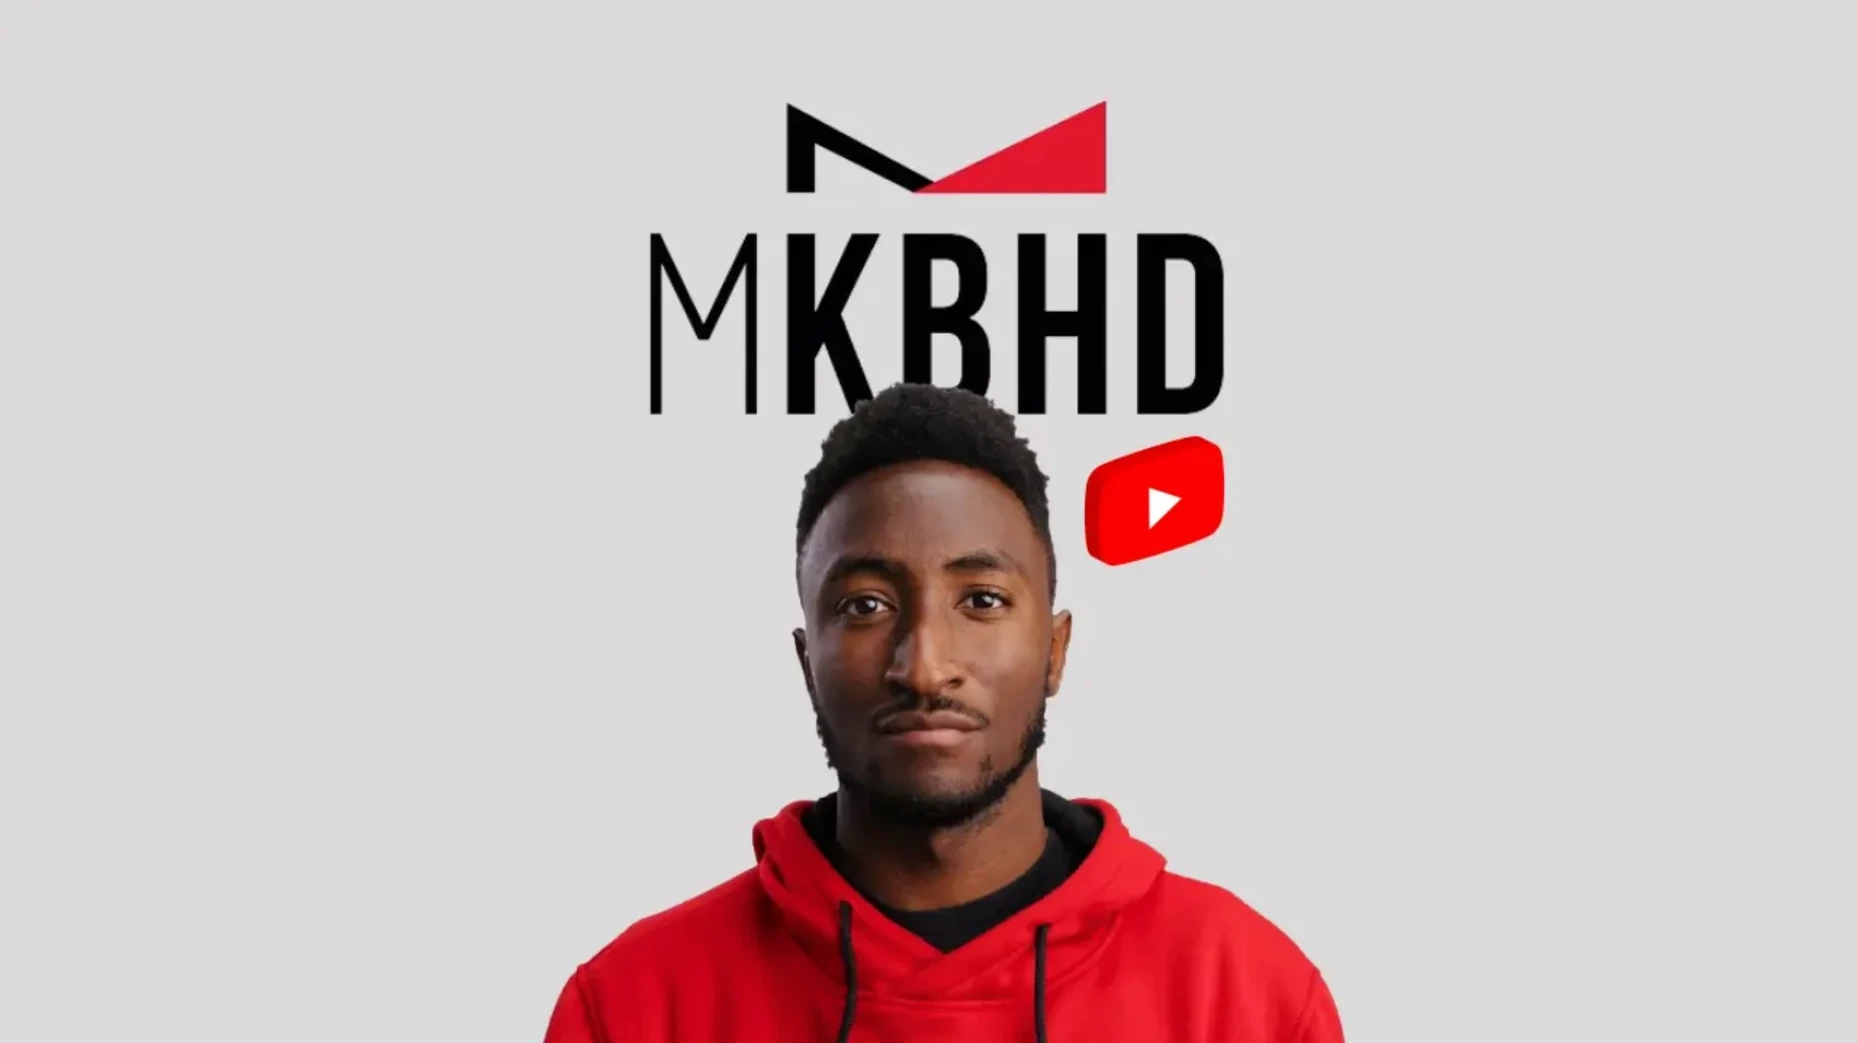
The first thing you notice is the Titles folder. 45 presets that look like the lower thirds and callouts MKBHD uses, not just for tech reviews but for any talking-head piece. Drop one on a clip and it sits there, clean and readable, without fighting the footage.
Title placement on the timeline, connected clips, or a bus
- On the timeline: titles land on the primary story line, transitions between cuts.
- On a connected clip: for reaction shots or B-roll, the presets work vertically on the Final Cut and Resolve versions.
- On a bus: apply a transition across a music bed or a montage section; the 6 transitions in the Premiere package handle that.
It’s a plugin that lives in the Motion Templates folder, so your Mac treats it like any other effect. Drag, adjust, move on. For a weekly show or a YouTube edit, it saves the fiddly part of matching a known visual style. The recent release added 51 ready-made presets, which covers most of the common moves without building anything from scratch.
Lower thirds and callouts for a weekly gadget review
Imagine you run a small YouTube channel that posts gadget reviews every Tuesday. You film yourself talking about the latest phone or laptop, then you need to add a lower third with your name, a callout for the product specs, and a transition between the intro and the main segment. Before mKBHD, you’d either build these in Motion or After Effects, or reuse the same basic title generator and hope it looks decent.
With the plugin, you drop a title from the 45 presets onto the clip, type your name, and the animation matches what a larger production might use. The transition between the intro and the main content is one of the 6 included — a clean wipe or a subtle zoom that doesn’t distract. The whole setup takes maybe two minutes per episode, and the look stays consistent across videos. For a solo creator who wants a polished finish without hiring an editor, that’s the main benefit.
Installation concerns before buying
Will this work with my version of Final Cut Pro?
The plugin needs Final Cut Pro 10.6.5 or later. If you’re on an older version, check your macOS first — Big Sur 11.7.10 is the minimum. Most Macs from 2018 onwards should handle it fine. The same goes for DaVinci Resolve 17.4 and Premiere Pro 2022+. If your software is up to date, you’re set.
Do I need After Effects for the Premiere Pro version?
Yes. The Premiere Pro package requires After Effects 2022+ because some of the titles and transitions rely on After Effects’ compositing engine. You don’t need to work in After Effects — the plugin handles the rendering inside Premiere — but the software must be installed.
Horizontal and vertical ratio support in FCP and Resolve
Both the Final Cut Pro and DaVinci Resolve editions accommodate vertical as well as horizontal aspect ratios. The Premiere Pro version is horizontal only. If you edit for TikTok or Instagram Stories, stick with FCP or Resolve for those projects.
Is the interface language adjustable?
The plugin interface is in English only. There’s no language selector. If English isn’t your first language, the controls are simple enough — mostly text fields and dropdowns — so it’s not a barrier.
Fixing preset glitches and performance issues
Presets don’t appear in the effects browser
This usually happens when the folders aren’t placed correctly. Once the archives are unpacked, you must transfer one folder into Motion Templates/Transitions and the other into Motion Templates/Titles. If you drop them in the wrong folder or skip the unpacking step, Final Cut Pro won’t see them. Double-check the paths: ~/Movies/Motion Templates/Titles and ~/Movies/Motion Templates/Transitions for the user library. Restart Final Cut Pro after moving the folders.
Transitions look wrong or don’t render
The plugin requires 16 GB of system RAM and 4 GB of VRAM within DaVinci Resolve. If your machine is close to those limits, try closing other apps before rendering. On Premiere Pro, make sure After Effects 2022+ is installed — the plugin calls it in the background. If After Effects is missing, the transition might show as a placeholder or fail to render.
Titles overlap or clip off-screen
Some presets are designed for a 16:9 frame. If you’re working in a custom resolution, the title might extend past the safe area. In Final Cut Pro, you can scale the title clip in the inspector. In DaVinci Resolve, adjust the Transform settings on the title clip. For vertical projects, use the vertical aspect ratio support built into the FCP and Resolve versions.
Plugin slows down the timeline
This is expected during playback with unrendered effects. The presets are rendered on the fly. For a smoother preview, render the timeline section before playback. In Final Cut Pro, select the clip and press Control-R. In DaVinci Resolve, use Render Cache mode. In Premiere Pro, enable Sequence > Render Effects In to Out. The plugin itself doesn’t add extra overhead once cached.
- Added 51 ready-made presets for editing workflows.
- macOS Big Sur 11.7.10 or later
- Intel or Apple Silicon
- Final Cut Pro 10.6.5 or later
- DaVinci Resolve 17.4 or later
- Adobe Premiere Pro 2022 or later
- After Effects 2022 or later
- 16 GB system memory
- 4 GB VRAM (DaVinci Resolve version)
- Interface language: English
Kit check at a glance
| Download | 12 MB |




Chat from the booth
Sign in or grab a free account to leave a comment.
Nobody has said a word in the booth yet. If you played a set with this build, tell the next person how it went.