
- Made by the team at
- motionVFX
- Menu languages offered
- English
- How you pay for it
- Not required
Screenshots
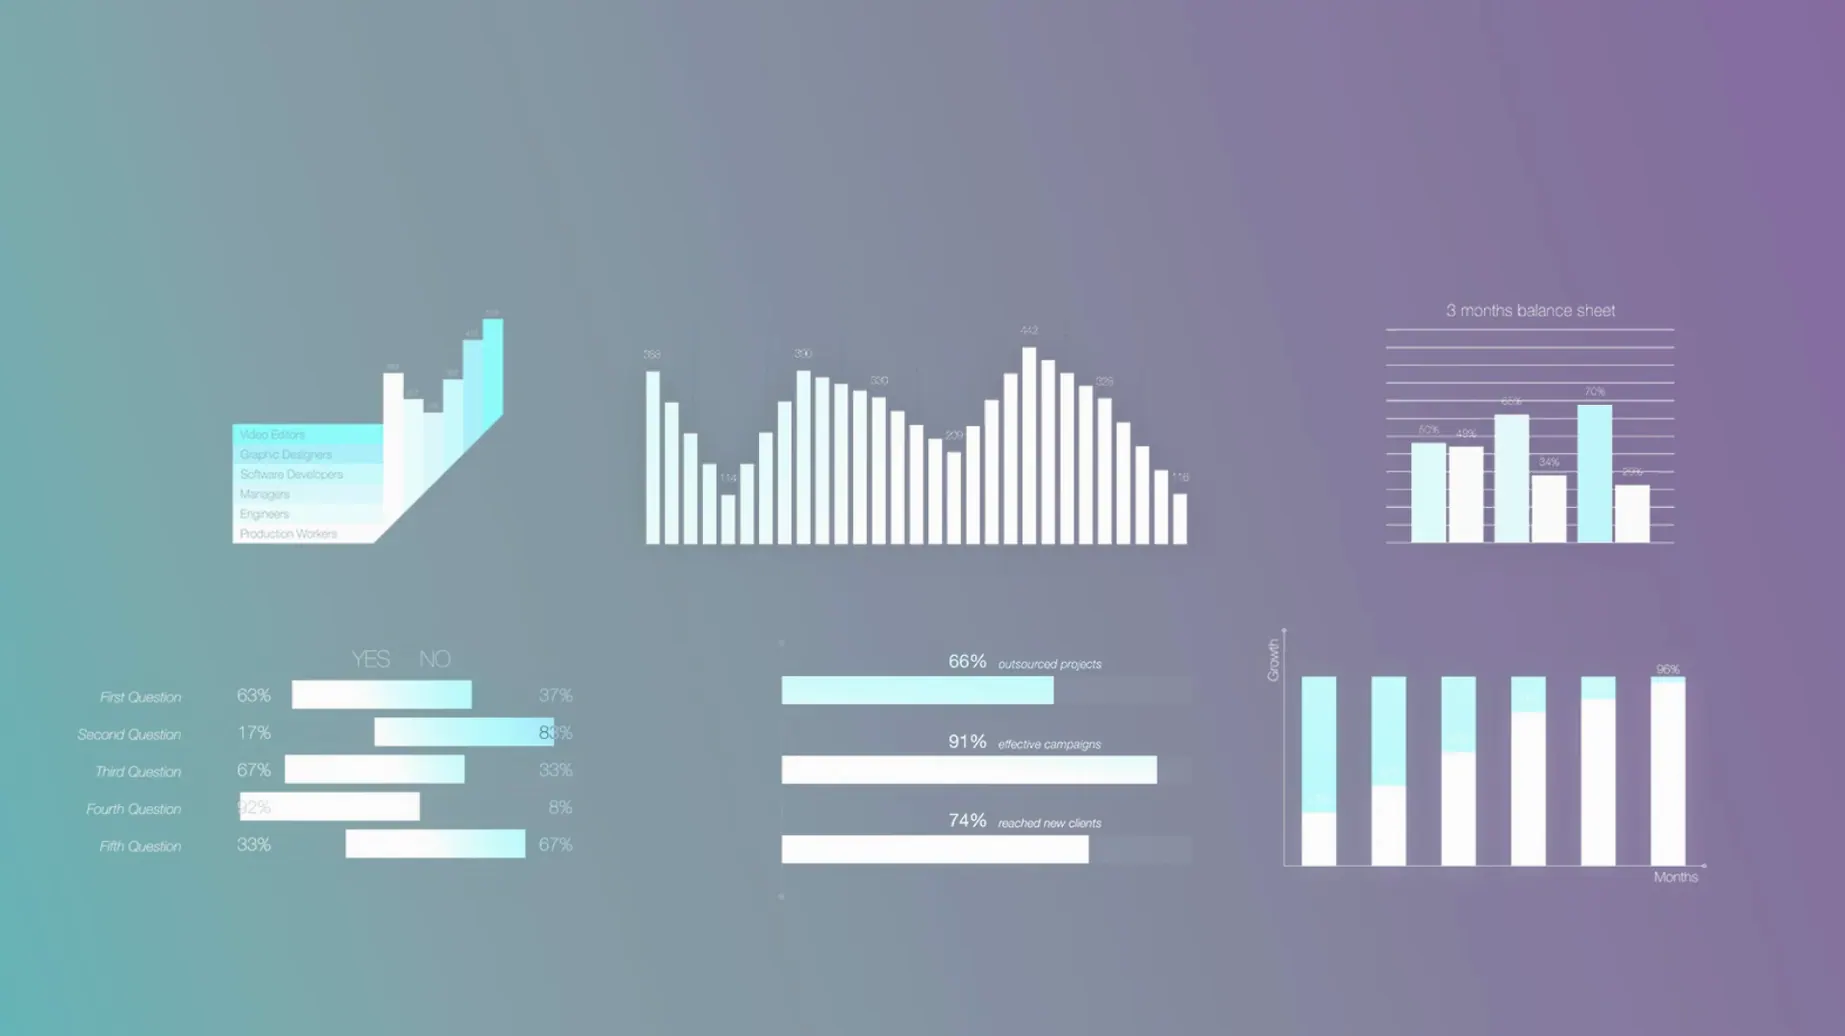
You already know Final Cut Pro can handle basic title work. mInfographics takes it further with clean, adjustable infographic elements straight in the timeline.
How do the on-screen controls work?
You adjust position, scale and rotation visually without digging into the inspector. That speeds things up when a client asks for last-minute tweaks.
Change any number or label directly
Yes. Each element lets you change the numeric value and the accompanying label, so it matches your project data.
Installs into Final Cut Pro's Titles browser
Built specifically for Final Cut Pro. You copy the folders into the Motion Templates/Titles directory, and they appear in the Titles browser ready to drag onto your clips.
Even with a straightforward install, a few things trip people up. Here is what I hear most often and how to fix them.
Install steps that often trip people up
Elements don't appear in the Titles browser
This is the most frequent one. You drop the folders into /Users/USERNAME/Movies/Motion Templates/Titles and restart Final Cut Pro, but nothing shows. The usual cause: you moved the whole downloaded folder instead of the inner folders. Open the downloaded archive, look for the individual element folders – they are named something like mInfographics – Chart 01 – and move those. If you put a parent folder in the Titles directory, Final Cut Pro ignores it.
On-screen controls are unresponsive
Make sure you are in the timeline, not the viewer, when you click the element. Select the clip, then look for the blue control handles in the viewer window. If they are still greyed out, switch your workspace to the Standard layout – the controls sometimes hide in custom workspace setups.
Numbers reset after editing
You type a new value, close the inspector, and the element jumps back to the default number. This happens when you edit the wrong field. Each element has two text parameters: one for the number, one for the description. Make sure you are changing the numeric field, not the description field that happens to contain a digit. The on‑screen controls make this easier – just double‑click the number in the viewer directly.
Text looks different from the preview
If your project uses a custom font that the element does not include, Final Cut Pro substitutes a system font. The typography in mInfographics is designed around the default San Francisco, so stick with that unless you want to adjust the font manually in the inspector.
Works with other apps in your workflow
mInfographics lives inside Final Cut Pro, but it plays well with the rest of your workflow.
Motion for deeper edits
If you own Apple Motion, you can open any mInfographics element in Motion and customise it beyond what the on‑screen controls allow – change colours, add keyframes, or replace placeholder graphics. Re‑save it as a custom title and it appears back in Final Cut Pro with your edits.
Numbers from spreadsheets
I keep a Numbers document open alongside Final Cut Pro when I work on explainer videos. Copy the figures from the spreadsheet and paste them straight into the inspector fields. No retyping, no rounding errors.
Quick export with Compressor
When your infographic sequence is ready, send it to Compressor for batch export. The titles render correctly because they are standard Final Cut Pro titles – no plugins, no external dependencies.
macOS Spaces and Stage Manager
If you run Final Cut Pro on one desktop and reference materials on another, the on‑screen controls still work when you switch Spaces. Stage Manager can hide the viewer window, so I recommend disabling it during editing sessions with mInfographics.
Student project: turn survey data into visuals
Imagine you are a university student putting together a final presentation for a sociology module. You have survey data – percentages, age ranges, response counts – and you need to show them visually without spending days learning motion graphics.
You open Final Cut Pro, create a new project, and drag a mInfographics chart element onto the timeline. The on‑screen controls let you scale it to fit alongside your interview clips. Add a descriptive caption below the chart, adjust the typography so it matches your presentation style, and you are done.
The whole sequence takes about ten minutes. No After Effects, no external renderers, no exporting and re‑importing. Just Final Cut Pro and the mInfographics elements, ready to go.
- macOS unspecified
- Intel or Apple Silicon
- Final Cut Pro
Kit check at a glance
| Download | 8 MB |








Chat from the booth
Sign in or grab a free account to leave a comment.
Nobody has said a word in the booth yet. If you played a set with this build, tell the next person how it went.