

- Build in the crate
- 6.0.5
- Made by the team at
- Digitalanarchy
- Menu languages offered
- English
- How you pay for it
- Included
- CPU it runs on
- Apple Silicon, Intel 64-bit
Screenshots
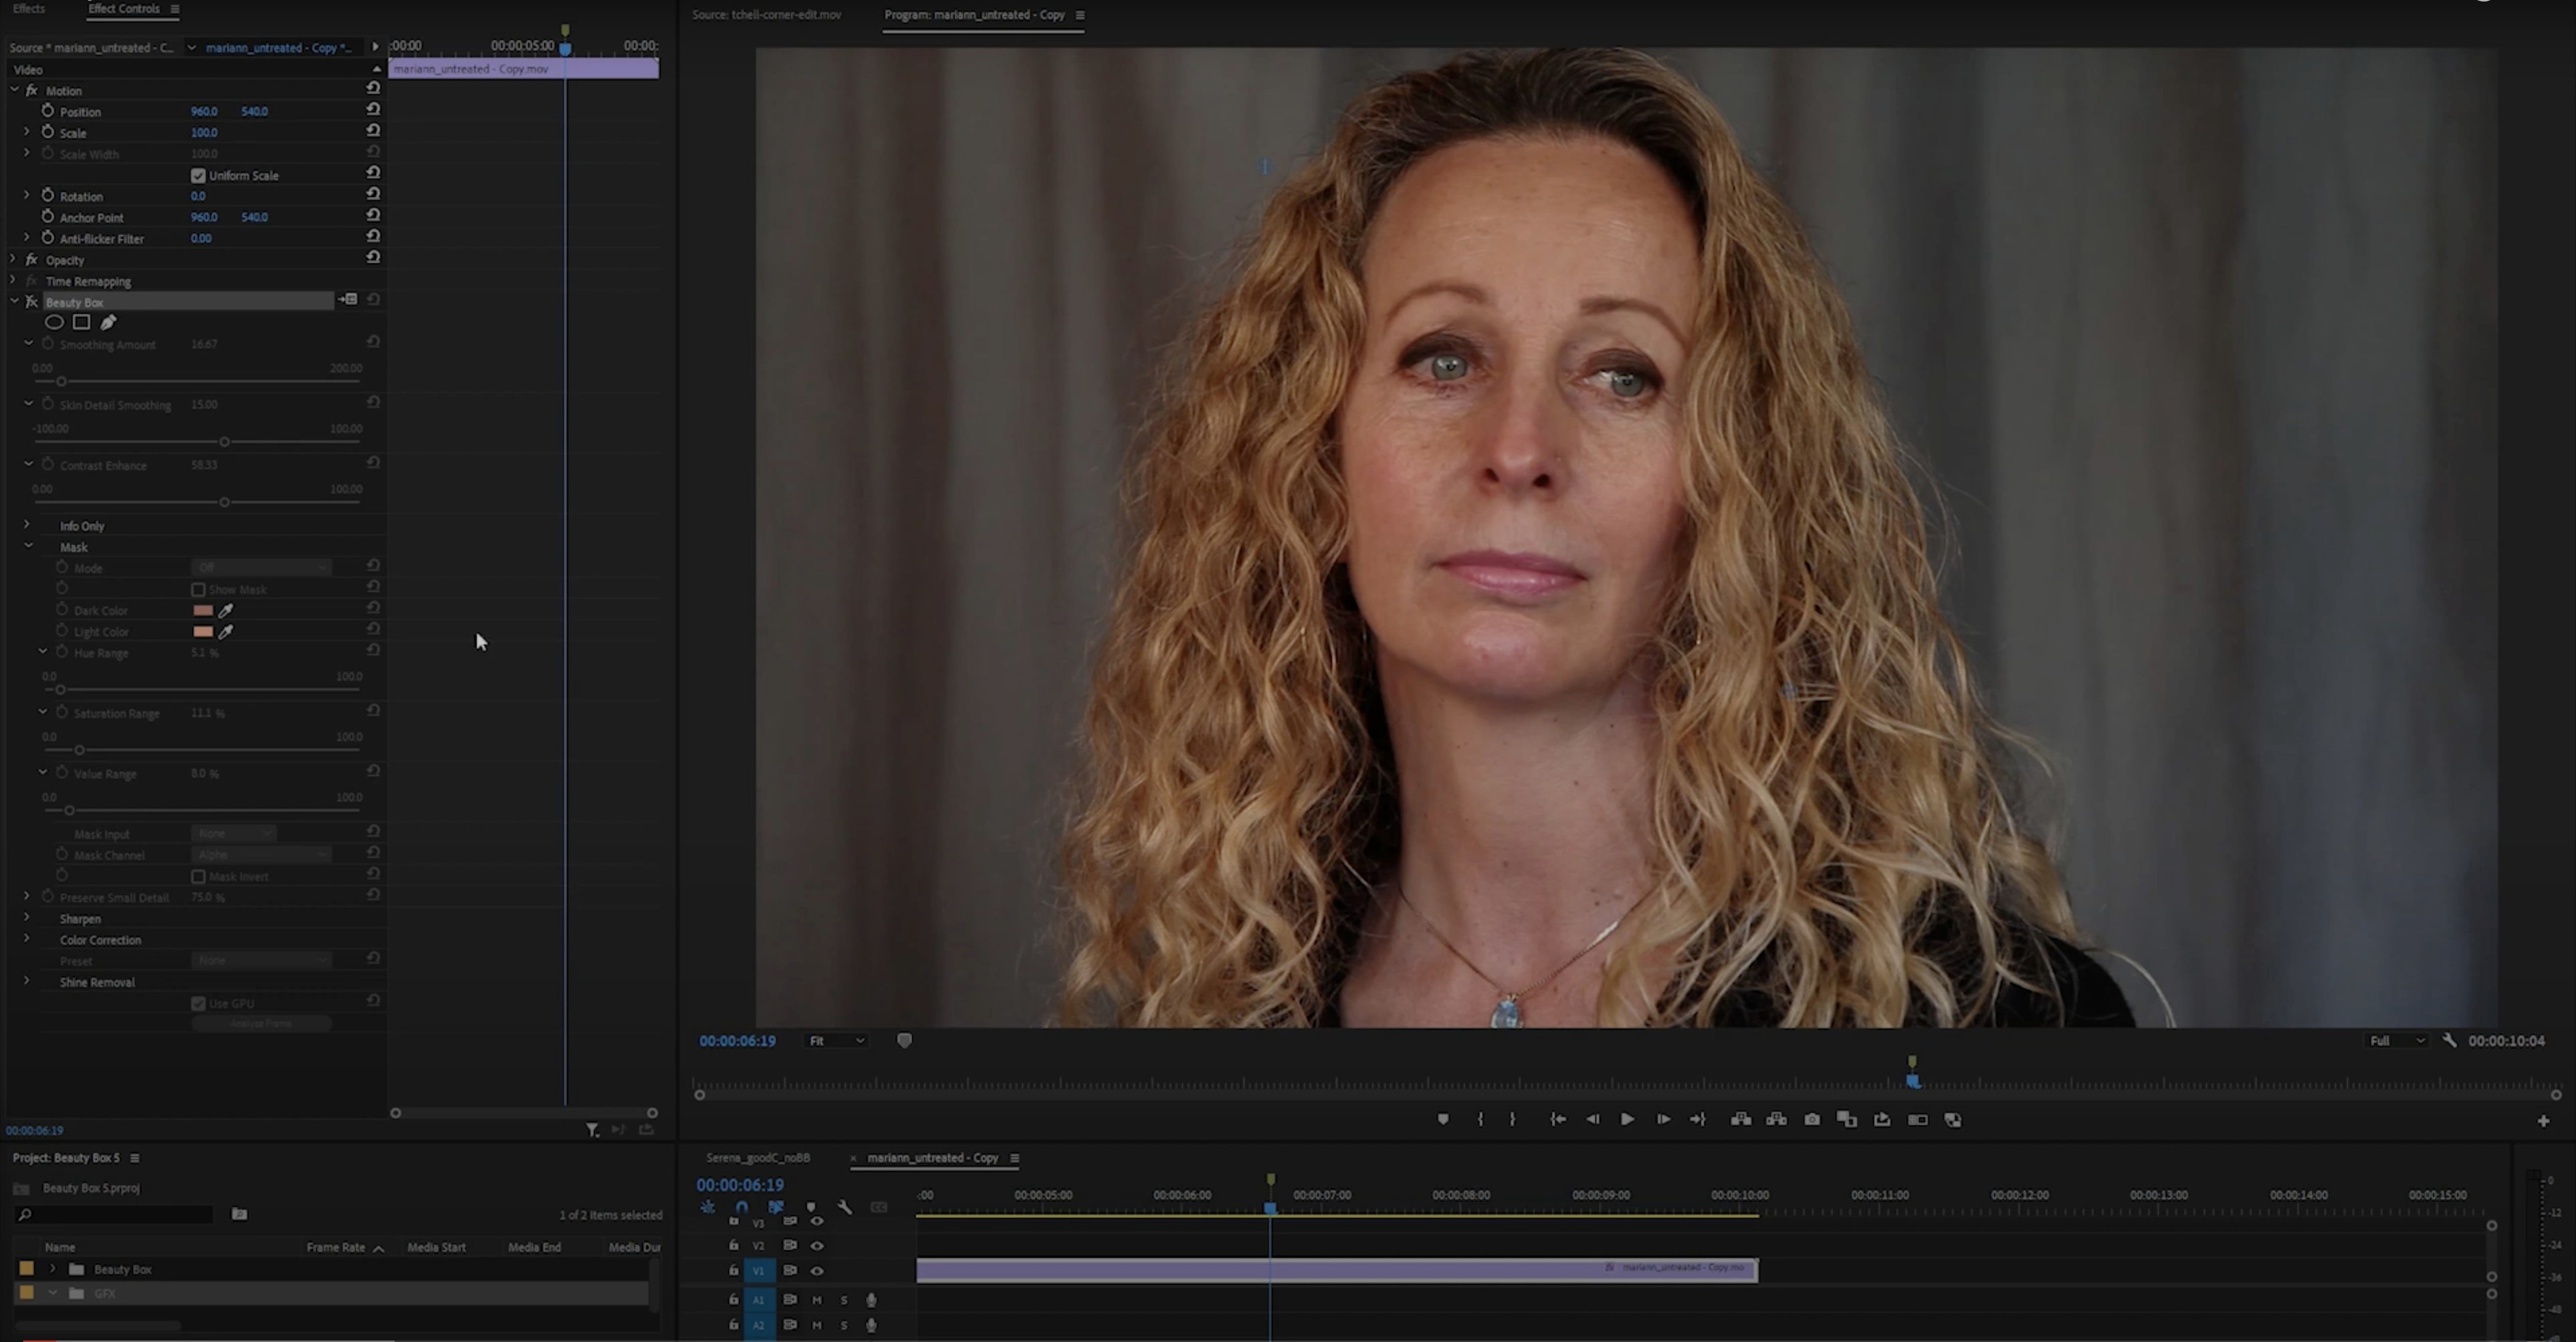
Beauty Box Photo 6.0.5 runs on both ARM and x86 64-bit Macs, so it works with Apple Silicon and Intel machines. The plug-in sits inside Photoshop and gets to work fast.
Removing blemishes and wrinkles
It finds problem areas and smooths them out. You don't have to paint masks or select skin manually.
Keeping facial detail sharp
While it softens skin, it holds on to the edges of eyes, brows and lips. Faces stay recognisable, not plastic.
Detecting skin colour automatically
The plug-in reads skin tones in the photo and restricts its work to those areas. Backgrounds and clothes stay untouched.
First days with Beauty Box Photo
After installing, open a portrait in Photoshop and find the plug-in under the Filters menu. Run it on a copy of your background layer — that way you can compare before and after at any point.
Start with the default settings. Let the plug-in scan the image once. You will see it find skin areas and apply its first pass of smoothing. At this stage, resist the urge to push every slider to the max. The real skill is knowing when to back off.
Try it on three or four different portraits before you adjust anything. Faces with different skin tones, lighting and ages will show you how the auto-detection behaves. You get a feel for what the plug-in does on its own before you start tweaking.
Work on a few photos with obvious blemishes — acne, sun spots, a stray hair across the cheek. See how much the default pass cleans up. Then try it on a portrait where the subject already has good skin. The difference teaches you when you actually need the plug-in and when a light touch is enough.
Redness around the nose and chin blemishes
Over-smoothing
The most common one. People see the effect and think more is better. Skin loses texture and starts to look like wax. The trick is to pull back until the blemishes are gone but the skin still has its natural grain. You want the person to look like themselves, just a better version.
Not checking the eyes and hair
When the plug-in smooths, it can sometimes blur the edges of eyelashes or fine hair along the hairline. Beginners forget to zoom in and check. Always inspect the eyes, eyebrows and the line where hair meets skin. If those areas look soft, you have pushed too far.
Applying it to the whole image without a mask
The plug-in detects skin, but it is not perfect. Clothes with flesh tones, or a hand resting near the face, can get smoothed by mistake. A layer mask after the plug-in lets you paint back any detail that should not have been touched.
Skipping the before-and-after
Working on a duplicate layer means you can toggle the layer visibility. Beginners often forget this and only see the smoothed version. Without the original to compare, you lose perspective on how much change you actually made.
Real session: a studio headshot cleanup
Let me walk through a real session. A headshot from a studio shoot, one light, clean background. The subject has some redness around the nose and a few small blemishes on the chin. Nothing major, but it needs cleaning up.
I open the raw file in Photoshop, do my basic colour and exposure work, then duplicate the background layer. I name it "skin retouch" so I remember what it is for.
With that layer selected, I go to Filter, find Digital Anarchy, and open Beauty Box Photo. The plug-in window appears and immediately starts analysing the image. I see the skin areas highlighted. It has picked up the face correctly — no spill onto the grey background or the black top.
I leave the default smoothing level. The redness around the nose is gone. I zoom in to 100 percent and check the eyes. Still sharp. The hairline looks crisp. Good.
Now I decide I want a touch more smoothing on the cheeks. I increase the smoothing amount slightly, but only until the cheek texture looks even. Not completely flat, just more uniform. I check the eyes again — still fine.
I click OK. The plug-in applies the effect and closes. Back in Photoshop, I add a layer mask to the "skin retouch" layer. I fill it with black, which hides the effect completely. This way the smoothing only hits the places I want. The forehead and jawline stay as they were.
Final check: zoom out to fit the whole face on screen. Toggle the layer visibility on and off. The retouched version looks clean but natural. No one would guess a plug-in was used. I flatten the layers and save.
Instant preview with CUDA and OpenGL
Because the plug-in runs in real time with CUDA and OpenGL, you see the results as you adjust. No waiting for a preview to render after every click. You can move a slider and watch the face update instantly. That makes dialling in the right amount much faster.
The auto skin detection is not just a one-time thing. If you crop the image or change the selection before opening the plug-in, it re-detects skin based on what is visible. Useful if you only want to retouch a specific area of the frame.
Working with the plug-in on a layer copy, as I described, gives you the freedom to blend the effect. You can lower the layer opacity, or use a mask, or even apply a second pass on a separate layer for stubborn spots. The plug-in itself is fast, so running it twice is not a chore.
For anyone who retouches portraits regularly, Beauty Box Photo 6.0.5 fits into a workflow without much friction. It does the heavy lifting on skin, and you keep control over everything else. That balance is what makes it useful day to day.
If you work with video as well, the same developer makes a version for Premiere Pro. The Photoshop plug-in is the still-image counterpart, and it shares the same approach to skin detection and smoothing. You can find beauty box for mac and beauty box for mac premiere pro easily enough if you look. The beauty box plugin for premiere pro mac works the same way as the Photoshop version, just inside a video timeline.
It's an English-language plug-in from Digital Anarchy, and it suits portrait work where speed matters.
- macOS (version not specified by developer)
- Supports both ARM and x86 64-bit architectures
- Interface in English
Kit check at a glance
| Chip | Apple Silicon, Intel 64-bit |
| Download | 107 MB |
| Older pressings | 2 in the crate |






Chat from the booth
Sign in or grab a free account to leave a comment.
Nobody has said a word in the booth yet. If you played a set with this build, tell the next person how it went.