
- Build in the crate
- 5.2.0
- Made by the team at
- iZotope
- Menu languages offered
- English
- How you pay for it
- K'ed by TEAM HCiSO
- macOS it plays on
- macOS 13.4 or later
- CPU it runs on
- Apple Silicon, Intel 64-bit
Screenshots
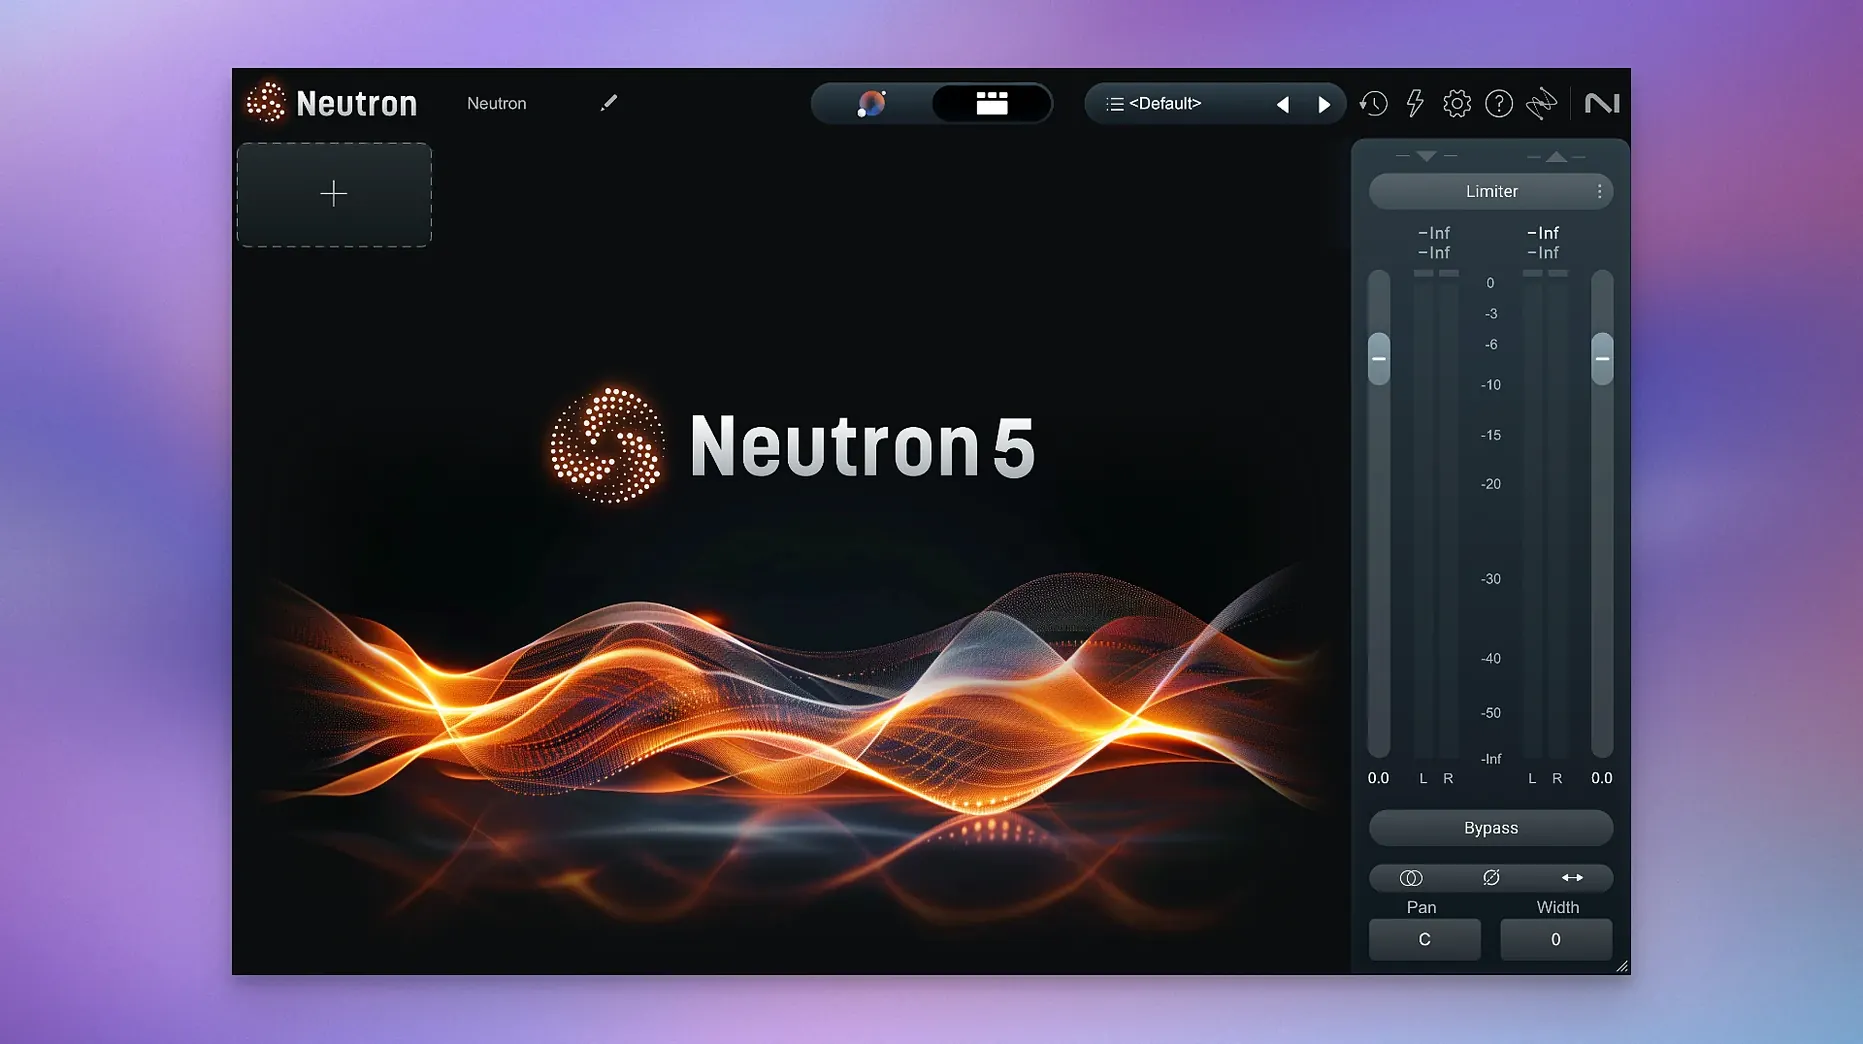
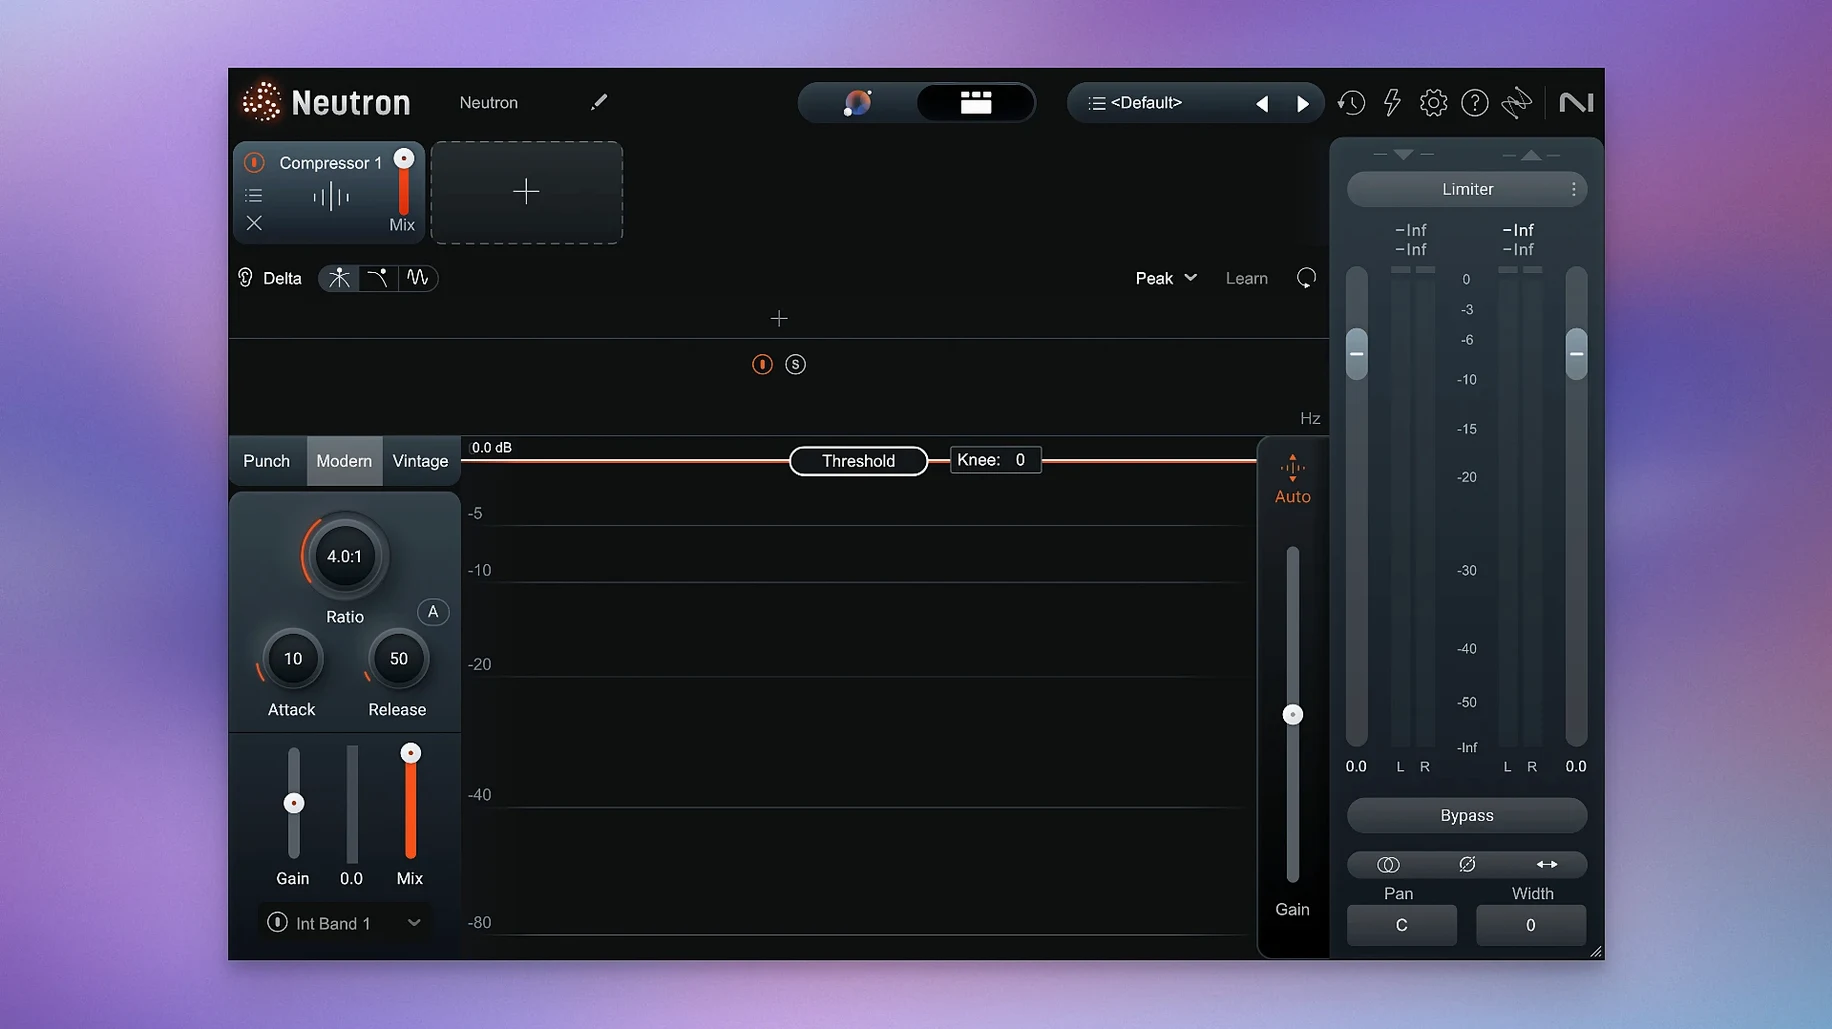
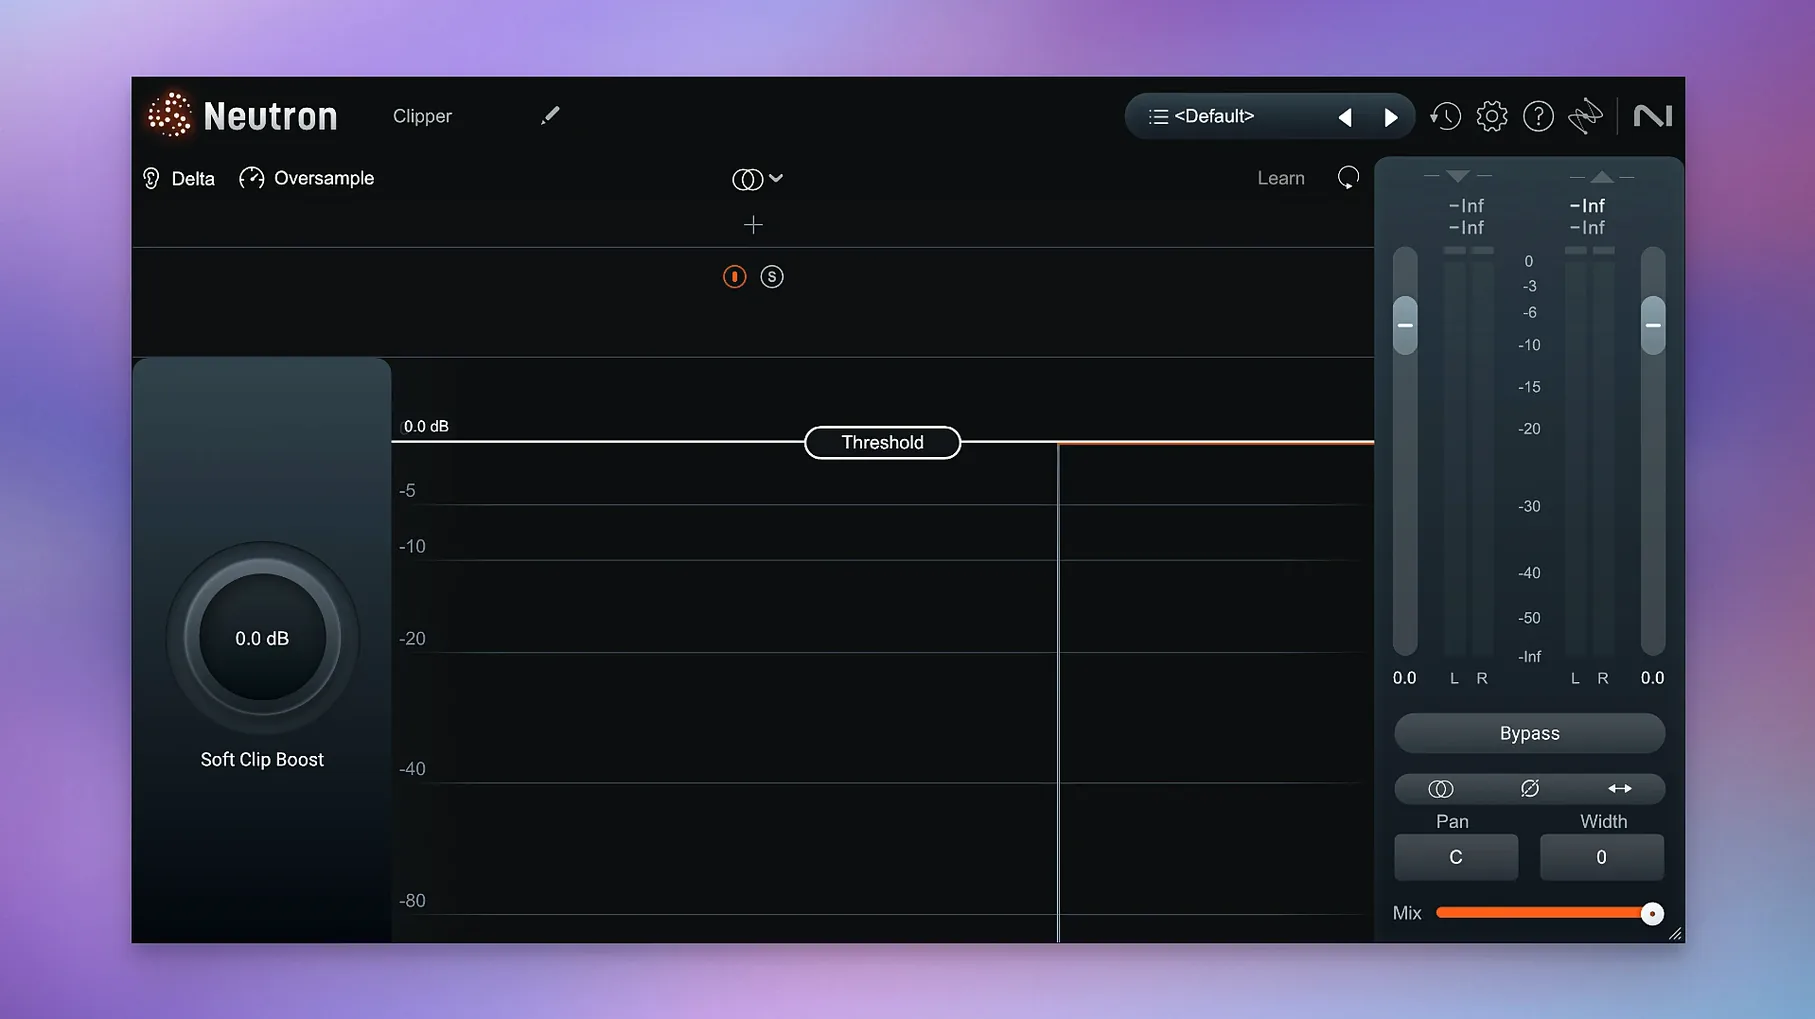
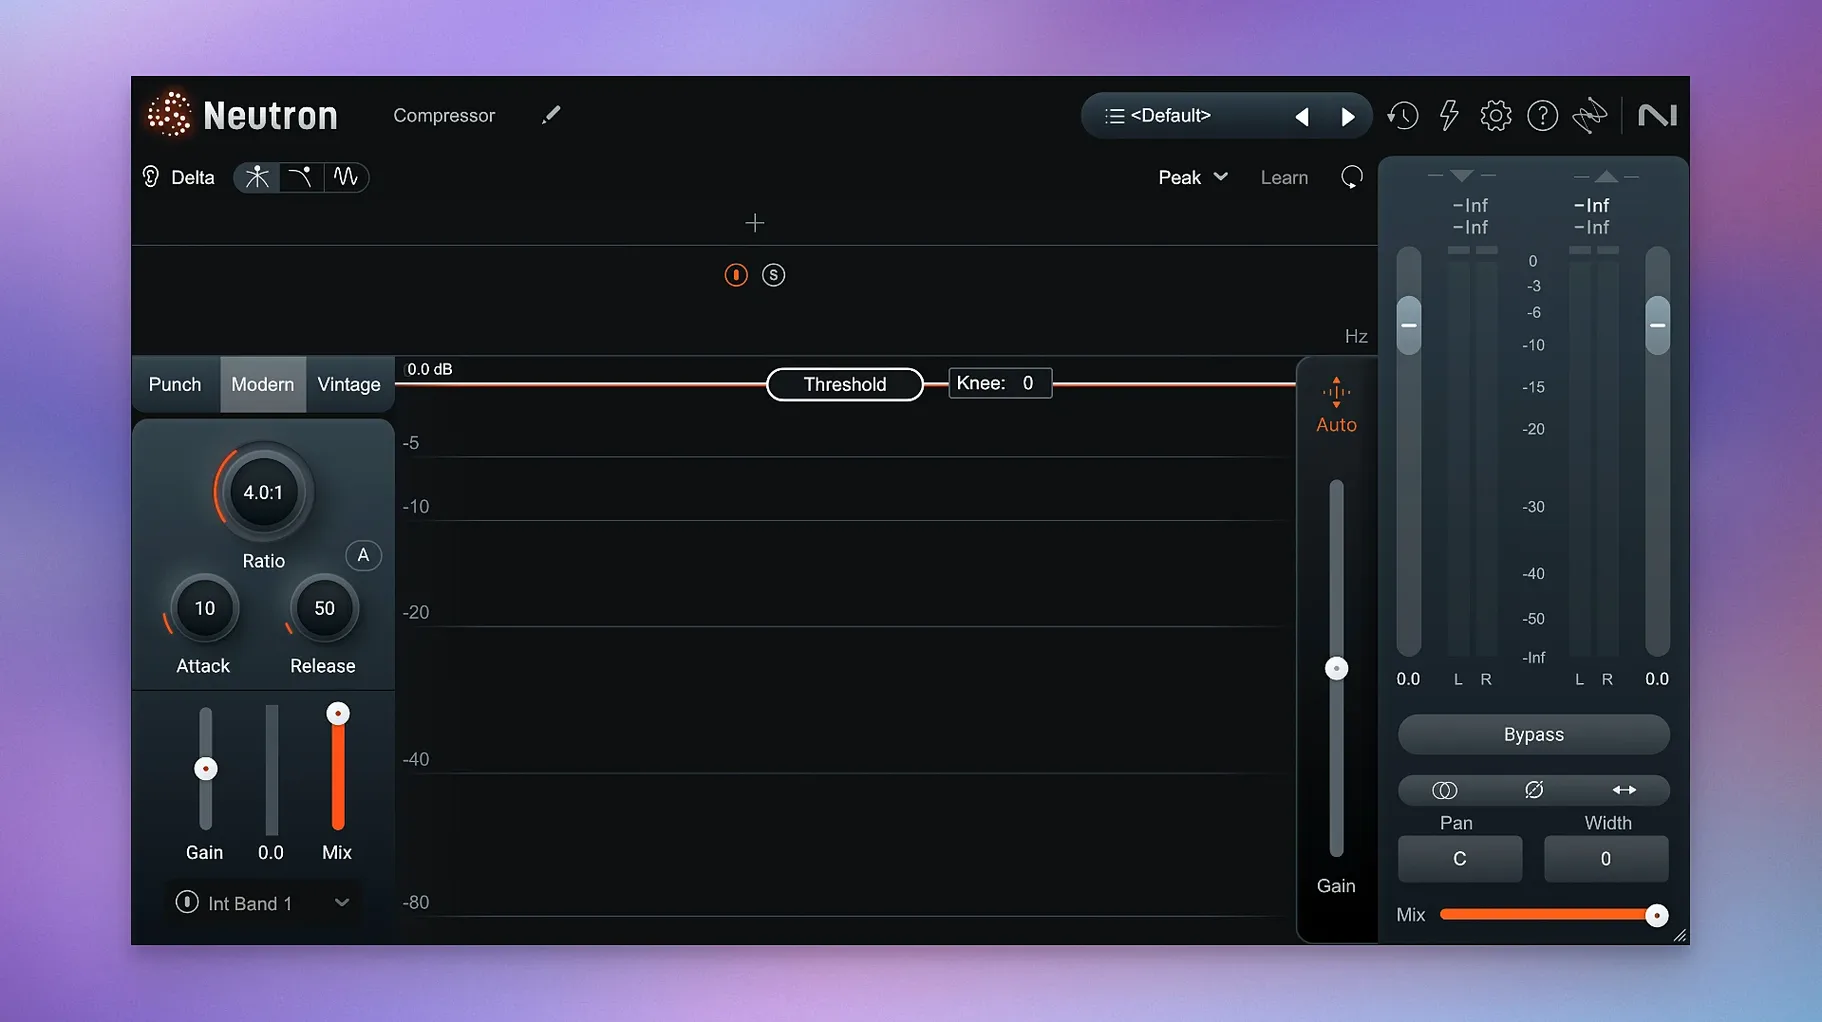
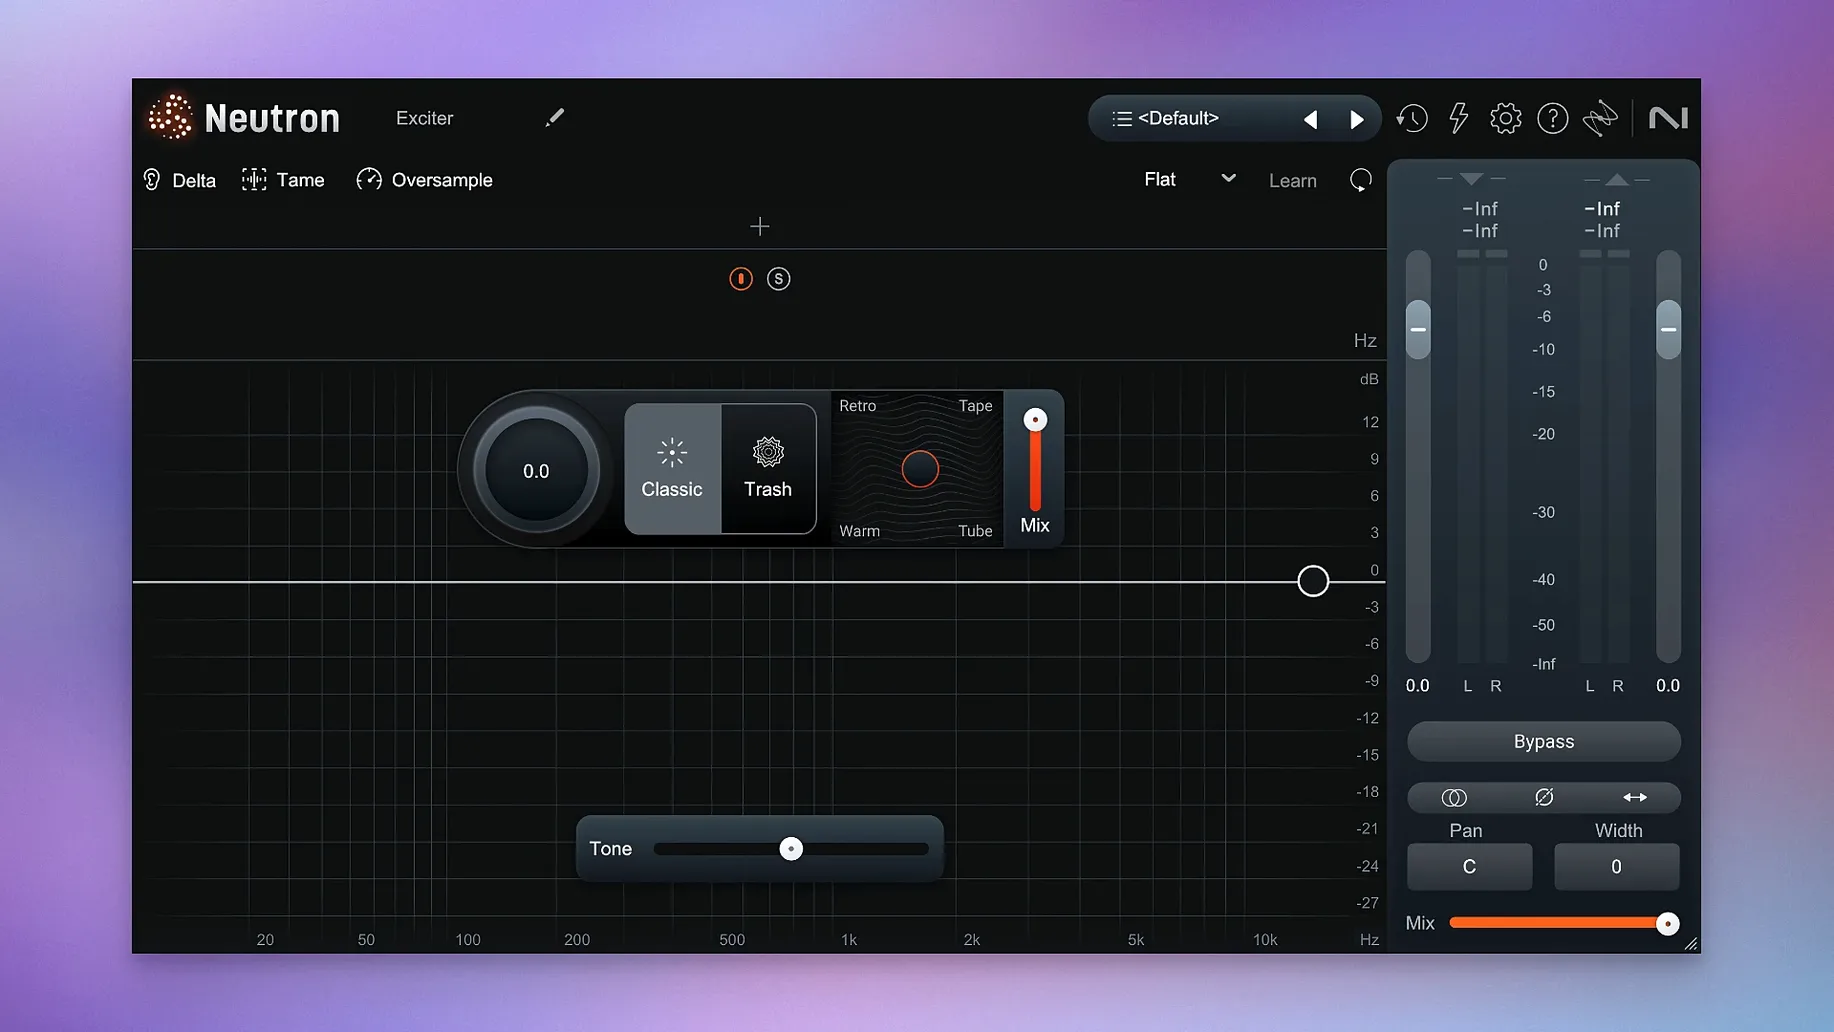
If you already use iZotope’s Ozone for mastering, Neutron is the sibling that handles the mix stage. It’s a suite of 11 audio mixing plugins — one main interface plus 10 component modules — designed to help you shape your mix without getting lost in endless faders.
Mix Assistant and Punch Mode inside
- Mix Assistant: listens to your track and suggests a starting point based on instrument profiles or your own reference mix.
- Punch Mode: gives you control over the impact and transient feel of a sound, with visual feedback.
- Masking Module: detects frequency clashes between tracks and helps you clear them up.
- Delta Buttons: let you hear what the plugin is actually doing to the signal, useful for learning and fine-tuning.
- Assistant View: the interface has been cleaned up to make setting up faster.
For producers who want a faster balance
Neutron is for producers and mix engineers who want a faster, more systematic way to balance a session. The AI tools don’t mix for you — they give you a solid draft so you can focus on the creative decisions. It runs on macOS 13.4 and later, supports both Intel and Apple Silicon, and works as a VST, AU, or AAX plugin in any modern DAW. The interface is in English only.
iLok authorization in surround sessions
A few things trip people up when they first get Neutron running. Knowing them saves time.
- iLok authorisation in surround sessions: version 5.2.0 fixed an issue where iLok authorisation wouldn’t work in surround instances. If you’re on surround and get an authorisation error, make sure you’re on this version.
- Assistant doesn’t sound right: the Mix Assistant bases its suggestions on instrument profiles or a reference track. If the result feels off, check you’ve selected the right profile — a kick drum labelled as a bass guitar will push the EQ in the wrong direction. You can always start the Assistant again with a different profile.
- Masking module shows nothing: the Masking Module needs two tracks to compare. If you’ve only loaded it on one, it won’t detect anything. Insert it on the track you want to check, then select the competing track from the module’s dropdown.
- Delta Buttons seem to do nothing: Delta Buttons let you hear only what the module is adding or removing. If you toggle one and hear silence, the module isn’t processing anything yet — turn a knob or adjust a band first.
Assistant View hidden in plain sight
Not everything is obvious on day one. These features are named in the release notes and the documentation, but they don’t shout for attention.
- Assistant View: the updated interface has a dedicated Assistant View that strips back the display to the essentials. It’s useful when you want to run the Assistant without distractions — the extra panels hide until you need them.
- Delta Buttons per module: each module has its own Delta Button, not just one global switch. This means you can audition the effect of the Compressor alone while leaving the EQ active, which makes learning each module’s behaviour easier.
- Instrument profiles in the Assistant: the Assistant includes professional instrument profiles. If you’re working on a genre where certain instruments are treated in a standard way — rock vocals, acoustic guitar, kick drum — the profile gives you a starting point that’s closer than a generic EQ curve.
- Reference-based setup: you can also use a reference track instead of a profile. Load a mix you like the sound of, and the Assistant adjusts its suggestions to match that tonal balance.
Run Assistant on every track once
Here’s what works well in the early sessions.
- Run the Assistant on every track once: it takes a minute per track and gives you a baseline. You’ll hear what the AI thinks your kick, snare, bass and vocal should look like. Even if you don’t keep any of it, you get a feel for how the modules interact.
- Use Delta Buttons while learning: toggle a Delta Button on the EQ module and sweep a band. You hear exactly what the filter is doing. It’s the fastest way to learn what each module contributes.
- Check the Masking Module after rough balancing: once your levels are in the right ballpark, insert the Masking Module on the busiest tracks — usually kick vs bass, or vocal vs guitar. It highlights the frequencies that clash and lets you carve space without guessing.
- Stick to one module at a time: Neutron gives you 11 modules, but loading all of them on a track at once makes it hard to hear what each one does. Add them one by one, listen, and only keep the ones that improve the sound.
Cleaning up a muddy four-piece mix
Picture this: you’ve just bounced a rough mix of a four-piece band — drums, bass, electric guitar, vocals. It sounds like a band in a room, but the low end is muddy and the vocal sits behind the guitar.
You open the session and insert Neutron on the kick, bass, vocal and guitar tracks. On the kick, you launch the Mix Assistant, pick the kick drum profile, and let it scan. It suggests a gentle high-pass filter and a small boost around 60 Hz. You keep the high-pass, dial the boost down a touch, and move on.
On the bass, you do the same — but this time you also load the Masking Module and point it at the kick track. The module highlights a clash around 120 Hz. You nudge the bass EQ down in that range, and the kick starts punching through without raising its level.
The vocal gets the Assistant treatment with the vocal profile. The suggested compression ratio looks aggressive at first, but you use the Delta Button to hear only the compression — it’s taming the peaks without squashing the performance. You leave it as is.
On the guitar, you skip the Assistant entirely. You know it needs to sit behind the vocal, so you load the Compressor module, set a moderate ratio, and use the Punch Mode to soften the attack a little. The visual feedback in Punch Mode shows you how the transient changes in real time.
Finally, you solo the kick and bass together, toggle the Masking Module, and confirm the clash is gone. The whole process takes maybe fifteen minutes. You’ve got a clean, balanced mix that you can now tweak by ear — the heavy lifting is done, and Neutron steps aside.
- Fixed iLok authorisation not functioning in surround instances of Neutron 5.
- Changed supported macOS versions.
- macOS 13.4 or later
- Intel or Apple Silicon
- Interface language: English
Kit check at a glance
| System | macOS 13.4 or later |
| Chip | Apple Silicon, Intel 64-bit |
| Download | 928 MB |
| Older pressings | 7 in the crate |



Chat from the booth
Sign in or grab a free account to leave a comment.
Nobody has said a word in the booth yet. If you played a set with this build, tell the next person how it went.