

- Build in the crate
- 12.1.0
- Made by the team at
- iZotope
- Menu languages offered
- English
- How you pay for it
- K'ed by iamdumb
- macOS it plays on
- macOS 14.7 or later
- CPU it runs on
- Apple Silicon, Intel 64-bit
Screenshots
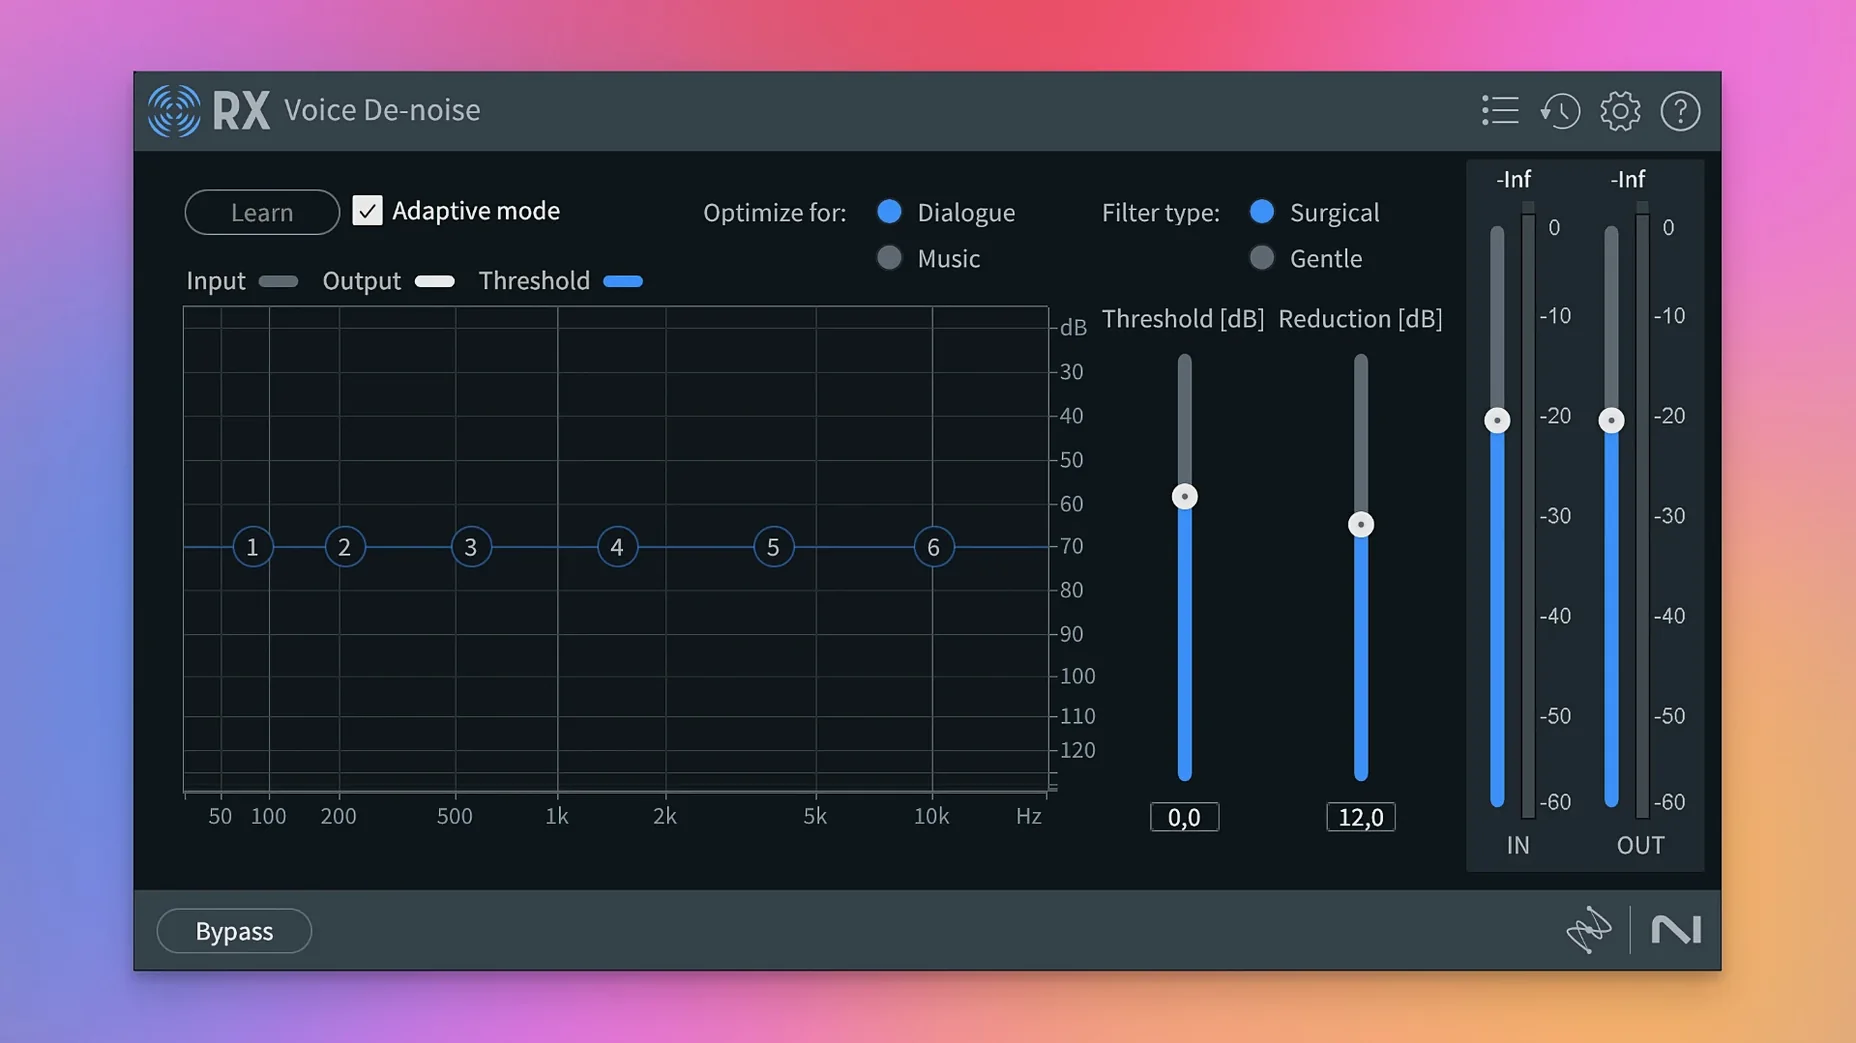
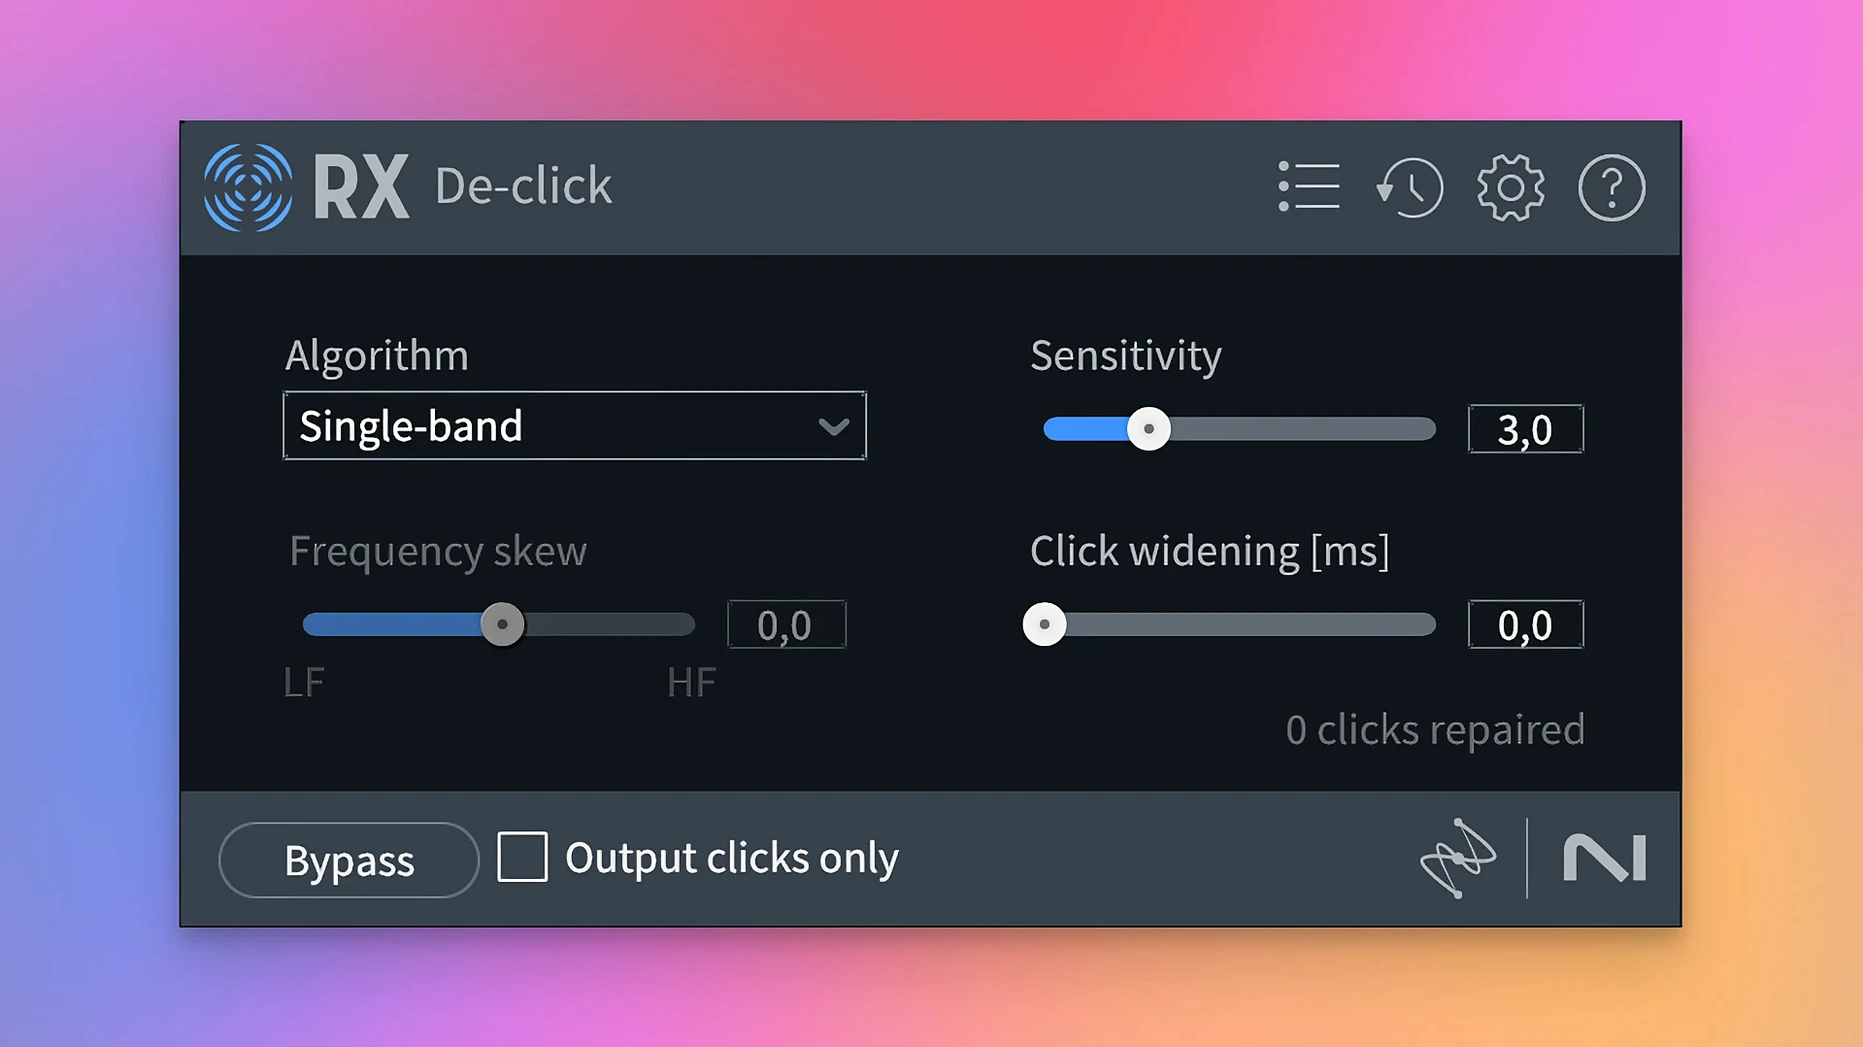
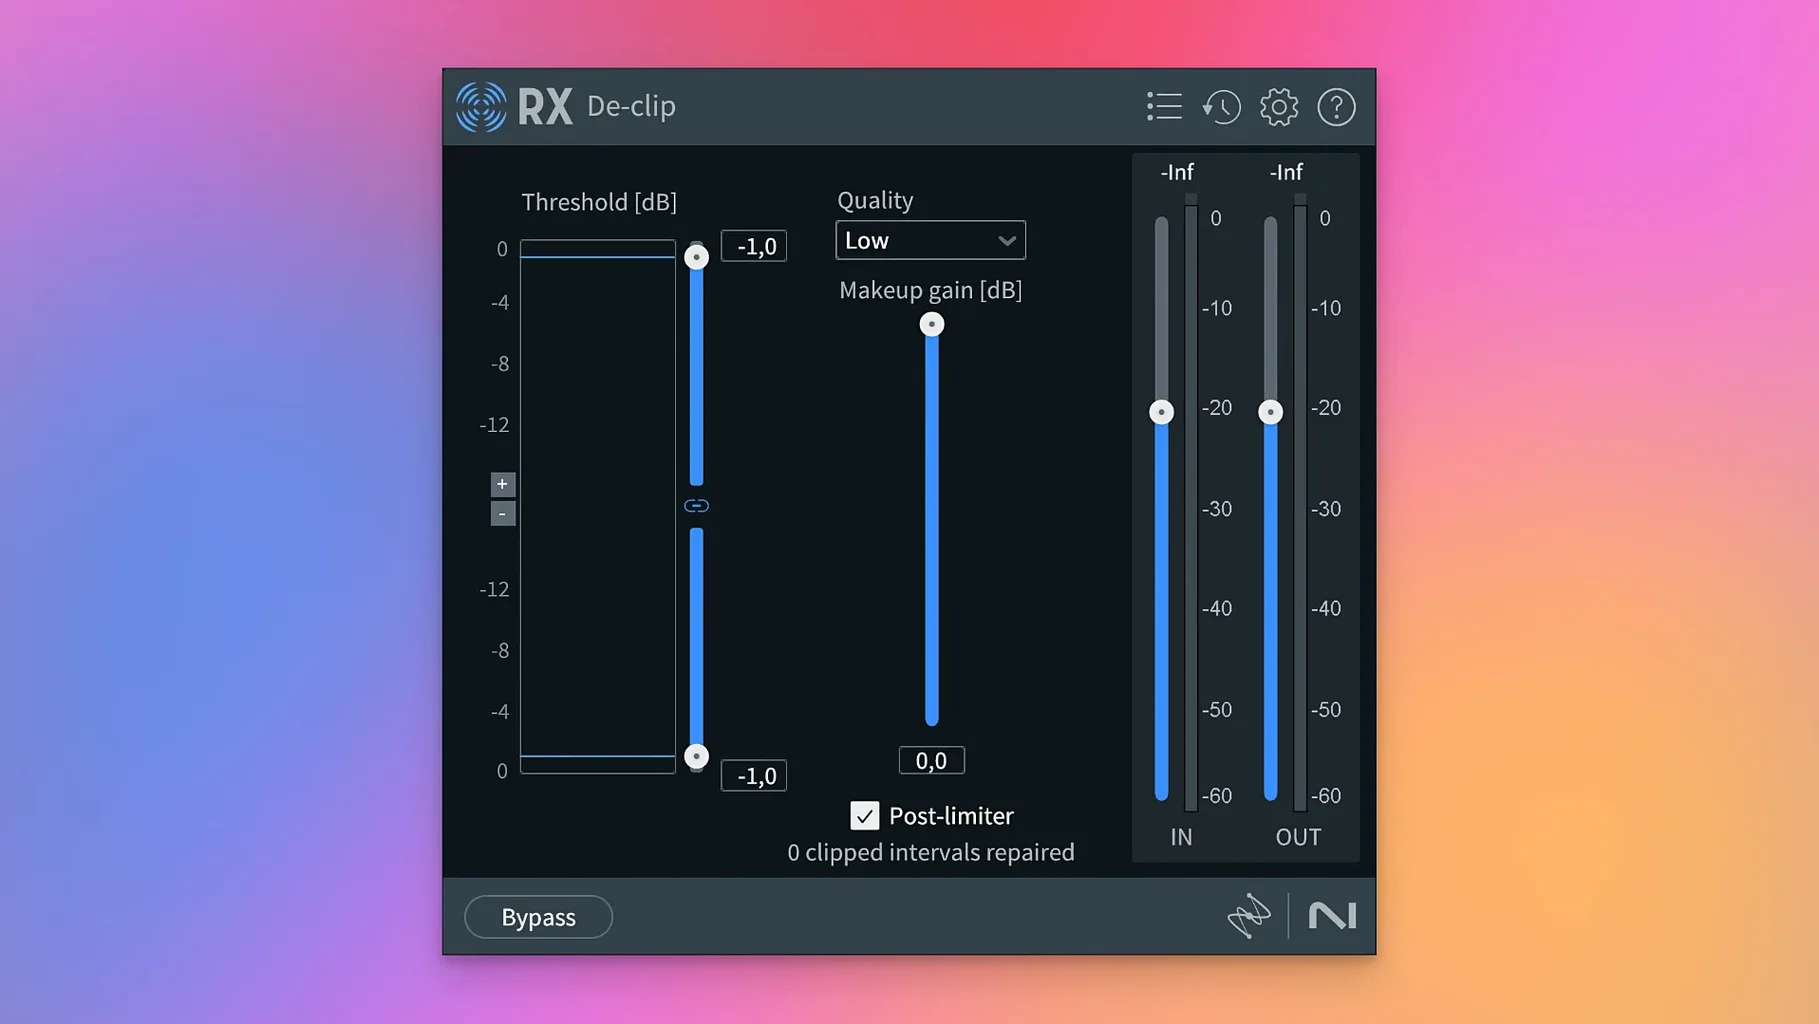
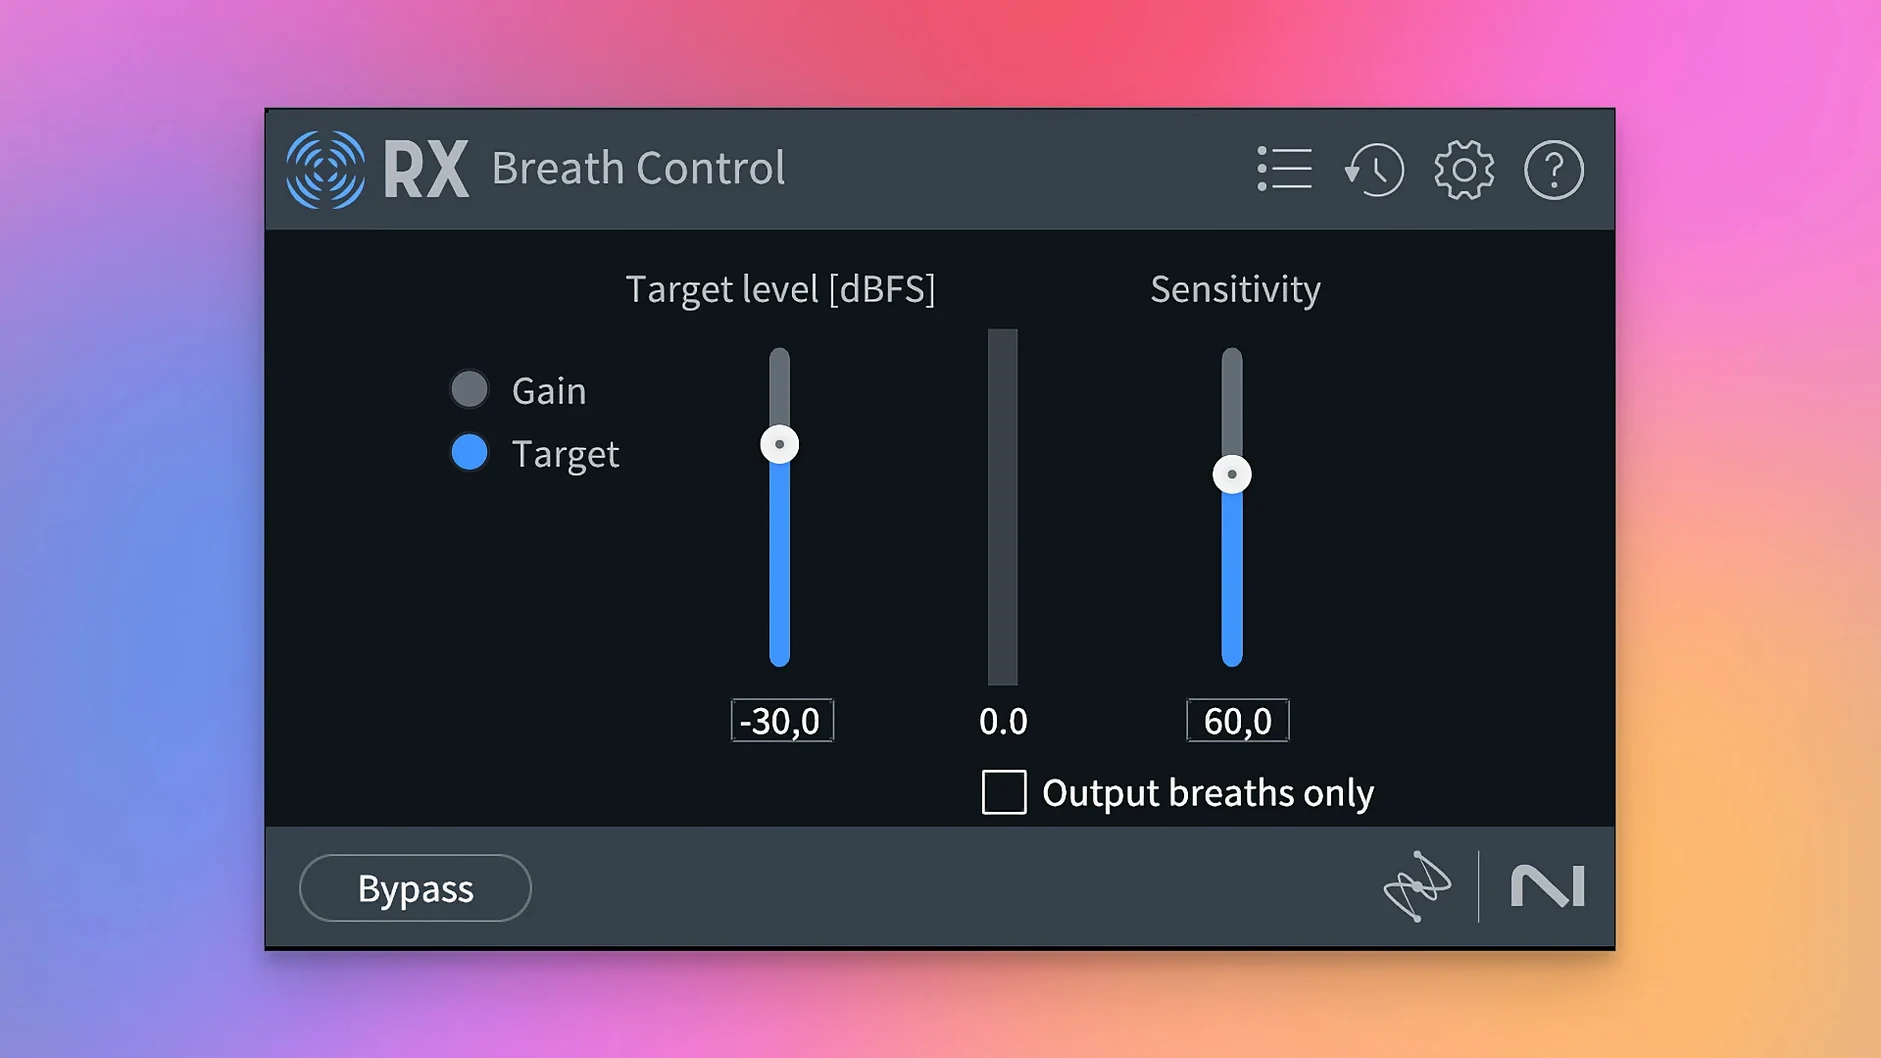
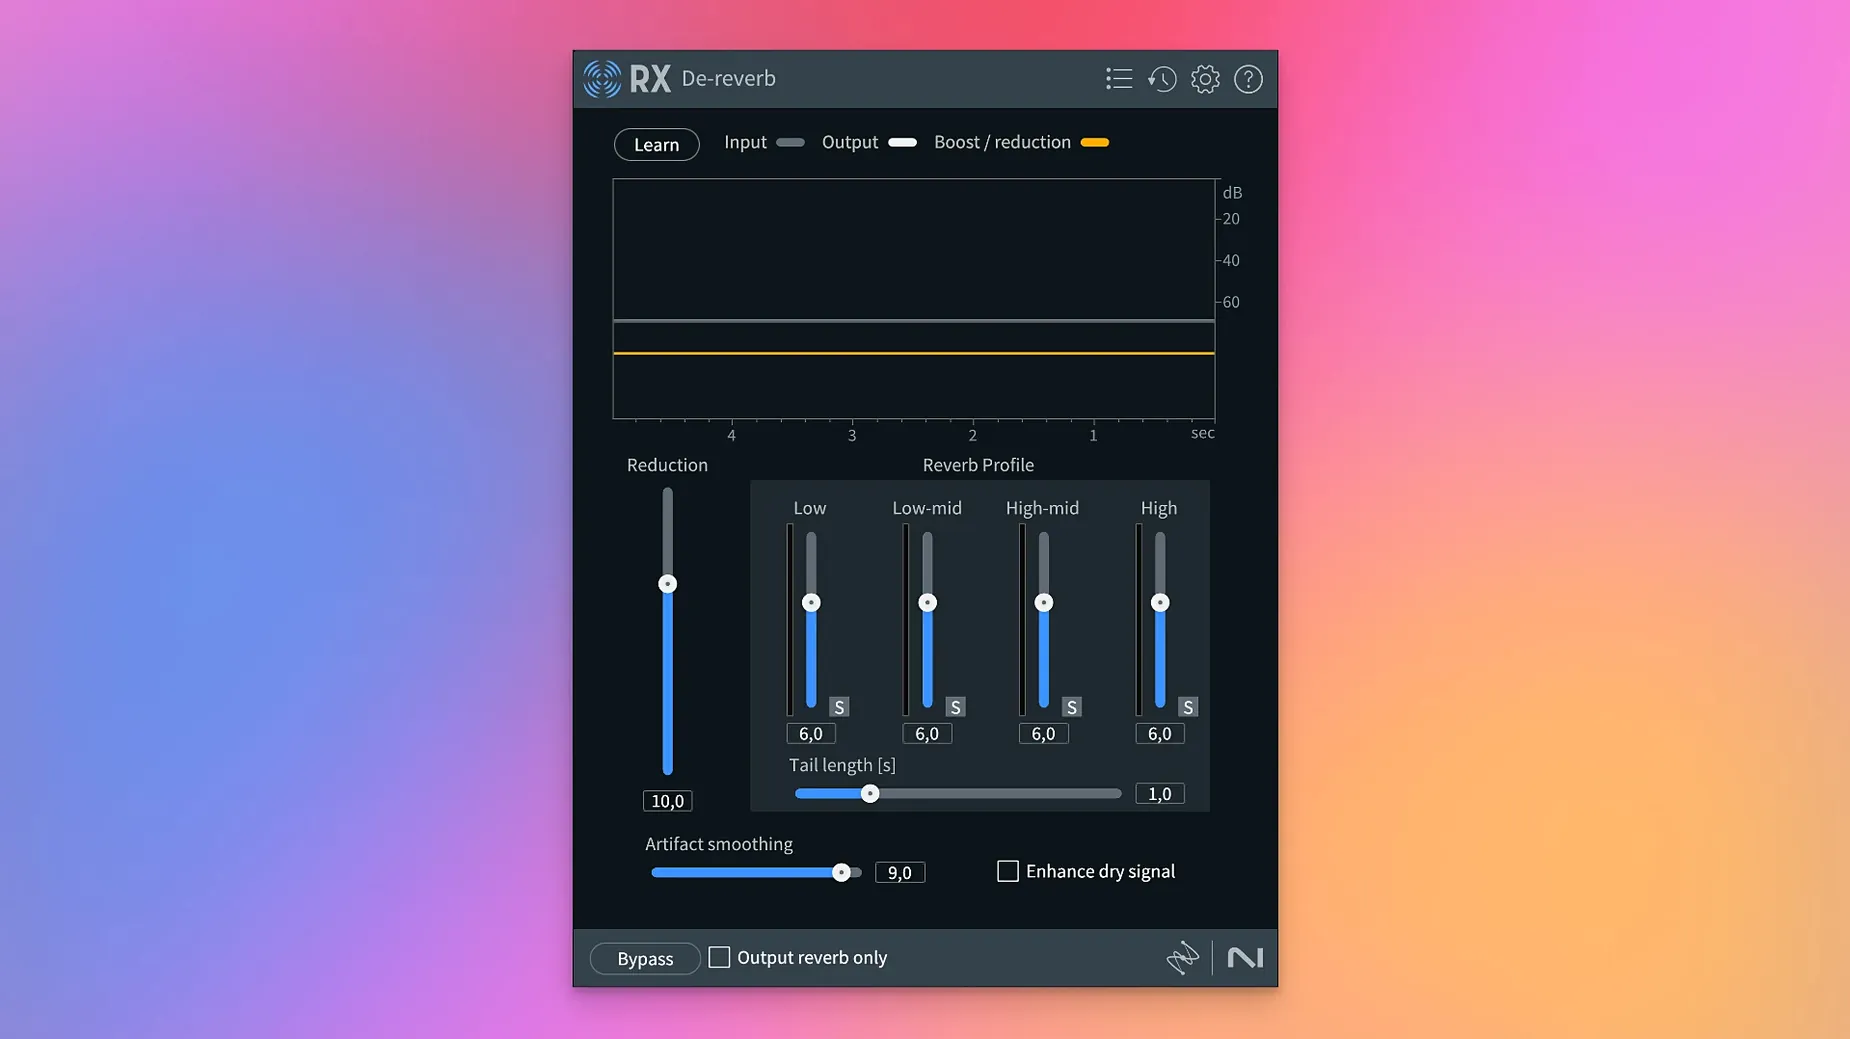
You recorded a great take, but the air conditioner hummed through the whole thing. Or the dialogue clips when the actor raised their voice. That is when you reach for iZotope RX 12, an audio restoration suite that lives inside your DAW or as a standalone app.
Clean up background noise
Open the Voice De-noise module and let it learn the noise floor. RX removes constant hums, fans, and traffic without chewing up the voice. For louder problems, the rebuilt De-bleed module separates crosstalk between microphones.
Balance a mix
Music Rebalance lets you turn down the bass or raise the vocals after the track is already mixed. Drag the stem sliders and hear the change in real time. New in RX 12, the improved separation handles dense pop mixes better.
Isolate dialogue from a busy track
Dialogue Isolate pulls speech out of music and effects. Pair it with Scene Rebalance (new in v12) when you need to separate dialogue, music, and effects together. The rebuilt Breath Control module then cleans up breaths without sounding robotic.
A practical workflow: cleaning up a location recording
You have a dialogue track recorded in a café. There is a fridge hum, the occasional plate clink, and a low rumble from traffic outside. Here is how you move through RX 12 from start to finish, using only the modules you need.
Open the standalone RX 12 application and load the file. The first pass is the Repair Assistant. Let it scan the whole clip. It spots hum, clicks, and broadband noise in one go and suggests a chain of modules. Accept its suggestion as a starting point — you can tweak each module later.
Next, open the De-hum module. The fridge hum is a steady 50 Hz tone with harmonics. Set the frequency filter to target the fundamental and its first few overtones. RX removes them without touching the voice range above 200 Hz. Listen closely to make sure the lower end of the voice is still natural.
Now the De-click module for the plate sounds. Set the threshold so it catches the sharp, short clicks without triggering on sibilance. The new spectral display in the module helps you see the clicks as vertical lines. Adjust the artifact control to keep the repairs smooth.
Finally, run Voice De-noise. Let it learn a section of noise-only between the dialogue lines. Adjust the reduction amount so the background drops away but the room still feels present — total silence can sound unnatural. Set the sensitivity to preserve the transient detail of the voice.
Export the cleaned file and load it into your DAW. The whole chain took maybe ten minutes once you got used to each module's controls.
Scene Rebalance changes how you separate stems
RX 12 adds a few things that change how you reach for the toolkit. Scene Rebalance is the biggest shift. Before, you had to choose between Music Rebalance for music stems and Dialogue Isolate for speech. Now you can separate all three — dialogue, music, effects — in one module. That saves a step when you are working on a film or video mix with a crowded soundtrack.
Trim Silence is a small addition that saves time on long files. If you have a podcast or interview with gaps between sentences, this module cuts them automatically. You set a threshold and a minimum silence duration, and it removes the quiet parts. Useful before you hand off a rough edit to a client.
Stems View changes how you use the whole suite. Instead of applying modules to a mixed stereo file, you can isolate the stems first and then repair each one separately. For example, de-click only the vocal stem without affecting the music. The rebuilt De-bleed and Breath Control modules now work faster and respond more naturally, so you spend less time tweaking.
All the modules still load and process the same way. If you used RX 11, you will find the same interface and the same workflow. The new features sit alongside the existing ones, not on top of them.
ARA integration speeds up DAW workflow
RX 12 works as a plugin in any major DAW — Logic Pro, Pro Tools, Ableton Live, Cubase. It supports AU, AAX, AAX Audiosuite, VST3, AU ARA, and VST3 ARA formats. The ARA integration means the plugin can access the full audio file in the DAW, not just the region you are editing. That makes spectral editing smoother because RX sees the context around the clip.
On macOS, the standalone app uses the system audio routing. You can send audio from QuickTime Player or Safari into RX 12 using BlackHole or Loopback, then clean it and record the output. That is handy for live streams or quick recordings where you cannot re-record the source.
You can also use the Finder Quick Look preview to listen to a file before opening it in RX. Select the audio file in Finder, press Space, and check the waveform. If it looks clipped or noisy, open it in RX for repair. No need to load your DAW just to check a file.
The package includes the installer and activation instructions inside the package. It supports Intel Macs and Apple silicon Macs in native mode and with Rosetta, so it runs on any Mac with macOS 14.7 or later.
Repair Assistant teaches each module's effect
Start with the Repair Assistant on a problem file. Let it suggest a chain, then turn off modules one by one to hear what each does. That teaches you which module fixes which sound. Do not skip this — it is faster than reading the manual.
Use the Undo button often. Every module keeps a history of your edits, so you can step back to an earlier version of the repair. That saves you from starting over when a tweak goes wrong.
Set up a default chain for common tasks. If you regularly clean up dialogue, create a chain with Voice De-noise, De-click, and De-hum, then save it as a preset. Apply it to new files with one click. You can adjust the settings per file, but the preset gives you a consistent starting point.
Learn the keyboard shortcuts for the standalone app. Space to play and stop, Command+Z for undo, Command+S to save. They are the same as most macOS apps, so they feel familiar quickly.
Keep an eye on the spectrum view. It shows you the noise and the signal as colour. If you see a constant line across the bottom at 50 Hz, that is hum. If you see vertical lines, those are clicks. The spectrum tells you what module to reach for before you hear the problem.
Finally, do not process the whole file at once if you are unsure about a setting. Process a short section first, listen back, then apply the same settings to the rest. That avoids ruining a good take with an over-aggressive repair.
- Introduces Scene Rebalance for separating dialogue, music, and effects.
- Adds Trim Silence for long audio files.
- Adds Stems View for applying the toolkit to isolated stems.
- Rebuilds De-bleed and Breath Control modules.
- macOS 14.7 Sonoma or later
- Intel or Apple Silicon
- English interface
Kit check at a glance
| System | macOS 14.7 or later |
| Chip | Apple Silicon, Intel 64-bit |
| Download | 3.6 GB |
| Older pressings | 17 in the crate |






Chat from the booth
Sign in or grab a free account to leave a comment.
Nobody has said a word in the booth yet. If you played a set with this build, tell the next person how it went.