

- Build in the crate
- 9.10.0
- Made by the team at
- DxO Labs
- Menu languages offered
- English, German, Chinese (Simplified), French, Japanese
- How you pay for it
- K'ed by Antibiotics
- macOS it plays on
- macOS 14.7 or later
- CPU it runs on
- Apple Silicon, Intel 64-bit
Screenshots
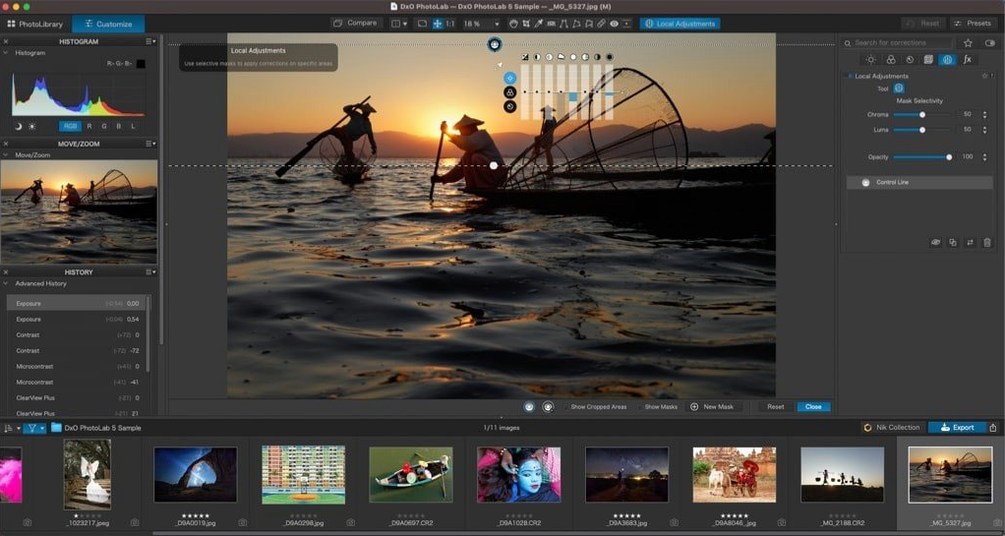
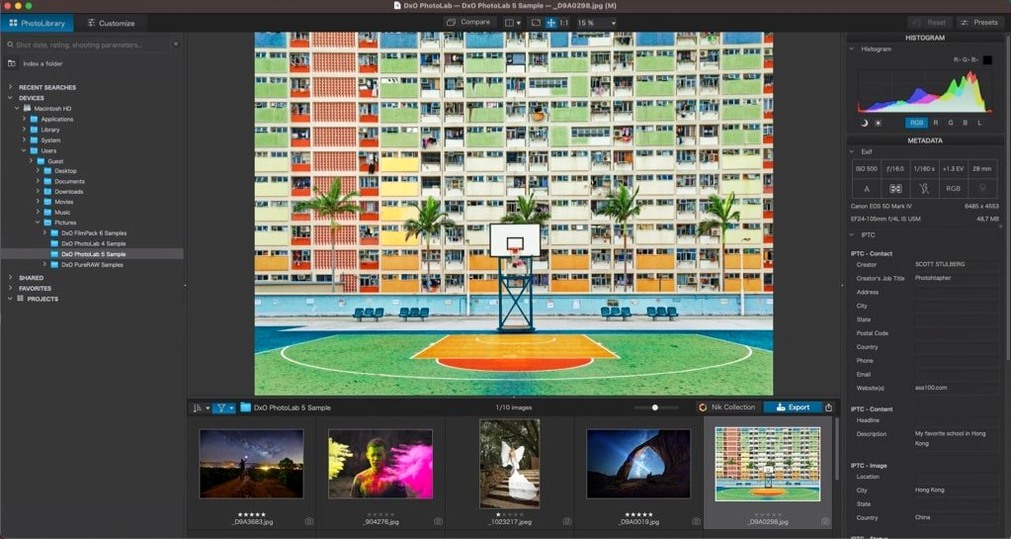
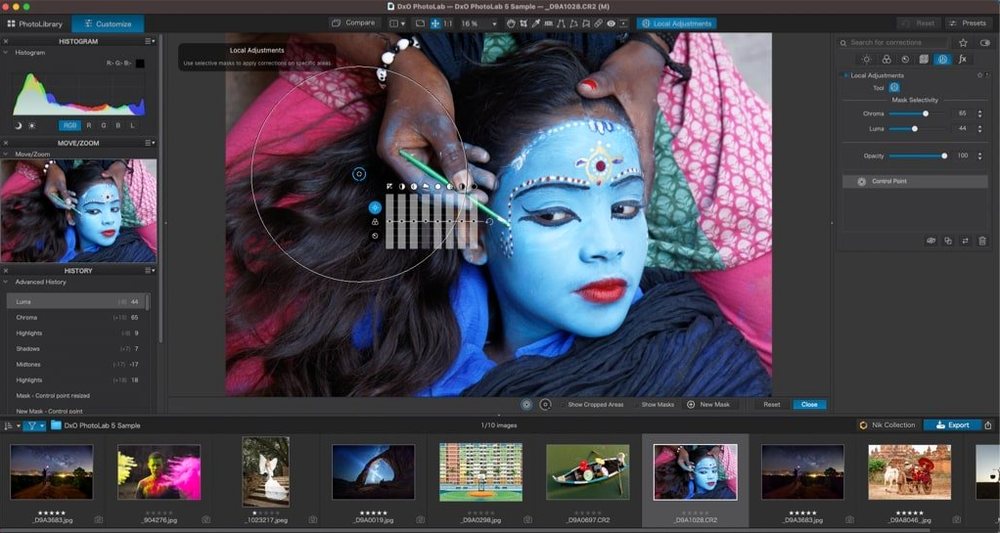
Anyone who regularly shoots RAW on a camera with more than a few megapixels will get a lot from DxO PhotoLab. It is built around optical corrections that use actual measurements of your camera and lens, so the fixes for distortion, vignetting, and chromatic aberration are precise from the start.
| Detail | Info |
|---|---|
| Version | 9.10.0 |
| Developer | DxO Labs |
| macOS | 14.7 or later (Intel & Apple Silicon) |
| Languages | English, German, Simplified Chinese, French, Japanese |
As a first step, open a noisy RAW image and apply DeepPRIME. The combination of demosaicing and AI-based noise reduction recovers detail that simpler tools would blur. Next, try U Point for local edits — no layers or masks needed, just a control point on the area you want to adjust. Then explore AI Masks to quickly select skies, people, backgrounds, or animals. Once you have a few edits you like, use the synchronisation feature to apply the same corrections to other images with similar subject types using the same quick-select tools.
match display profile before editing
Before you start editing a full batch of photos, open the preferences and check a few things. Under the General tab, make sure the display profile matches your monitor — PhotoLab uses the system profile by default, but if you have a calibrated ICC profile, select it manually. This keeps what you see on screen close to what prints or exports.
In the Processing section, set the default noise reduction to DeepPRIME XD3 if your camera uses a Bayer or X-Trans sensor. The standard DeepPRIME is already good, but XD3 pulls out a bit more texture in fine details like foliage or fabric. You can always switch per image later, but having it as the starting point saves a step.
Under Palette, enable the histogram and the tone curve panel if they aren't showing. I keep the histogram visible at all times — it catches clipping before you notice it in the preview. Also, turn on the DxO Smart Lighting slider in the default palette so it appears as soon as you open a file.
start with same-camera raw files
Start with one folder of RAW files from the same camera and lens. Because PhotoLab uses DxO Modules, corrections for distortion and vignetting are applied automatically the first time you open an image from a supported body and lens combination. That gives you a consistent baseline across the batch before you touch any sliders.
Use the copy and paste local adjustments workflow early. After you dial in a correction on one photo — say, brightening a shadow area with U Point — select the image, copy the local adjustments, then paste them onto another shot taken in similar light. This works faster than rebuilding the same point from scratch.
Try the AI Mask on a landscape photo with a clear sky. The subject detection picks the sky in one click, then you can darken or desaturate it without affecting the ground. If the mask catches something it shouldn't, use the erase brush on the mask layer to clean it up. It takes a few tries to get comfortable with the brush size, but after two or three images it becomes quick.
workflow: preparing a portrait for export
Here is a complete workflow for a portrait taken in mixed lighting, from opening the RAW file to saving the final version.
- Open the RAW file in PhotoLab. The optical correction module loads automatically — check that distortion and chromatic aberration look clean. If the lens is supported, you won't need to touch these.
- Apply DeepPRIME XD3 noise reduction. For portraits shot at ISO 800 or higher, this clears the background grain while keeping skin texture natural. Leave the lens sharpness setting at the default unless the image is noticeably soft.
- Use DxO Smart Lighting to balance the exposure. In the palette, drag the slider until the shadow areas around the eyes and under the chin open up without washing out the highlights on the forehead. Usually a value between +20 and +40 is enough.
- Add a U Point on the subject's face. Click on the cheek area and increase the exposure slightly — about +0.3 EV — so the face stands out from the background. Adjust the point's radius so it only covers the skin, not the hair or clothing.
- Create an AI Mask for the background. Select the background subject type, then invert the mask so the person stays untouched. Apply a small amount of ClearView to the background to reduce haze or flatten the lighting behind the subject.
- Export the image. Set the output folder and run the batch.
This sequence takes about two minutes per image once you have the sliders memorised. For a set of ten portraits shot in the same room, you can copy the local adjustments and AI Mask from the first edit to the rest, then adjust only the U Point position on each face.
- macOS 14.7 or later
- Intel or Apple Silicon processor
Kit check at a glance
| System | macOS 14.7 or later |
| Chip | Apple Silicon, Intel 64-bit |
| Download | 2.3 GB |
| Older pressings | 5 in the crate |



Chat from the booth
Sign in or grab a free account to leave a comment.
Nobody has said a word in the booth yet. If you played a set with this build, tell the next person how it went.