

- Build in the crate
- 7.3.4
- Made by the team at
- Dehancer
- Menu languages offered
- English
- How you pay for it
- Included
- macOS it plays on
- macOS 11 or later
- CPU it runs on
- Apple Silicon, Intel 64-bit
Screenshots
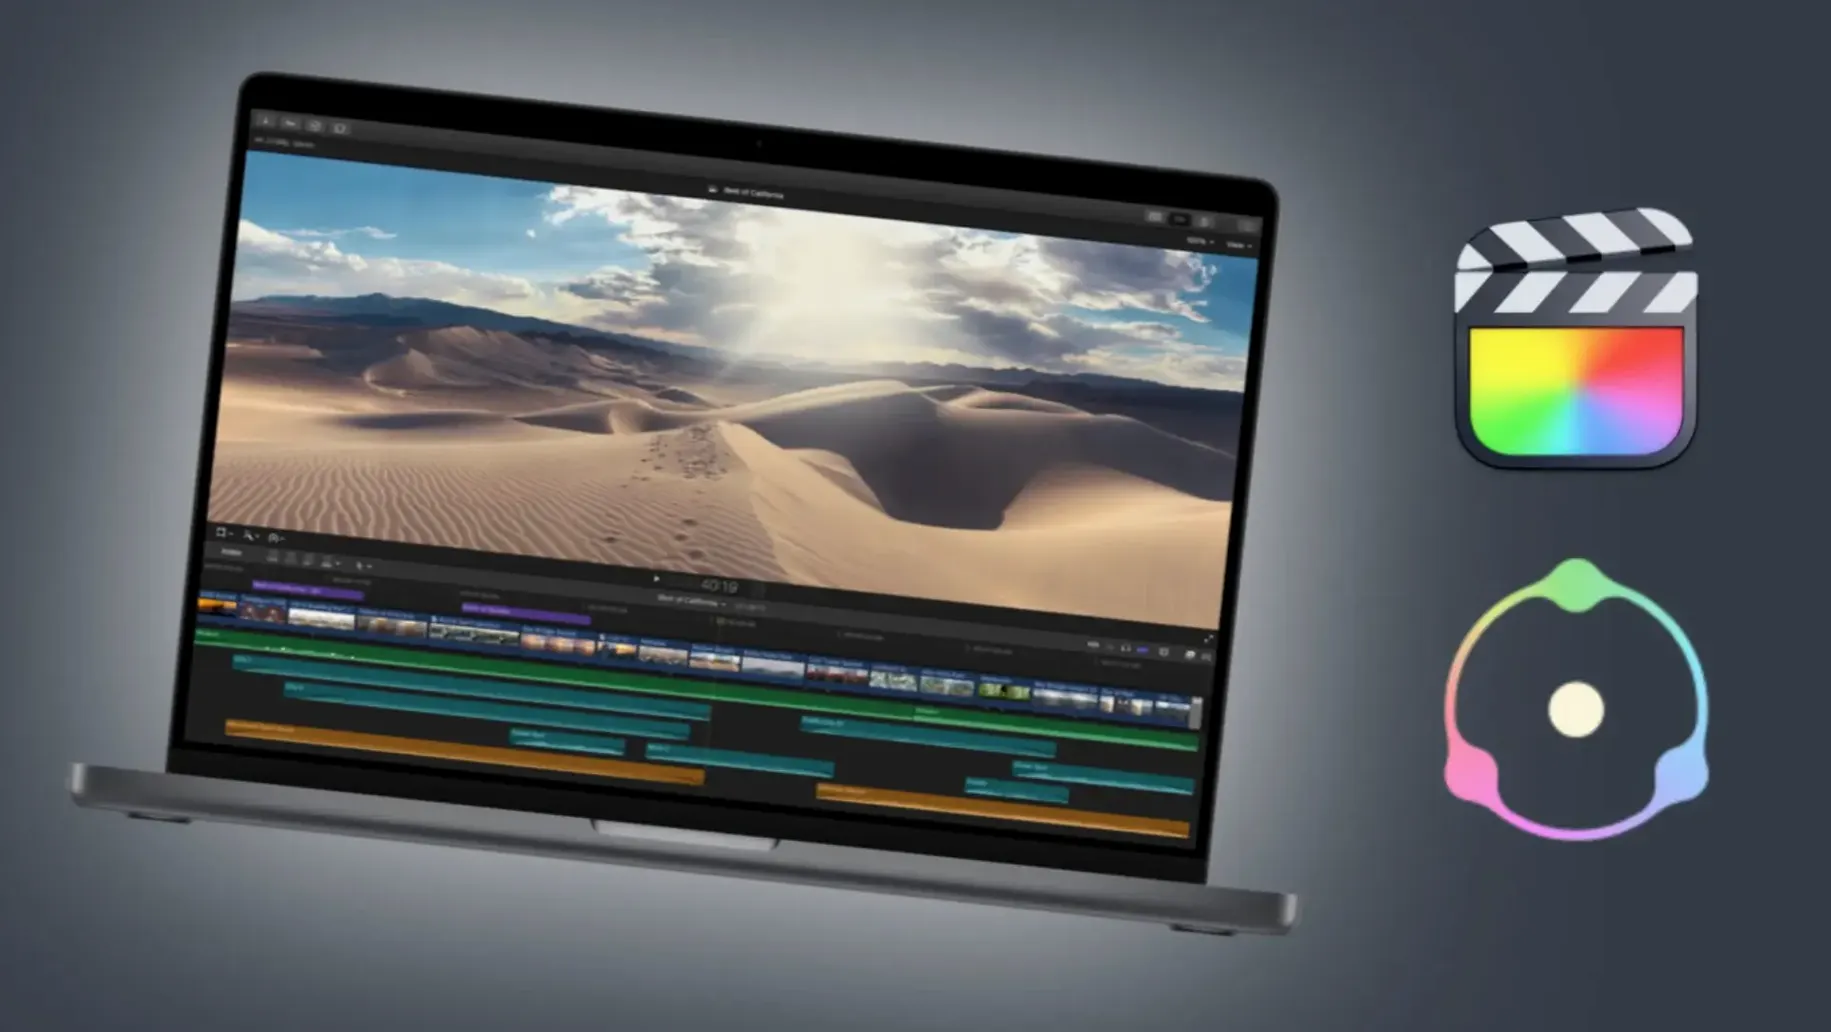
Version 7.3.4 of Dehancer Pro gives you more than 60 film profiles, print films, grain, halation, bloom, film damage, overscan, a LUT generator, and camera profiles — all as a plugin for DaVinci Resolve, After Effects, and Premiere Pro.
workflow in a few steps
- Open your timeline in DaVinci Resolve, After Effects, or Premiere Pro.
- Apply the Dehancer Pro plugin to a clip or adjustment layer.
- Pick a film profile from the library — Kodak, Fuji, or print stocks.
- Adjust grain, halation, bloom, or add film damage for the look you want.
- Render out or use the LUT generator for offline grading.
It works on both Intel and Apple Silicon Macs running macOS 11 and later. The interface is English. Each plugin instance responds fast on an M2 MacBook Air, and the 7.3.4 update brings bug fixes and performance improvements.
LUT generator saves time
Dehancer Pro has a couple of details that don't make the headlines but save time once you know them. The LUT generator is one — instead of baking the full plugin chain into every clip, you can export a LUT once and apply it across your whole timeline. That keeps project files clean and speeds up playback, especially on long edits with heavy grain or halation.
Overscan handling is another quiet win. If you work with footage that has extra pixels around the edges, Dehancer Pro respects that boundary. The film damage and overscan effects apply correctly without cropping into your frame or breaking the aspect ratio. It's the kind of thing you only notice when it's missing from another plugin.
The camera profiles are worth a mention too. They map your footage's colour space into the film emulation more accurately than a generic profile would. If you shoot with a specific camera brand, you get closer to what a real film stock would have looked like on that sensor. No extra grading pass needed.
a real-world scenario: short-form director with tight deadlines
Imagine you're a director cutting a music video for a client who wants a Super 16 look — grain, desaturated colour, slight halation around highlights. You've shot on a mirrorless camera in LOG. Time is short, and the client is sitting behind you during the final review.
Open DaVinci Resolve and drop Dehancer Pro onto the main timeline. Pick a 16mm print film profile. Dial up the grain just enough to feel organic, add a little halation on the highlights, and turn on film damage for a couple of subtle scratches. The client asks for "more bloom on the backlit shots." You bump bloom up on the clip level in under ten seconds. No restarting, no exporting LUTs mid-session. The changes stick and preview instantly. You render a reference file, client signs off, you move to the next project.
Without the plugin you would have stacked filters, matched grain generators, and guessed at the colour crossover. With it, the whole look is in one panel.
Stacking too many effects is the top slip
The most common slip is stacking too many effects. Grain plus heavy film damage plus bloom plus halation on every clip makes a mess fast. Start with one profile and one effect — grain is usually enough. Add others only when the scene asks for it.
Another one is ignoring the camera profile. If you apply a film stock to LOG footage without setting the correct camera profile, the colour space mismatch gives you a flat, greenish result. Beginners chase that with curves and end up fighting the plugin. Set the camera profile first, then pick a film stock, then adjust. The order matters.
Beginners also tend to forget that the LUT generator exists. They render a whole timeline with the plugin on every clip, get slow playback, and think their Mac can't handle it. Export a LUT from one graded clip, apply it to everything else, and uncheck the plugin. Same look, much lighter timeline.
Works inside your host app's colour management
Dehancer Pro lives inside the host app — Resolve, After Effects, or Premiere Pro — so it follows your existing colour management. If you use Resolve's colour managed workflow with a Rec.709 timeline, the plugin sees that and adjusts its output accordingly. You don't have to switch to a different colour space inside the plugin.
On the macOS side, the plugin runs natively on both Intel and Apple Silicon. No Rosetta translation layer. That means it shows up in the plugin list right after installation, no compatibility troubleshooting. The 7.3.4 update also added Production License Server support, useful if you're working in a shared post facility where licences float between machines.
You can combine it with other third-party tools too. Say you grade with Dehancer Pro, then run the clip through an external noise reducer or sharpener. The grain from Dehancer Pro stays film-like and doesn't react badly to sharpening because it's already built around the film profile. That sort of predictability matters when you're outputting for cinema or broadcast.
For people searching specifically, phrases like dehancer pro macos or dehancer pro mac torrent come up alongside the usual plugin downloads. But the important part is how it behaves once it's installed — quietly, predictably, inside apps you already use.
- Bug fixes and performance improvements.
- macOS 11 or later
- Intel or Apple Silicon
- Interface language: English
Kit check at a glance
| System | macOS 11 or later |
| Chip | Apple Silicon, Intel 64-bit |
| Download | 382 MB |
| Older pressings | 2 in the crate |








Chat from the booth
Sign in or grab a free account to leave a comment.
Nobody has said a word in the booth yet. If you played a set with this build, tell the next person how it went.