

- Build in the crate
- 1.6
- Made by the team at
- Plugin Everything
- Menu languages offered
- English
- How you pay for it
- K'ed by Monter Group
- CPU it runs on
- Apple Silicon, Intel 64-bit
Screenshots
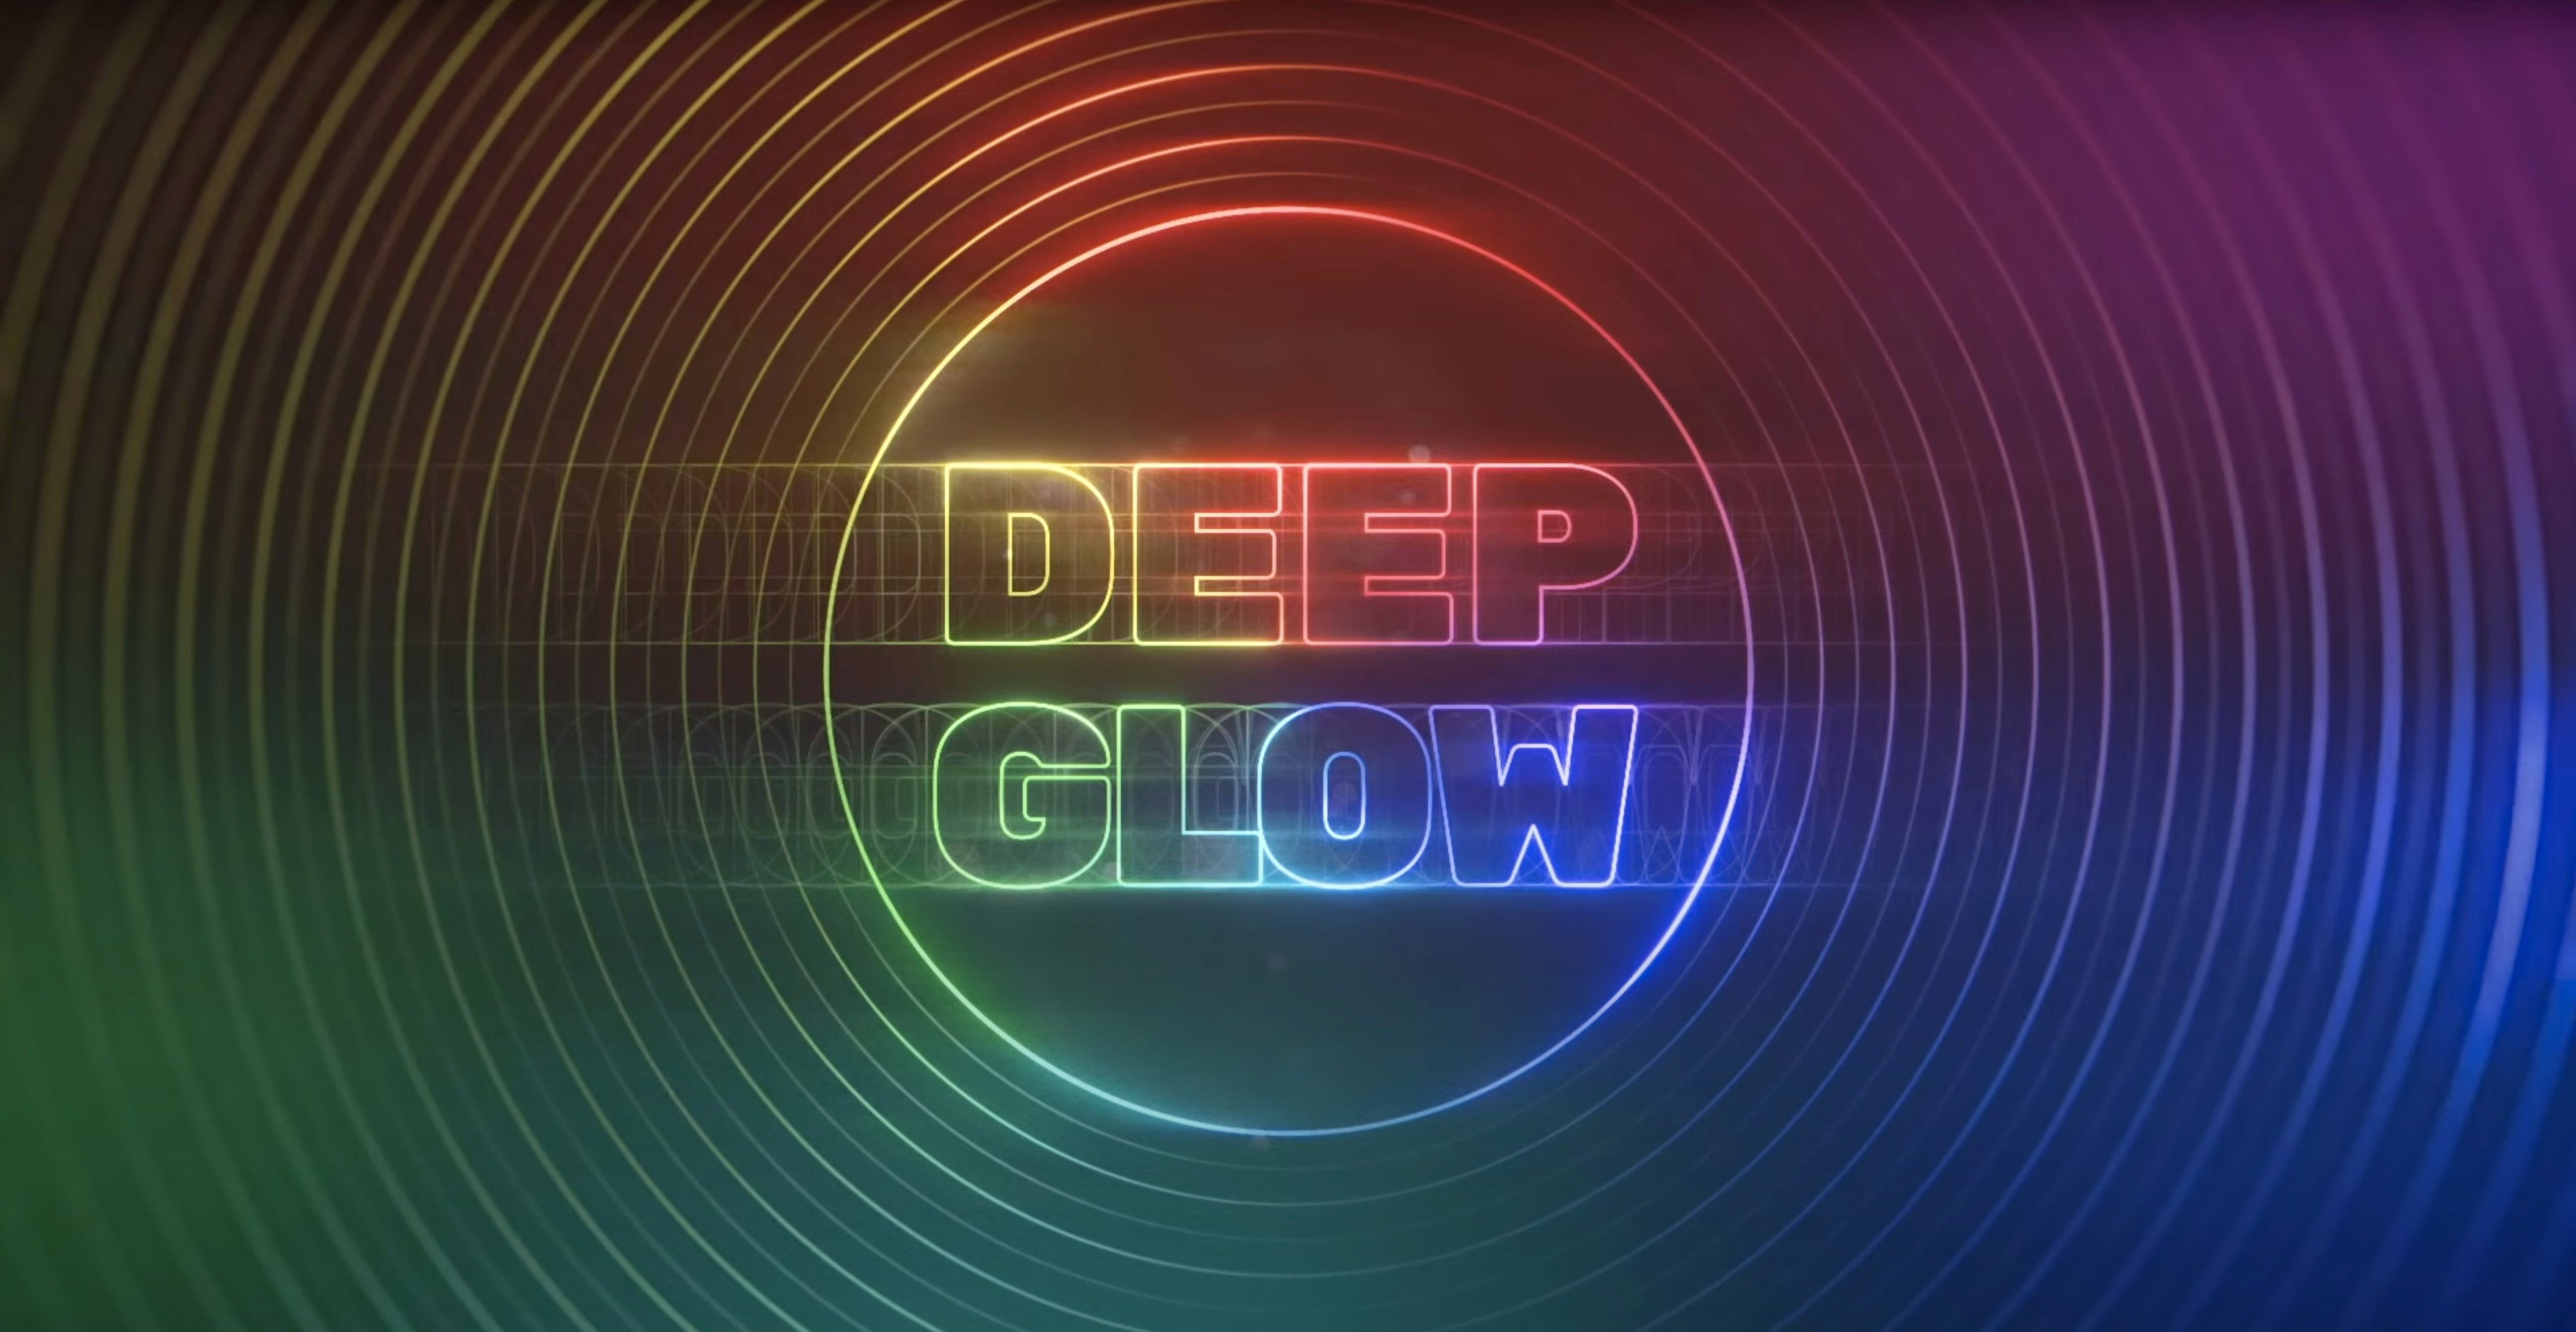
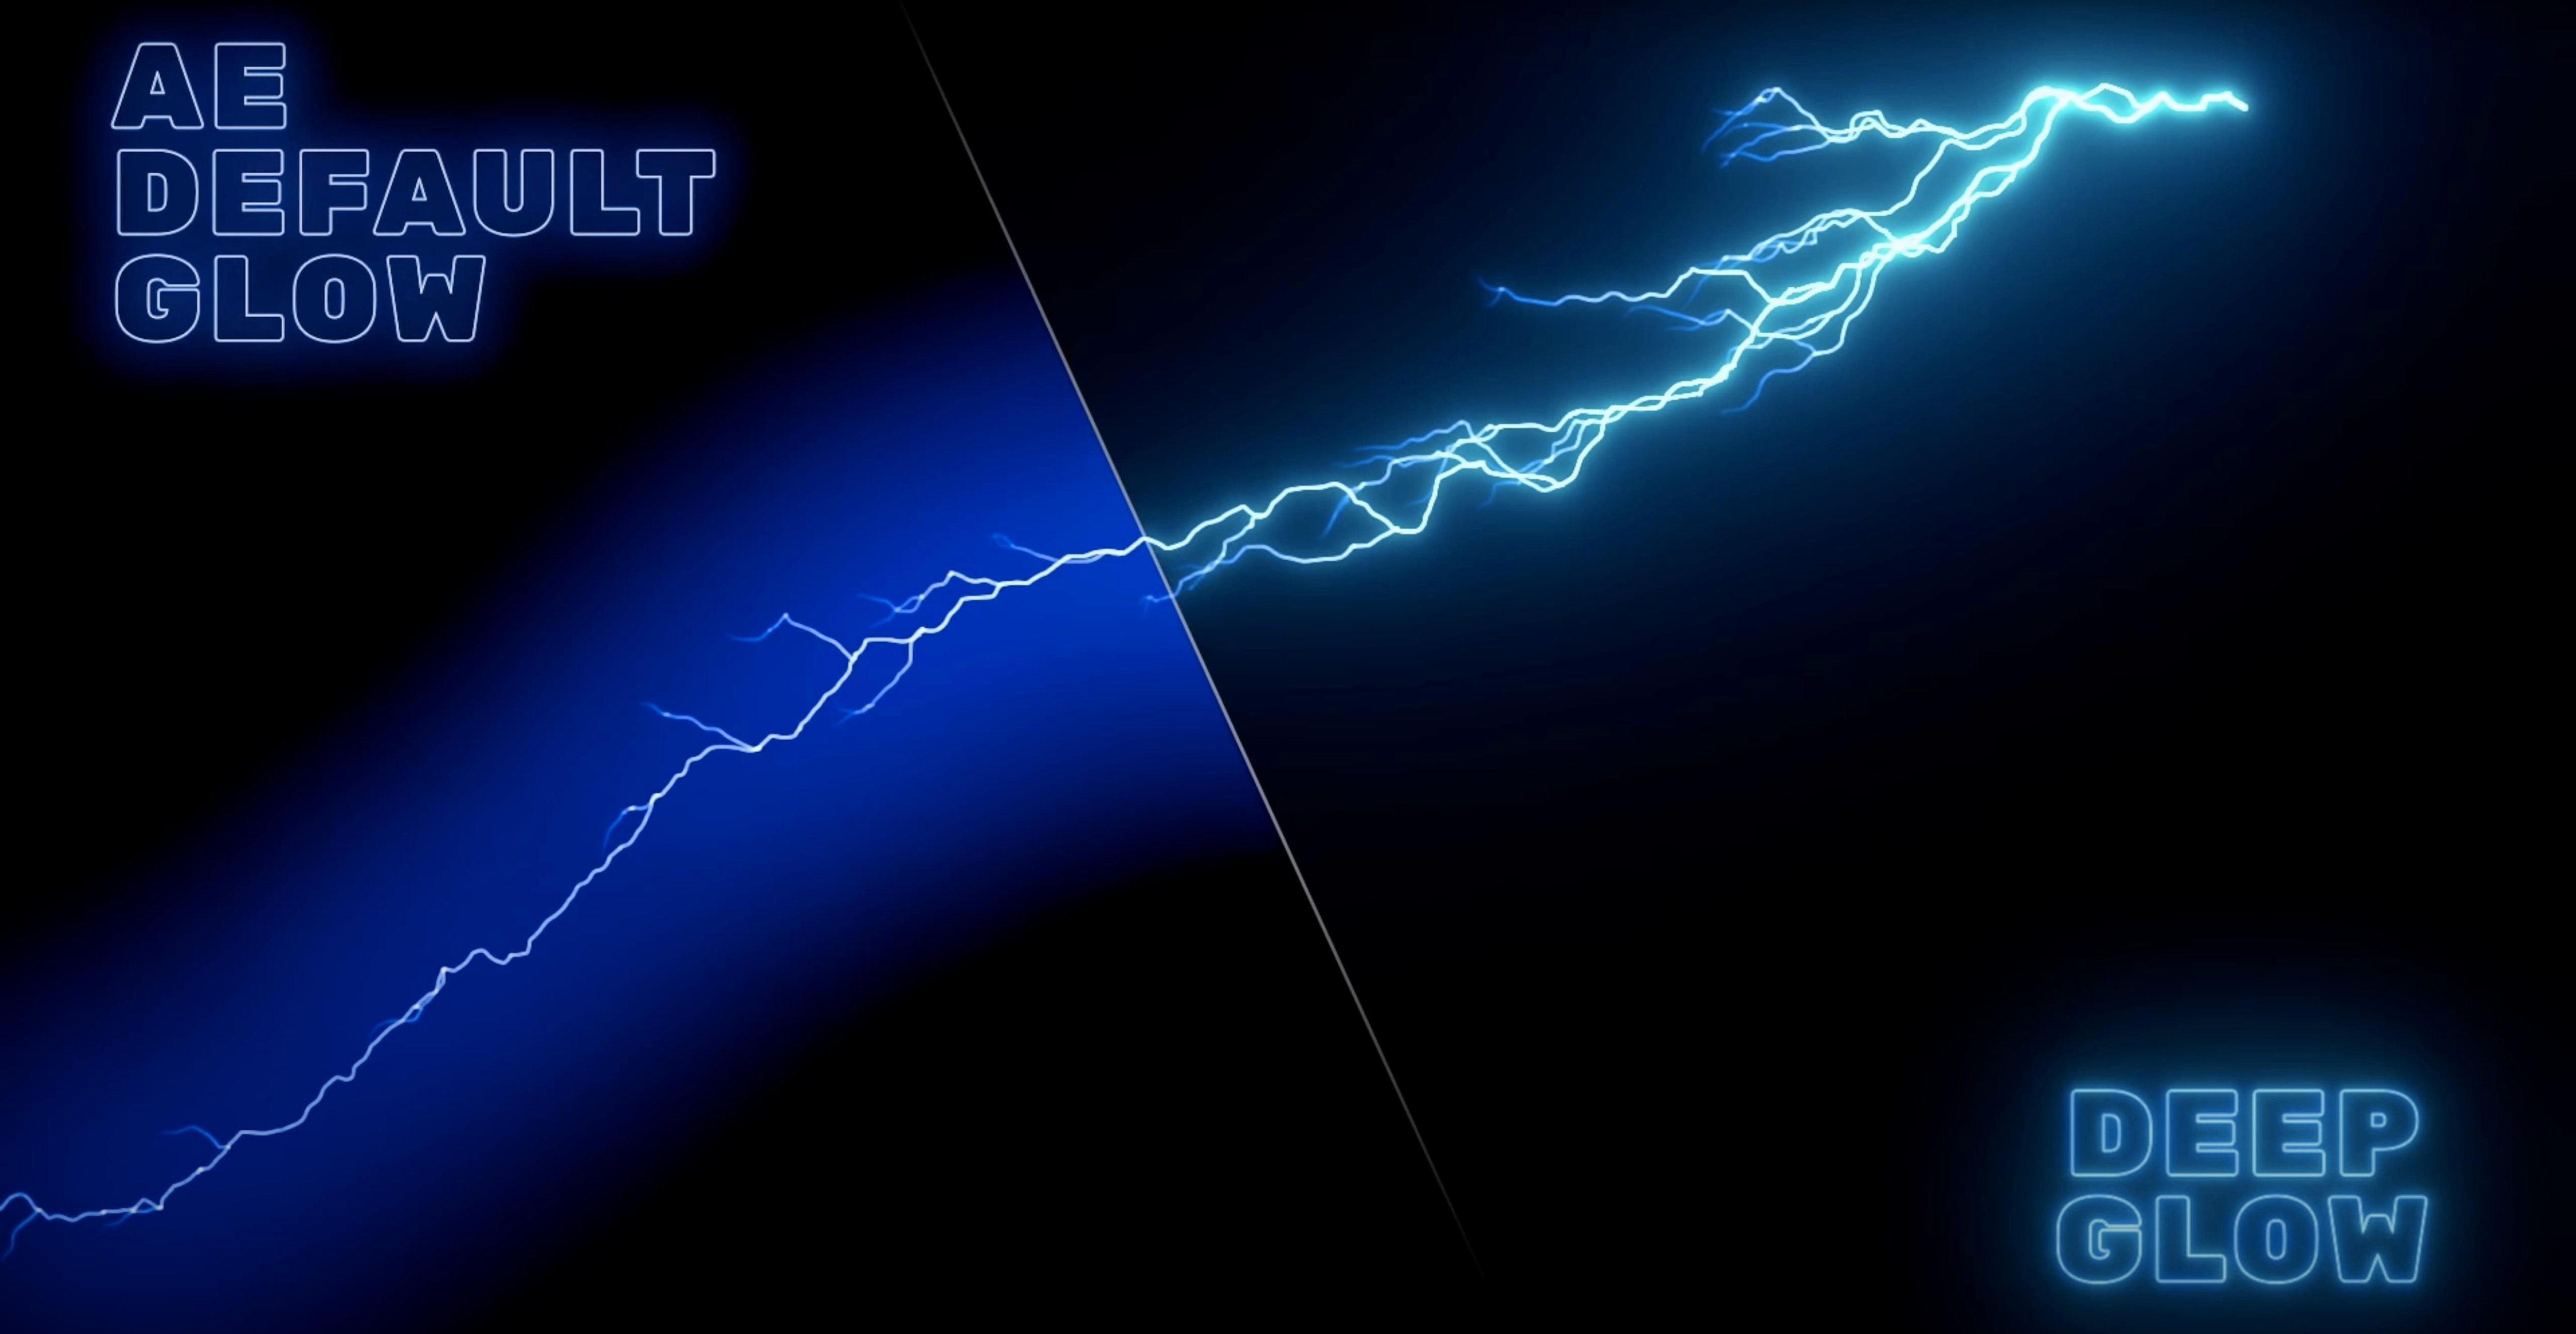
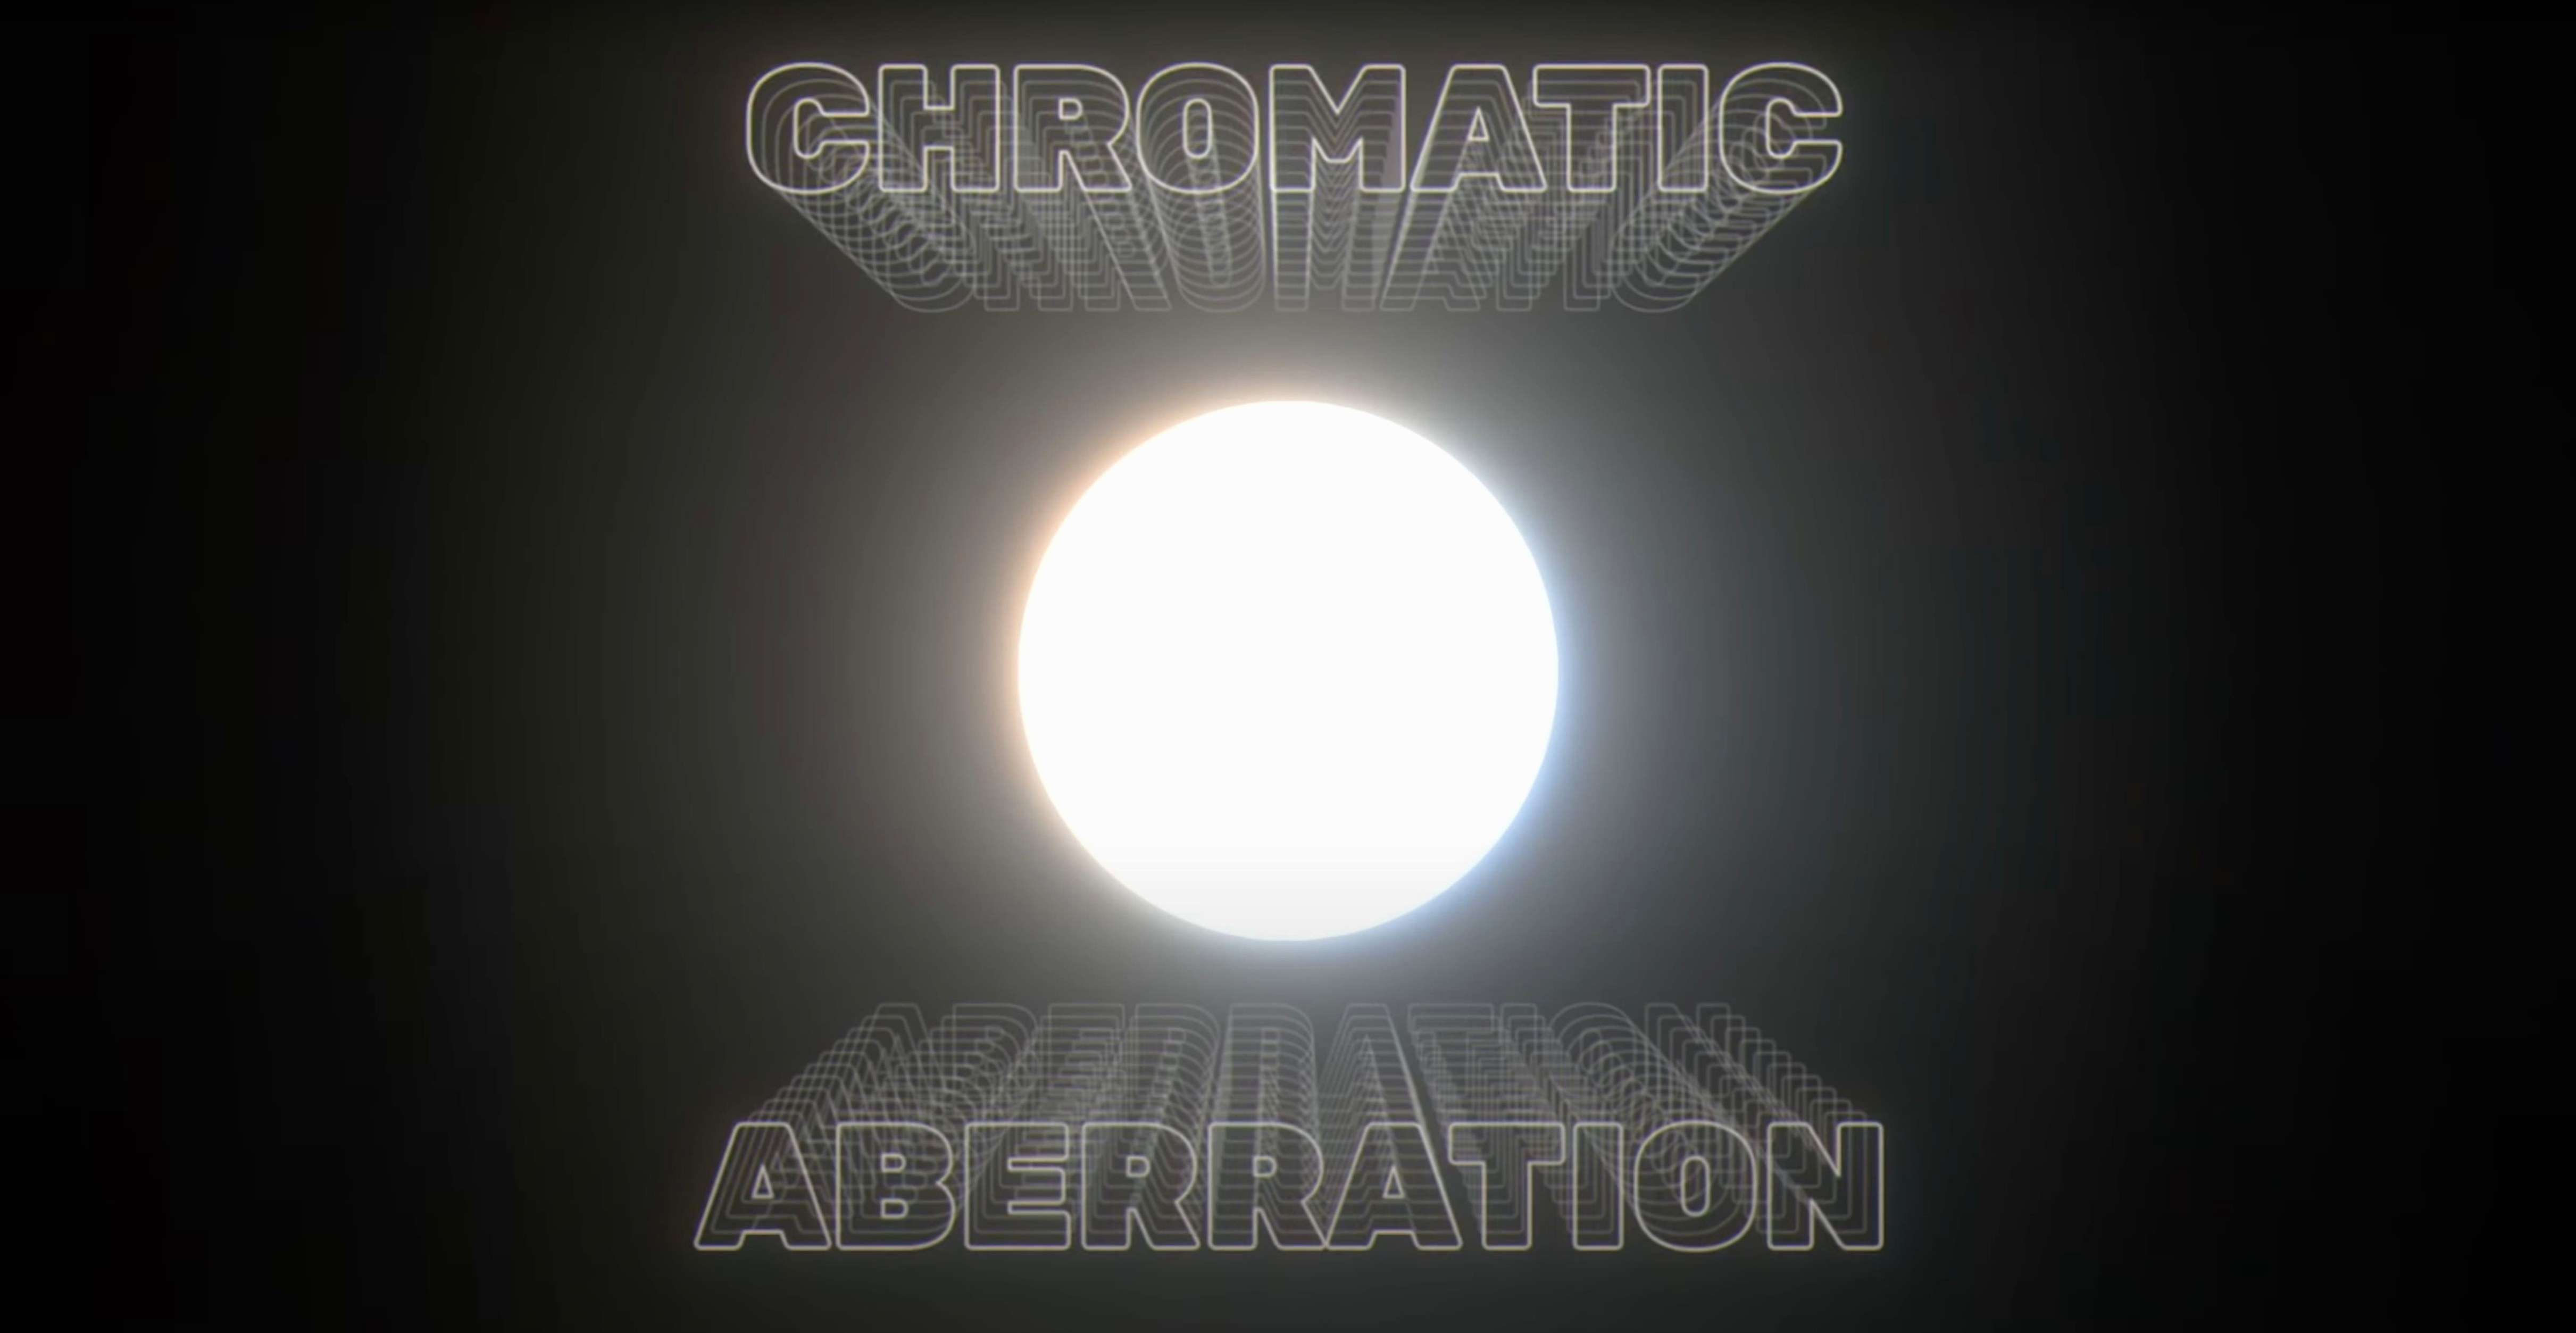
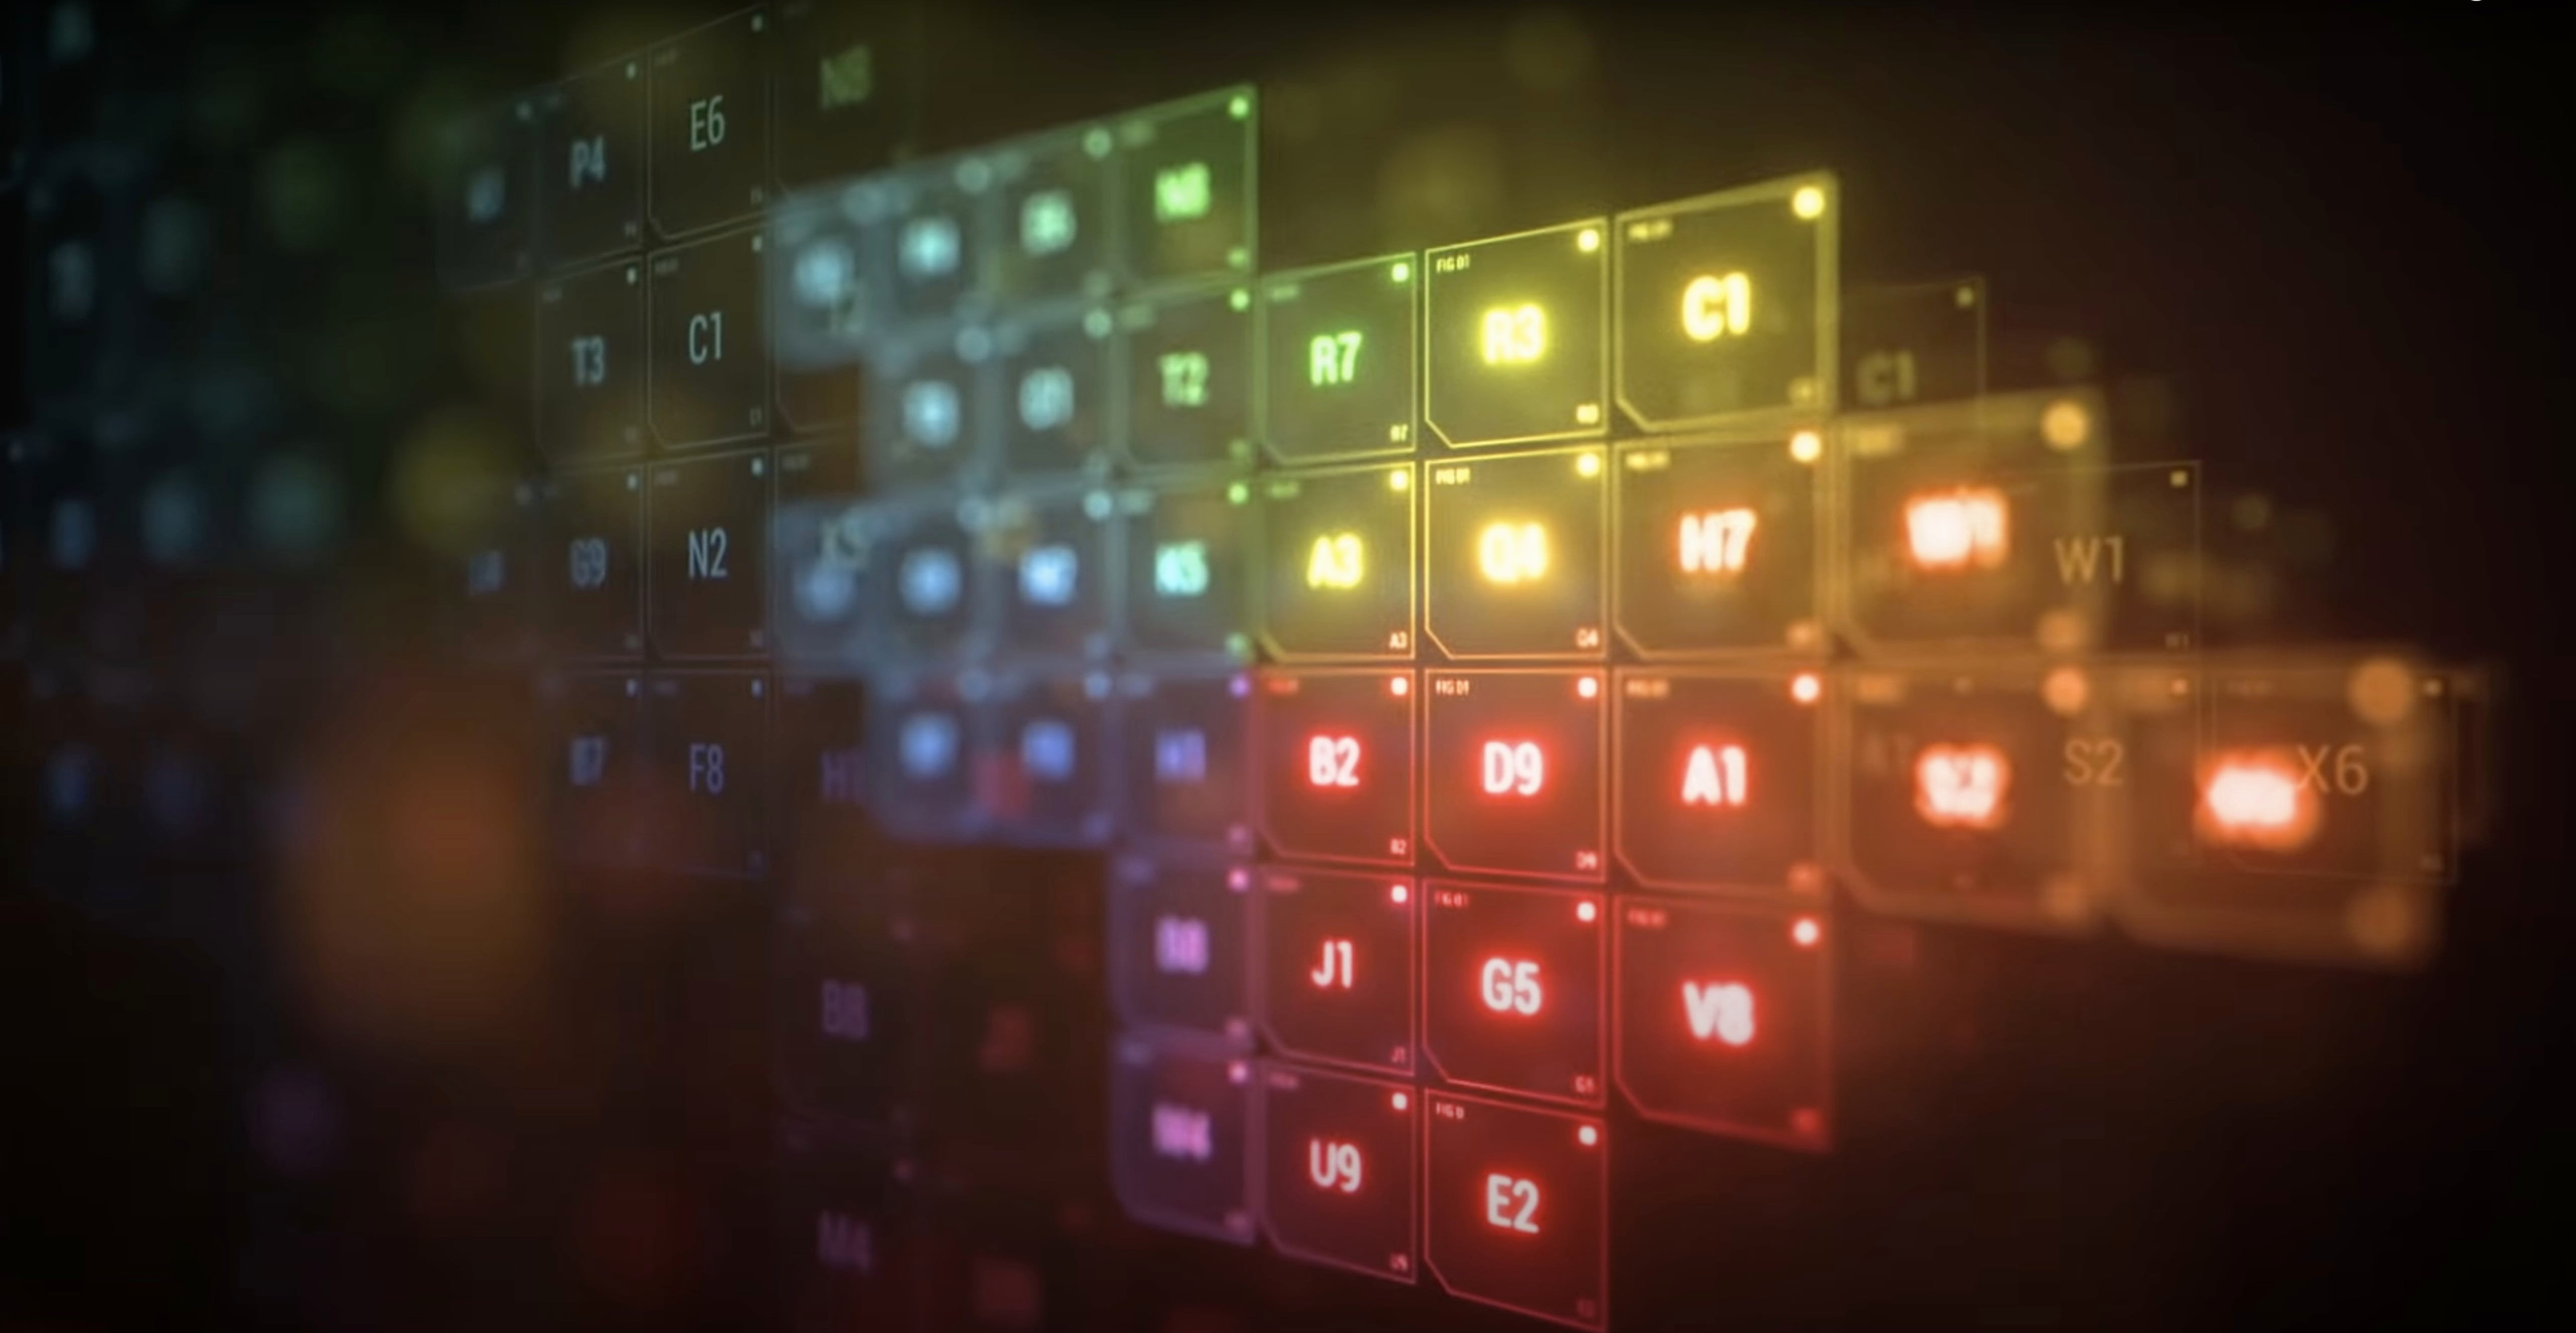

Motion designers and compositors who spend their days in After Effects know the default glow can look flat. Deep Glow is built for those people — it gives you a glow that falls off the way light actually does, with inverse-square falloff built in.
Set the glow look
You get downsampling and quality controls, so you can dial in anything from a clean bloom to something grainier and more stylised. It works directly in the host, no round-tripping.
Work in your colour space
Deep Glow is designed for non-linear colour spaces, which means it behaves the way modern compositing pipelines expect. No fighting the gamma.
Tightened core behavior in 1.6
Deep Glow 1.6 didn’t overhaul the interface or add a new module. What it did was tighten the core behaviour. Earlier versions already gave you inverse-square falloff, but the 1.6 update smoothed out how the plugin responds to extreme parameter values — push the radius or intensity hard, and the falloff stays predictable rather than clipping. That matters when you’re building a glow that needs to wrap around a bright edge without blowing out the whole frame.
The releases page shows a steady run of point releases: 1.6.3, 1.6.4, 1.6.5, 1.6.6, 1.6.8, 1.6.9. Each one addressed small things — compatibility with newer After Effects builds, GPU edge cases on Apple Silicon, the way downsampling interacts with the compositing controls. If you work on an M-series Mac, you’ll notice that those later 1.6.x versions feel more consistent across different comps. The plugin never needed a manual GPU toggle; it just started using the hardware it found.
For everyday use, the biggest practical change is how the glow holds up when you stack it. In older versions, stacking two Deep Glow instances could sometimes produce unexpected colour shifts in the mid-tones. By 1.6.6 that was largely gone. Now you can layer a wide, soft glow with a tighter, brighter one and the result stays clean.
Motion graphics artists benefit most
Deep Glow is for anyone who composites in After Effects, but some users benefit more than others.
Motion graphics artists who build lower thirds, titles or logo reveals get a lot of mileage from the downsampling and quality controls. You can set a lower sample rate during the rough cut, keep the comp responsive, then bump it up for the final render. The grain controls also help if you want a textured, analogue feel instead of a sterile digital glow.
Colour-critical compositors — people working on commercials or film shots — appreciate the non-linear colour space support. Most modern pipelines work in ACES or a linearised workspace, and Deep Glow respects that. You don’t get the muddy, over-bright halos that happen when a plugin assumes sRGB.
VJ and real-time content creators who use After Effects as part of a live or near-live setup benefit from the GPU acceleration. On a MacBook Air M2 or a Mac Studio, the glow updates fast enough that you can tweak parameters while the comp plays back. That’s not always true for CPU-only glow plugins.
Mac users on Apple Silicon get the full advantage because Deep Glow supports both ARM and x86 64-bit. No Rosetta translation needed. It runs natively, which keeps the timeline snappy even in 4K comps with multiple glow layers.
Scenario: a commercial compositor refining a product shot
Lucía works at a small studio in Barcelona. She’s compositing a perfume bottle for a 30-second spot. The bottle has a brushed metal cap and a frosted glass body. The client wants a subtle rim glow that suggests luxury without looking like a lens flare.
Lucía duplicates the bottle layer, applies Deep Glow, and sets the radius low — just enough to catch the edges. The inverse-square falloff means the glow fades naturally from the highlights on the cap, rather than spreading evenly across the whole shape. She uses the compositing controls to mask the glow to the bright areas only, so the frosted glass stays clean. Then she adds a second instance with a wider radius and lower opacity for an ambient halo behind the bottle. The two layers interact cleanly because the 1.6 colour handling keeps the mid-tones neutral.
She previews the comp at half resolution with downsampling on, tweaks the intensity, then switches to full quality for the final render. The whole adjustment takes about ten minutes. The client approves the first draft.
Don't ignore the compositing controls
Ignoring the compositing controls. The most common error is applying the glow to the whole layer and wondering why everything looks washed out. Deep Glow includes compositing options that let you restrict the glow to highlights, mid-tones or specific luminance ranges. Beginners who skip this end up fighting the effect with masks instead.
Overusing the radius. A large radius with the default falloff creates a diffuse haze that can kill contrast. New users often max out the radius because it looks dramatic in the preview, but on a full-res export it flattens the image. Start small and increase only until the edges separate.
Forgetting about gamma. If your comp is in a linear colour space and you don’t adjust the plugin settings accordingly, the glow can appear too bright or too saturated. Deep Glow is designed for non-linear workflows, but you still need to match it to your project’s colour management. Beginners who skip this step blame the plugin for something that’s actually a pipeline mismatch.
Rendering at full quality during setup. The downsampling control exists for a reason. Leaving it at full quality while you experiment with parameters slows down the feedback loop. Dial the quality down, find the look, then raise it for the final output.
Carla's futuristic UI glow workflow
It’s a Wednesday evening. Carla, a freelance motion designer, opens an After Effects project for a tech startup’s explainer video. The client wants a futuristic interface — glowing UI panels, pulsing data points, a central logo that emits light.
She has a MacBook Air M2, a 1080p timeline, and about two hours to build the hero shot. She works in ACES.
Step one: the logo. Carla selects the logo layer, applies Deep Glow from the effects menu. She sets the radius to 25, intensity to 1.2, and leaves the falloff at the default inverse-square. The logo edges pick up a clean white-blue halo. She enables the compositing controls and restricts the glow to highlights only — the dark parts of the logo stay sharp.
Step two: the UI panels. She duplicates the panel comp into the main timeline, applies a second Deep Glow instance, and drops the radius to 8. This time she wants a thin, hot edge rather than a spread.
Step three: the data points. The small animated circles need a pulsing glow. Carla links the intensity parameter to a slider on a null object, then keyframes it between 0.4 and 1.6 over twelve frames. The glow responds instantly — no render stall. She adjusts the curve so the pulse eases in and out.
Step four: the final pass. With the layout locked, Carla switches the quality control to full. The glows hold their falloff, the highlights don’t clip, and the UI panels still read as distinct elements. She renders the shot and sends a preview to the client.
That session is typical. Deep Glow doesn’t force you to change your workflow — it fits into the layer stack the same way any After Effects effect does. The difference is in the falloff, the colour handling, and the fact that you can push it hard without the result falling apart.
It uses GPU acceleration, so even heavier glow setups stay responsive on a MacBook Air M2 while you tweak.
- Deep Glow 1.6 is listed in the previous versions archive.
- macOS: not specified
- Architecture: both Intel and Apple Silicon
Kit check at a glance
| Chip | Apple Silicon, Intel 64-bit |
| Download | 3 MB |
| Older pressings | 3 in the crate |







Chat from the booth
Sign in or grab a free account to leave a comment.
Nobody has said a word in the booth yet. If you played a set with this build, tell the next person how it went.