
- Build in the crate
- 1.3.9
- Made by the team at
- PDF Technologies
- Menu languages offered
- English, Chinese (Traditional), Chinese (Simplified)
- How you pay for it
- K'ed by TNT team
- macOS it plays on
- macOS 10.14 or later
- CPU it runs on
- Intel 64-bit
Screenshots
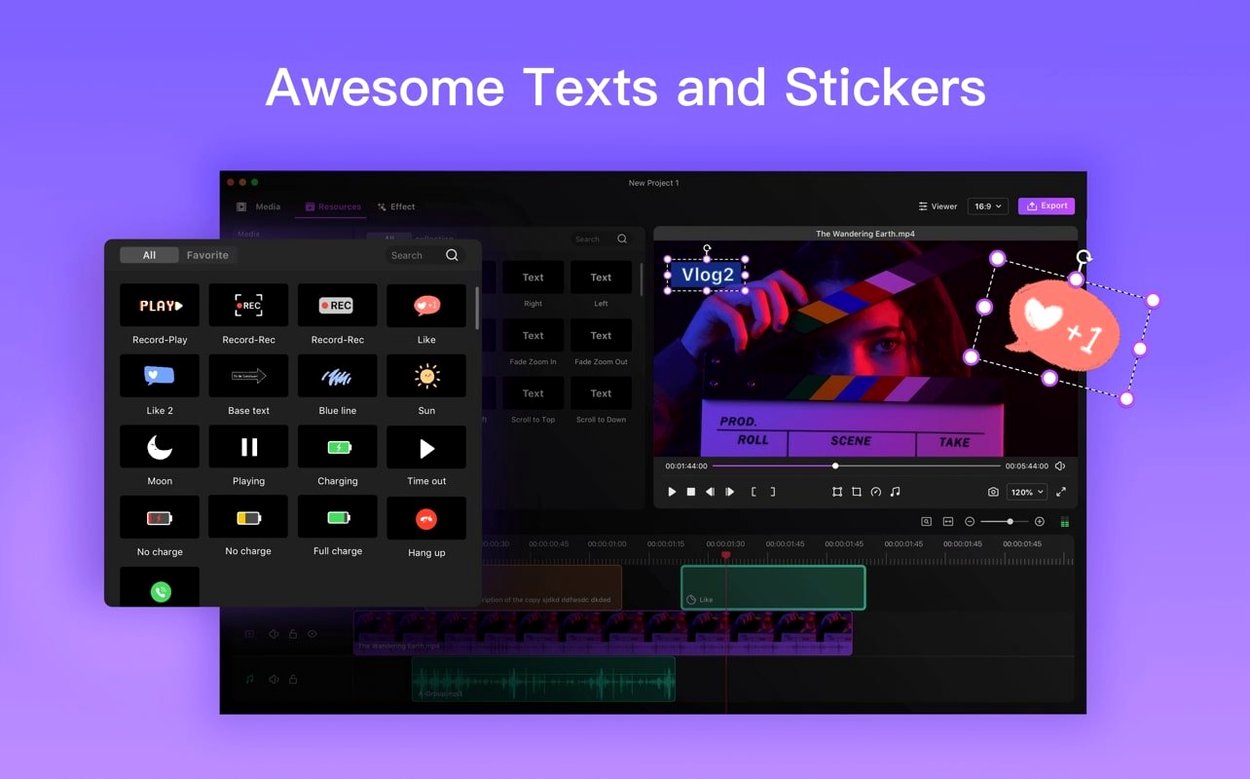
Right-click menu quirks in version 1.3.9
People new to Filmage Editor sometimes hit a few rough spots. The right-click menu, improved in version 1.3.9, might still behave differently than expected if you are used to other editors — right-click on a clip in the timeline to see what options are there. If nothing happens, check you are clicking inside the clip boundaries, not on empty space.
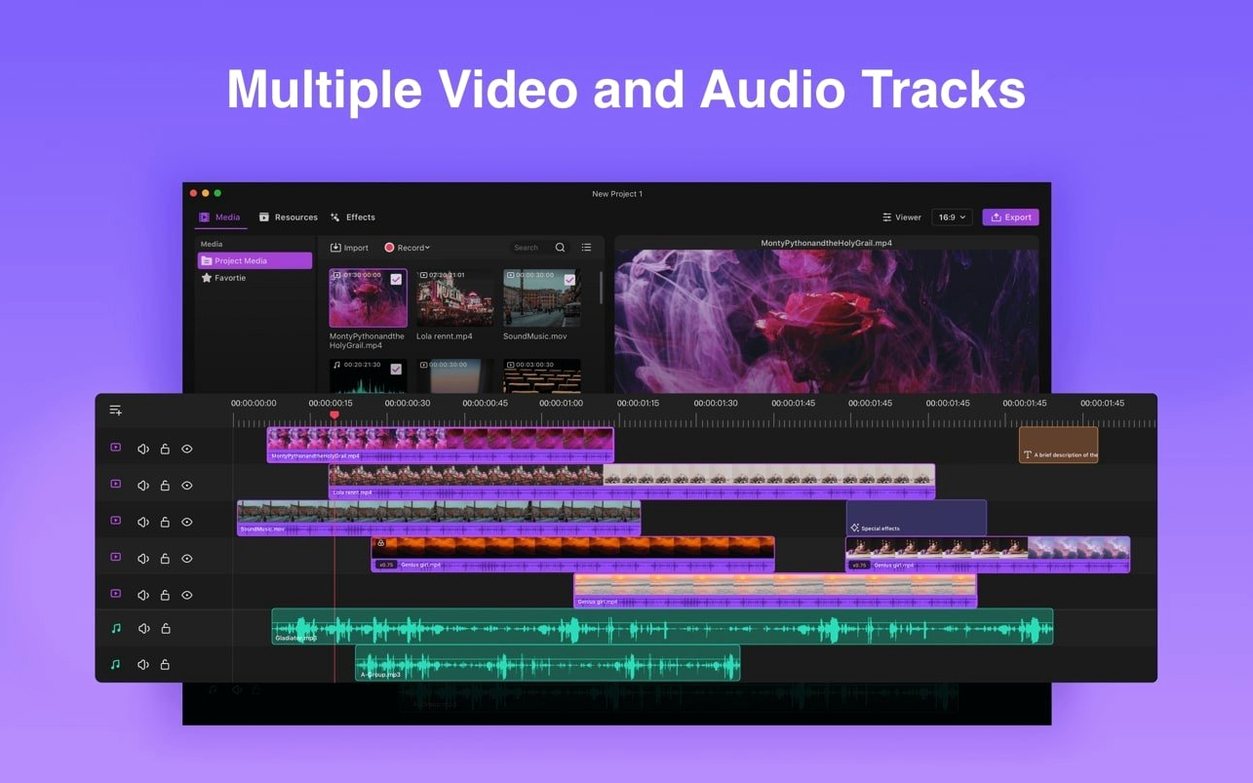
Multitrack editing trips up a few users early on. Tracks stack vertically in the timeline. If a clip on a higher track hides what is underneath, drag it down to a lower track or shorten it. Frame-by-frame editing works best when you zoom right in on the timeline so you can see individual frames clearly. Without that zoom, fine cuts can feel imprecise.
Colour correction tools are straightforward but need a clip selected first. If the colour controls look greyed out, click the clip you want to adjust. The same goes for background noise removal — select the audio portion or the whole clip before applying it.
If the app does not launch after installation, Gatekeeper is the usual culprit. The install steps include bypassing it via Terminal, which is normal for this kind of release. Make sure you followed each step in order.
Polishing a screencast from import to export
Say you recorded a quick tutorial with Filmage Screen and want to polish it in Filmage Editor. Here is a start-to-finish workflow that uses the main tools.
- Open Filmage Editor and create a new project. Import the screencast file plus any intro or outro clips you have.
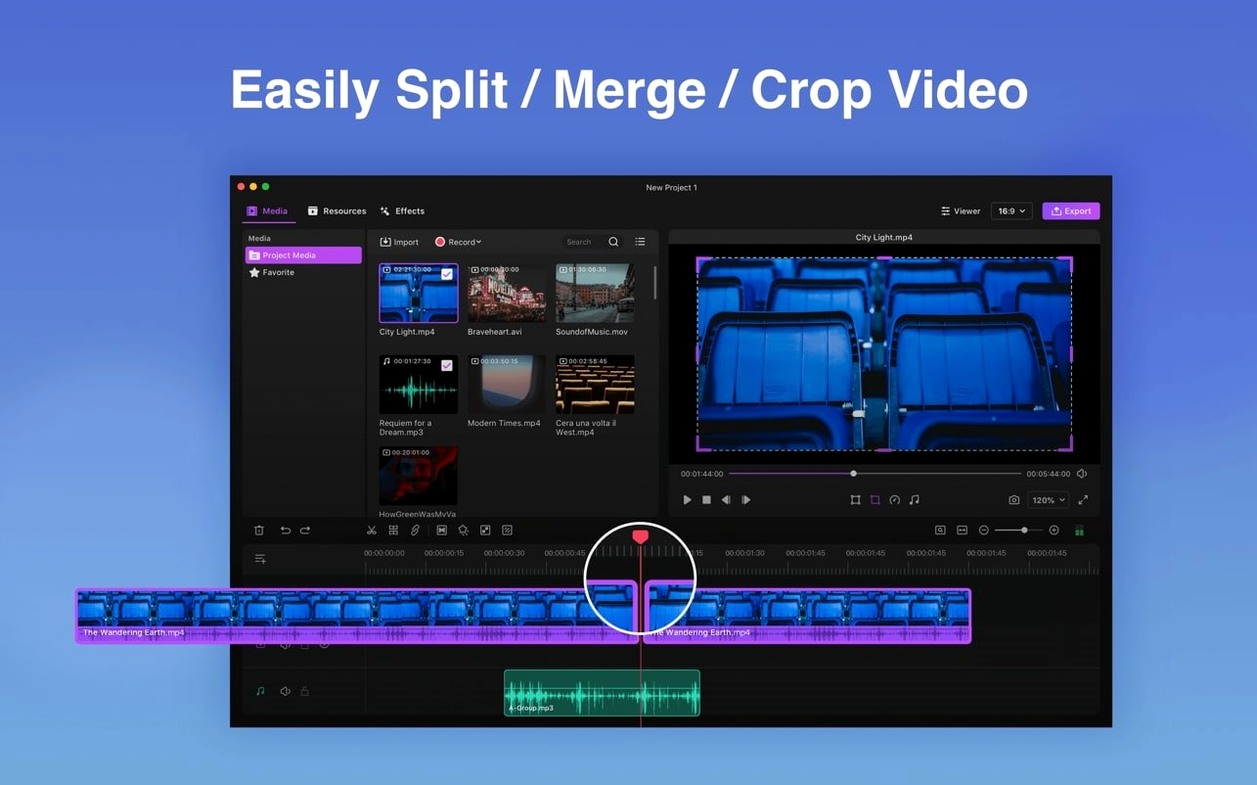
- Drag the screencast to the first video track. Drag your intro clip to a track above it, then trim the intro to the length you need using the split or cut tools.
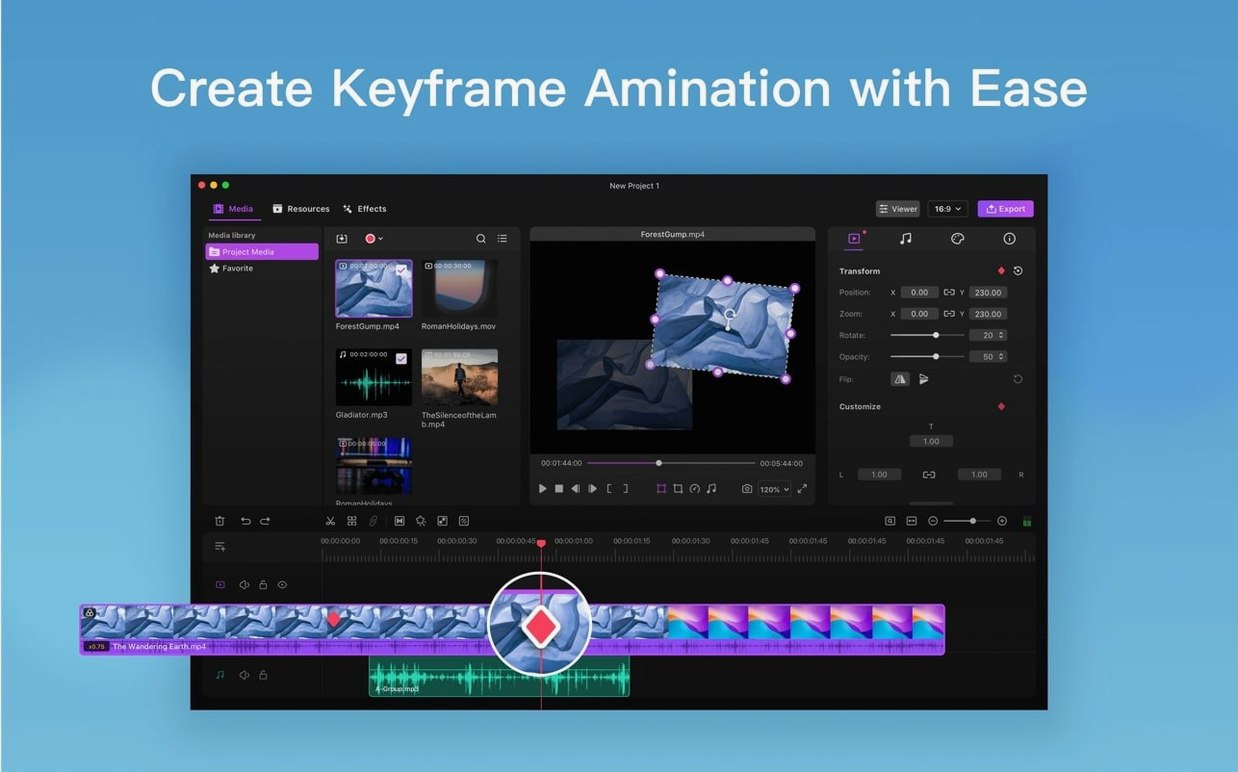
- Switch to frame-by-frame view for any part where you need precision — for example, cutting out a long pause or a mistake mid-sentence. Make the cut, then delete the unwanted section.
- Apply colour correction to brighten the screencast if the recording looks a bit flat. Adjust brightness and contrast until the text in the video is readable.
- Select the audio portion and run background noise removal. This helps if your microphone picked up room hum or fan noise during the recording.
- Export the finished project. The export settings depend on where you are posting the video, but the app gives you enough options for common formats.
That workflow covers the core tools in one short session. Once you do it a couple of times, the order becomes automatic. Filmage Editor Mac download suits creators who need both screen recording and video editing tools.
- macOS 10.14 or later
- Intel 64-bit processor
Kit check at a glance
| System | macOS 10.14 or later |
| Chip | Intel 64-bit |
| Download | 58 MB |




Chat from the booth
Sign in or grab a free account to leave a comment.
Nobody has said a word in the booth yet. If you played a set with this build, tell the next person how it went.