

- Build in the crate
- 6.3 + NON CS
- Made by the team at
- Apple
- Menu languages offered
- English, German, Spanish, Chinese (Simplified), French, Japanese
- How you pay for it
- K'ed by Antibiotics x TEAM EDiSO
- macOS it plays on
- macOS 15.6 or later
- CPU it runs on
- Apple Silicon, Intel 64-bit
Screenshots
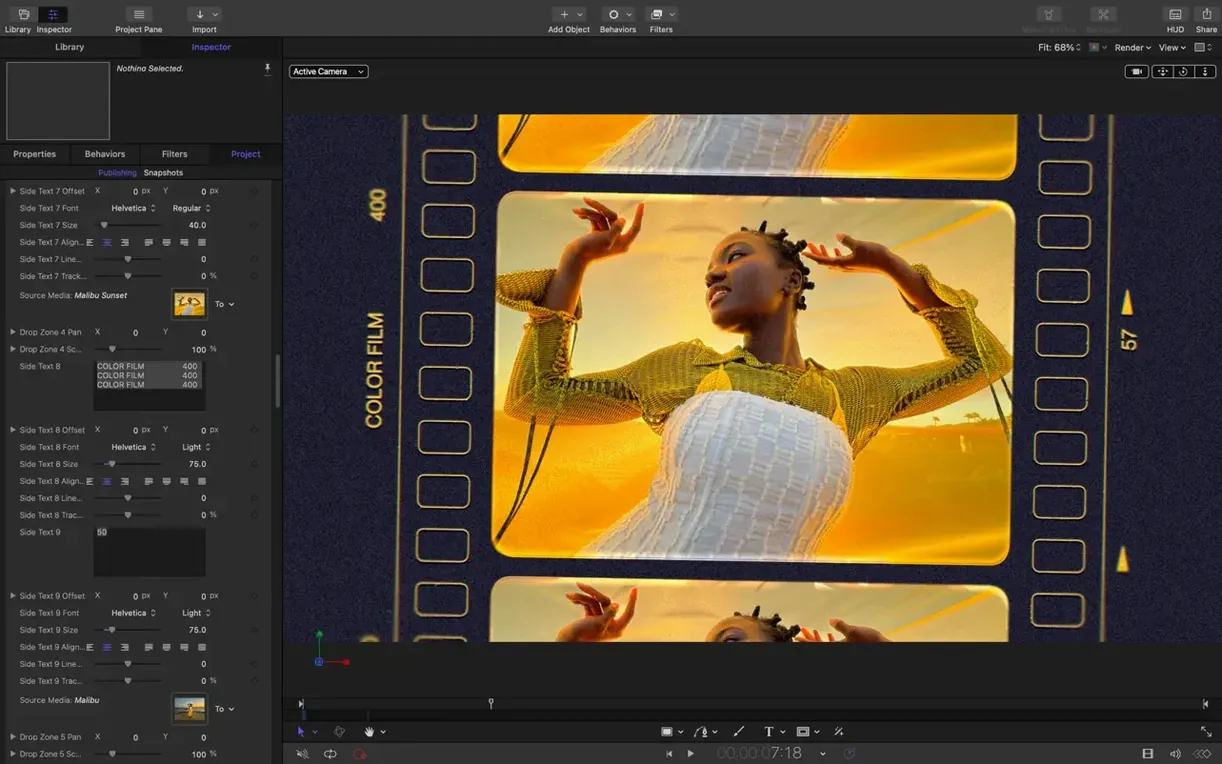
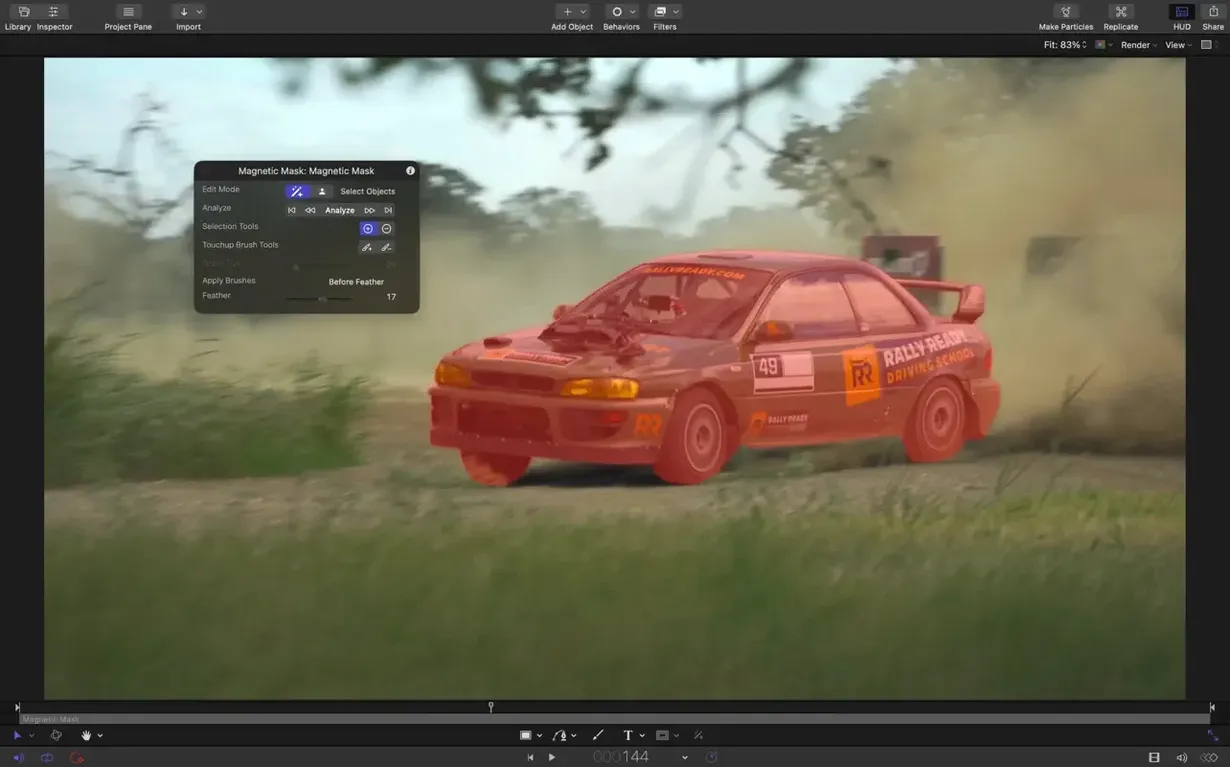
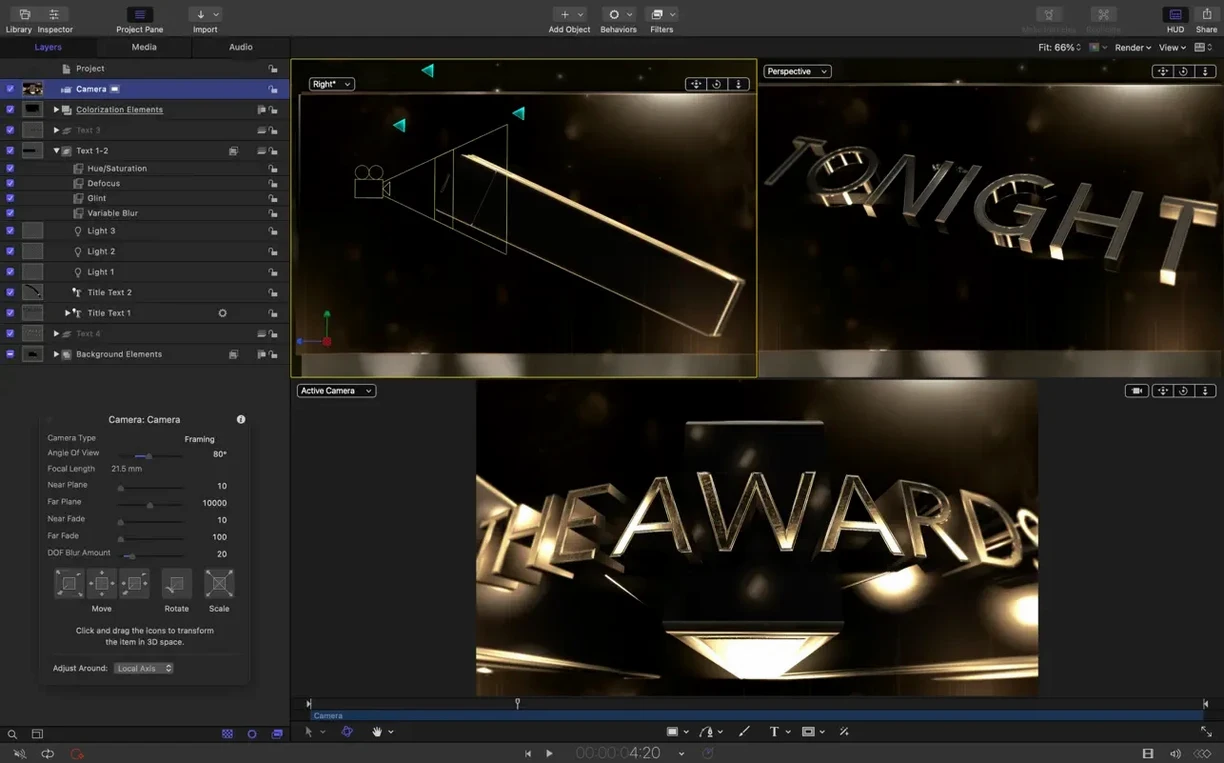
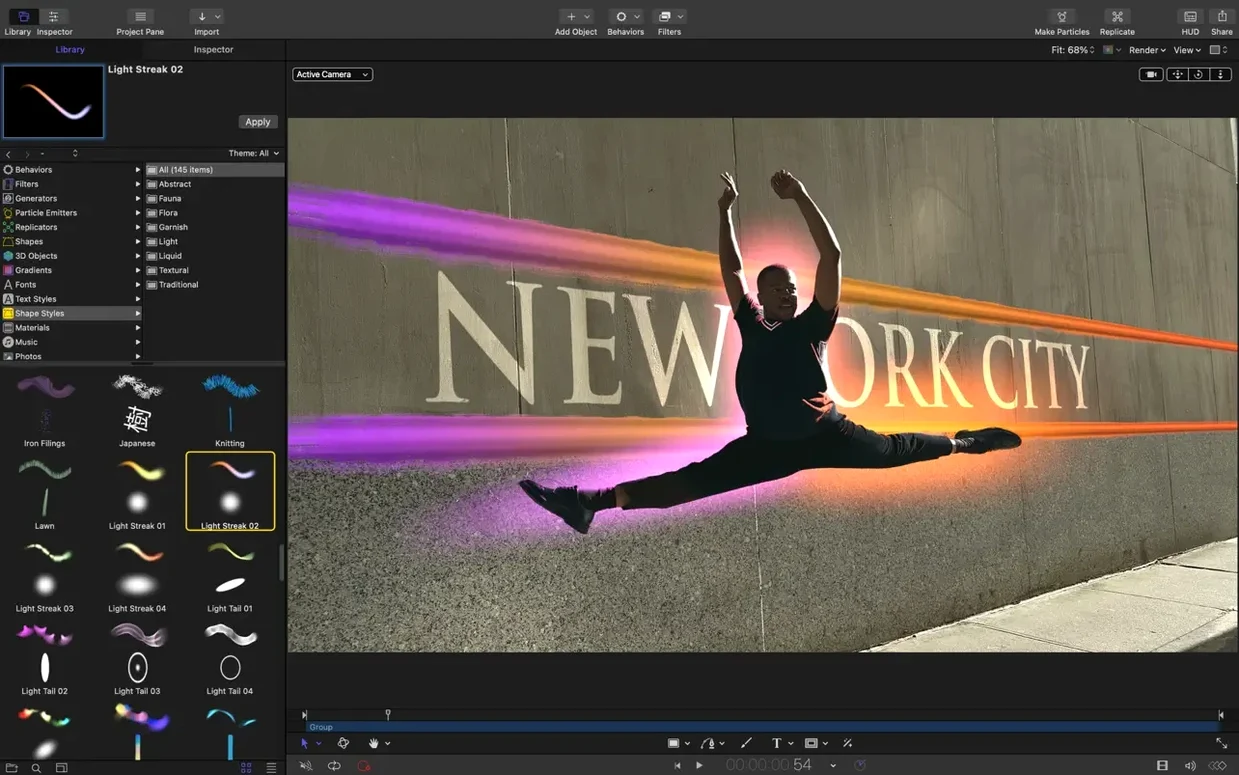
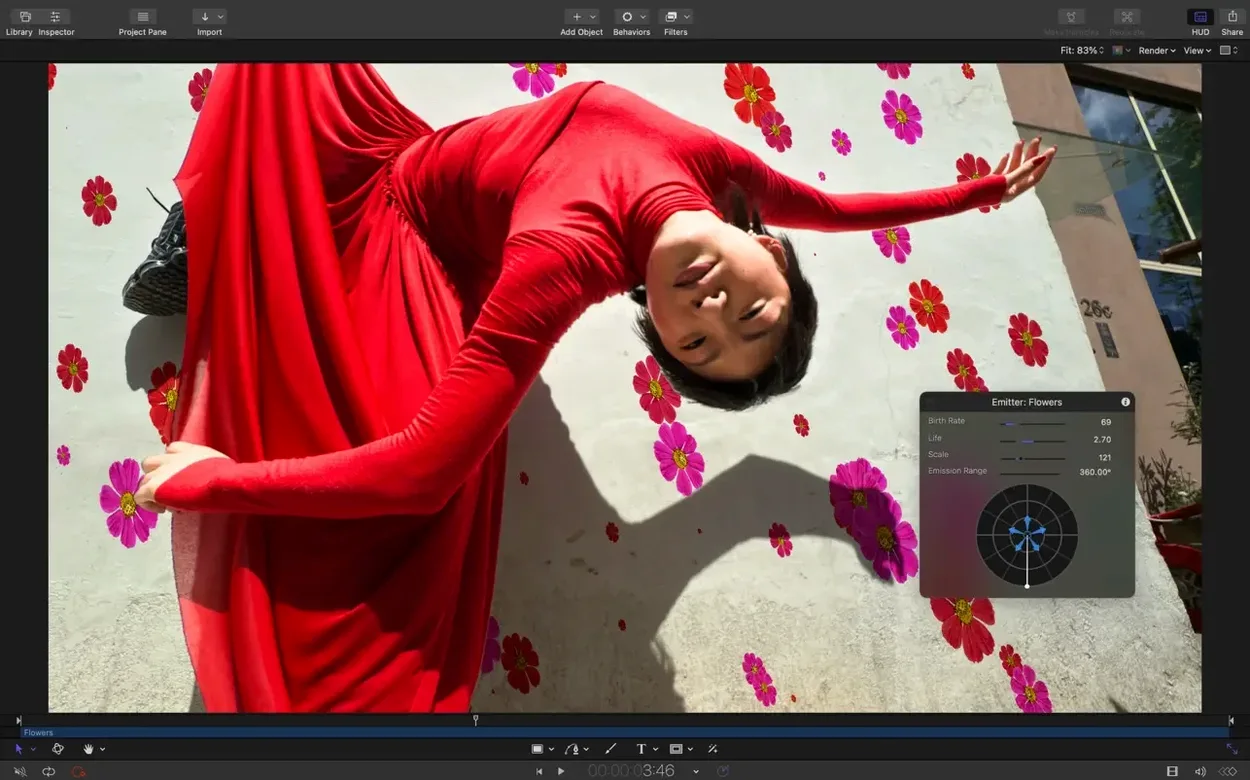
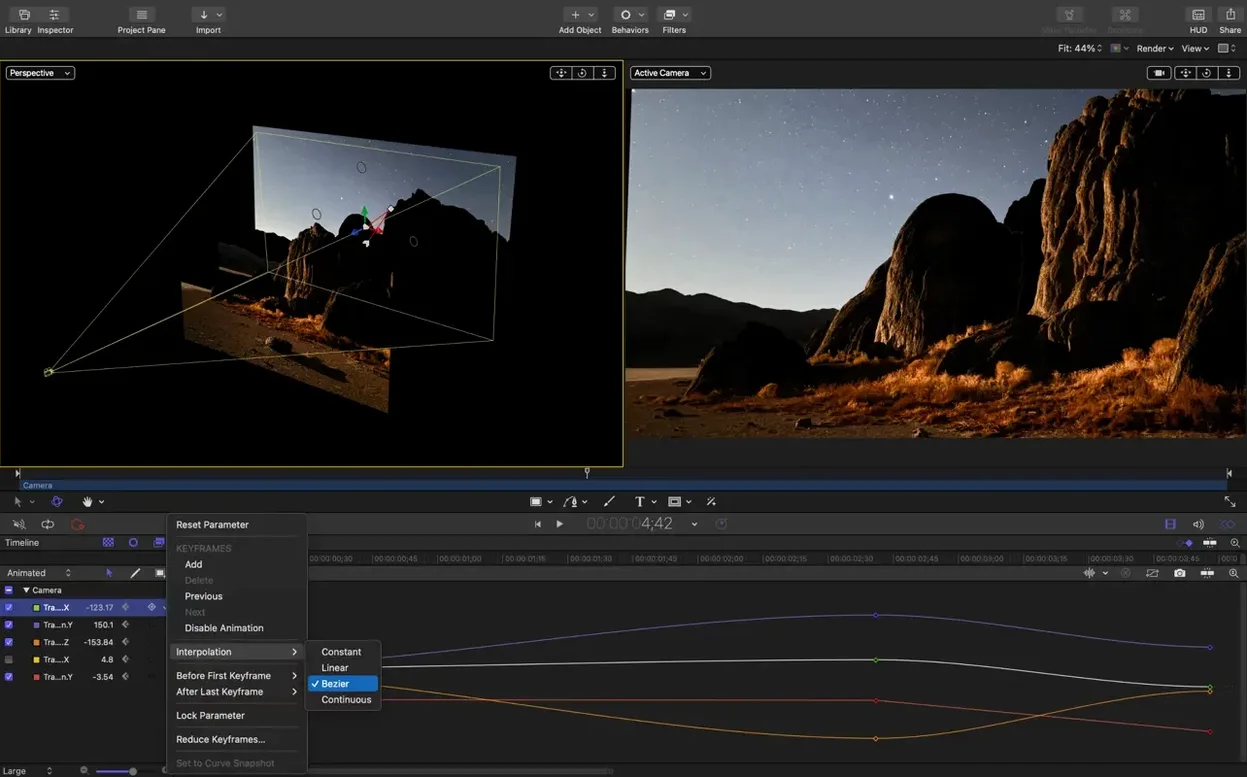
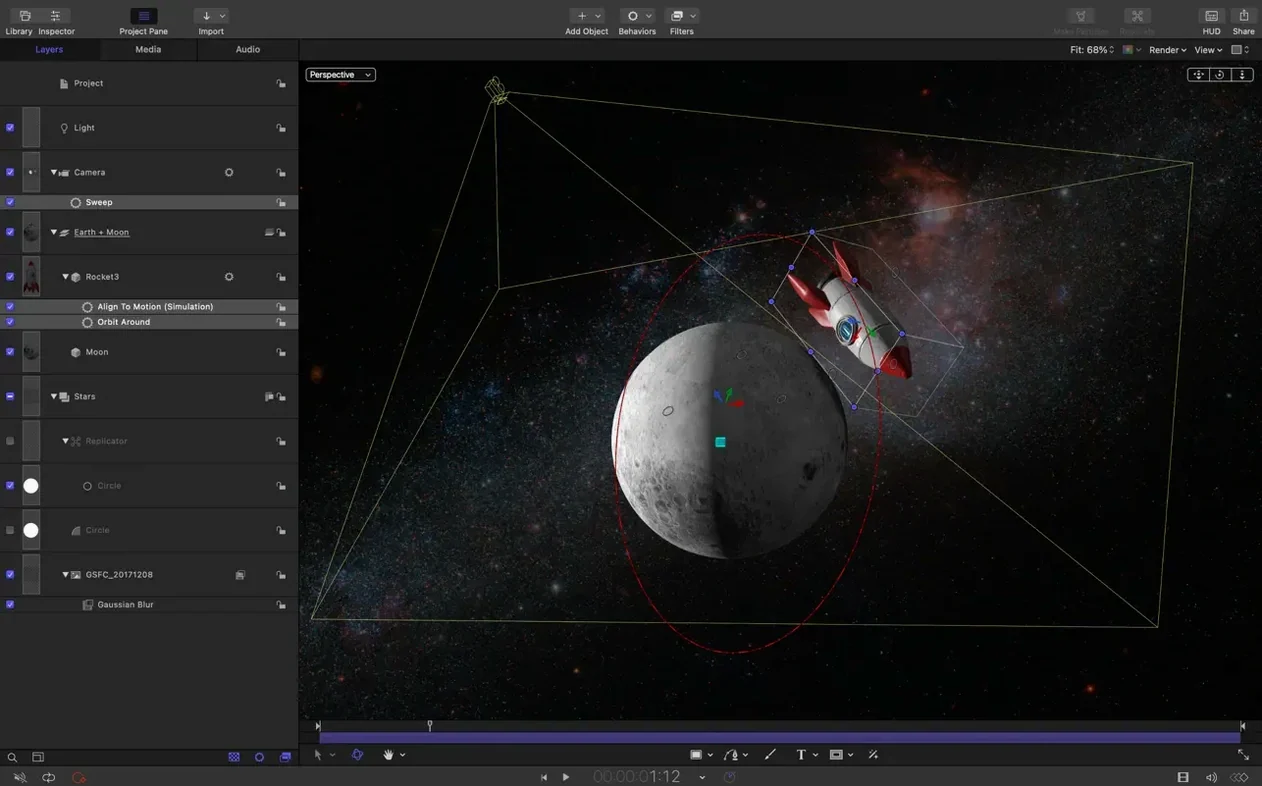
You already know how Motion fits into a Final Cut Pro workflow — titles, transitions, effects, the basics. But the tools that matter after you've made a few projects are the ones that save time and give you control.
- Import an SVG file. It scales to any size without losing sharpness, so you can build vector graphics that stay crisp at 4K or for a presentation screen.
- Arrange your clips. The new stagger, cascade, and reverse controls let you sequence multiple clips in one go — no manual repositioning.
- Work with 3D text or particle emitters. The version 6.3 fix stops them from using the wrong texture media during playback, so what you see is what you get.
- Adjust colour correction filters. The rendering fix for macOS 26 means no unexpected brightness shifts.
Beyond that, Motion 6.3 includes general performance updates to keep the timeline fluid. Bezier Masks now select vertices correctly, and the whole app runs on macOS 15.6 or later. If you work with Final Cut Pro or Compressor, this is the version to download.
First days with Motion — what to do after installing
Once Motion is in your Applications folder, open it and spend a few minutes setting up your library. The content browser on the left side is where you'll find generators, filters, behaviours and presets. Drag a few into a blank project just to see how they respond — resize them, change their speed, apply a blend mode. You learn more by touching everything than by reading the manual.
If you work with SVG assets, create a folder on your Mac for vector files you use often. Motion 6.3 imports them cleanly, so you can drag logos, icons or illustrations straight into the canvas and scale them without pixelation. That alone saves time when you're building lower thirds or animated overlays for a video.
Set up a template project for your regular output format. Save it as a custom template. Next time you start a job, you open that instead of setting everything from scratch.
Behaviours not showing in canvas
Most issues people hit with Motion come down to a handful of things. Here are the ones I see often and the fixes that work.
Behaviours don't show in the canvas.
Check that the behaviour is applied to a layer, not to an empty space. If the layer is hidden or its opacity is at zero, the behaviour still runs but you won't see it. Select the layer and look at the timing panel to confirm the behaviour is active.
Imported SVG looks wrong or misaligned.
SVG files created in different vector apps sometimes carry extra transforms or nested groups. In Motion, try right-clicking the imported file and choosing "Open in Inspector" to check its anchor point and position. If it's still off, re-export the SVG from your vector app with a standard canvas size and no extra layers.
3D text renders differently than expected.
The version 6.3 fix addressed texture media for 3D text and particle emitters, but if you're using a custom texture, make sure the source file is in a format Motion reads well — PNG or TIFF usually work. Also check that the texture's colour space matches your project. A mismatch can shift the look even when the media loads correctly.
Colour correction looks too bright.
That's the macOS 26 rendering fix in action — it corrects a previous bug where some filters rendered brighter than intended. If your project was started in an earlier version of Motion, the filter values may still be set to compensate for the old brightness. Reset the filter or adjust the levels manually now that the display is accurate.
Project won't open after updating.
Motion 6.3 runs on macOS 15.6 or later. If your system is older, the app won't launch. Check your macOS version in System Settings. If it's compatible and the project still won't open, try opening Motion first, then using File > Open to browse to the project file.
How Motion fits with other apps and macOS features
Motion sits between Final Cut Pro and Compressor in a typical workflow. You build a title or effect in Motion, send it to Final Cut Pro via the Generators or Titles browser, and when you're ready to export, Compressor handles the encoding. That's the core loop.
But there's more. Motion can pull media from Photos, Music and the Finder without extra imports. Drag a video clip from a Finder window straight onto the canvas — it works. If you use iCloud Drive, keep your template projects there so they're available on another Mac when you switch workstations.
SVG import in version 6.3 opens a natural link to apps like Affinity Designer, Illustrator or even Safari. Export a vector from any of those, drop it into Motion, and it scales cleanly. No rasterising, no manual redrawing.
For audio, Motion's behaviour-based keyframing lets you sync visual elements to sound without leaving the app. Drop an audio file onto the timeline, apply a parameter behaviour to a layer, and link it to the audio waveform. It's not a full audio editor, but it works for quick sync jobs.
Quick integration points
- Final Cut Pro — send projects directly, or export templates as .moti files
- Compressor — batch export from Motion with Compressor presets
- Photos — drag images from the Photos library into a project
- Music — use tracks from your Music library as background or sync sources
- Finder — drag any supported file type directly onto the canvas
A real scenario: building an animated lower third for a client
Say you're a freelance video editor working on a series of interview clips for a local production company. The client wants a clean lower third with the interviewee's name, their title and a small logo. The logo is an SVG you exported from Affinity Designer.
You open Motion 6.3, create a new project at 1920×1080. Drag the SVG logo onto the canvas — it scales perfectly, no pixel edges. Then add a text layer for the name and another for the title. You apply a simple fade-in behaviour to all three layers, stagger the start times by a few frames using the new stagger control, and preview it. The timing looks natural.
The client asks for a version where the logo slides in from the left instead of fading. You duplicate the project, swap the fade behaviour for a slide behaviour, adjust the curve to ease in, and send both versions to Final Cut Pro. The whole thing takes about twenty minutes, most of it spent deciding which animation looks better.
That's the kind of task Motion handles without fuss — quick, visual, and easy to adjust when the brief changes. And with version 6.3's fixes and SVG support, you spend less time troubleshooting and more time finishing the job.
- Import SVG files that scale to any size and keep graphics sharp at any resolution.
- Adds controls to stagger, cascade, or reverse clips.
- Includes performance updates.
- Fixes Bezier Mask vertex selection.
- Fixes incorrect texture media during playback for some 3D text and particle emitters on macOS 26.
- Fixes brighter rendering for some color correction filters.
- macOS 15.6 or later
- 64-bit processor (Intel or Apple Silicon)
Kit check at a glance
| System | macOS 15.6 or later |
| Chip | Apple Silicon, Intel 64-bit |
| Download | 2.6 GB |
| Older pressings | 17 in the crate |




Chat from the booth
Sign in or grab a free account to leave a comment.
Nobody has said a word in the booth yet. If you played a set with this build, tell the next person how it went.