
- Build in the crate
- 21.1.1
- Made by the team at
- Blackmagic Design Inc.
- Menu languages offered
- Russian, English, Spanish, Chinese (Simplified), Portuguese, French, Japanese
- How you pay for it
- Included
- macOS it plays on
- macOS 15 or later
- CPU it runs on
- Apple Silicon, Intel 64-bit
Screenshots
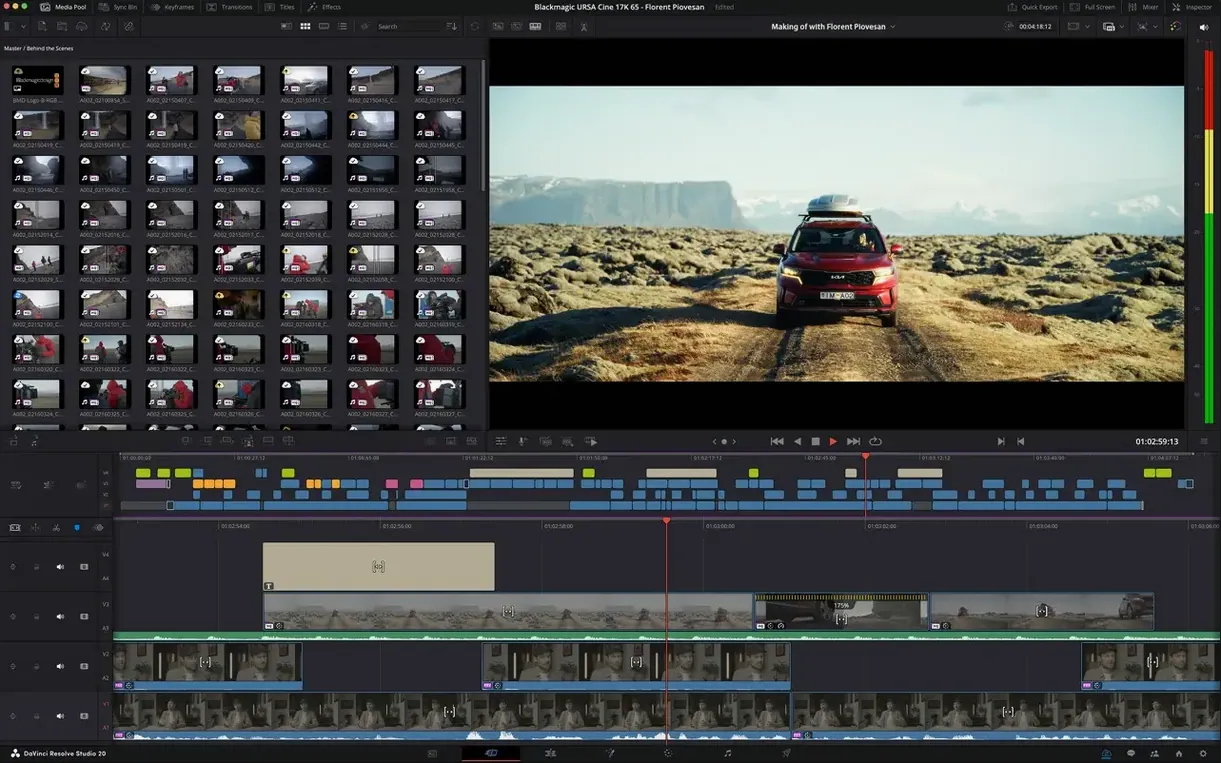
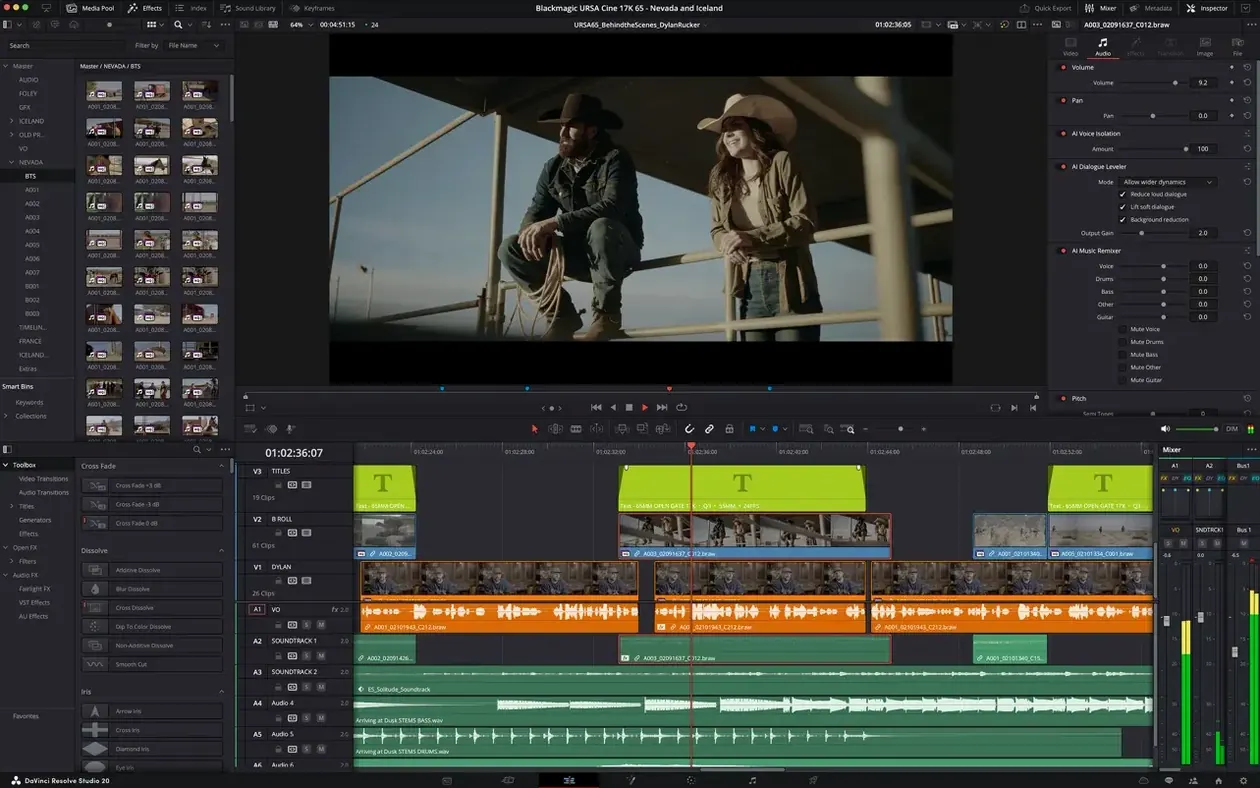
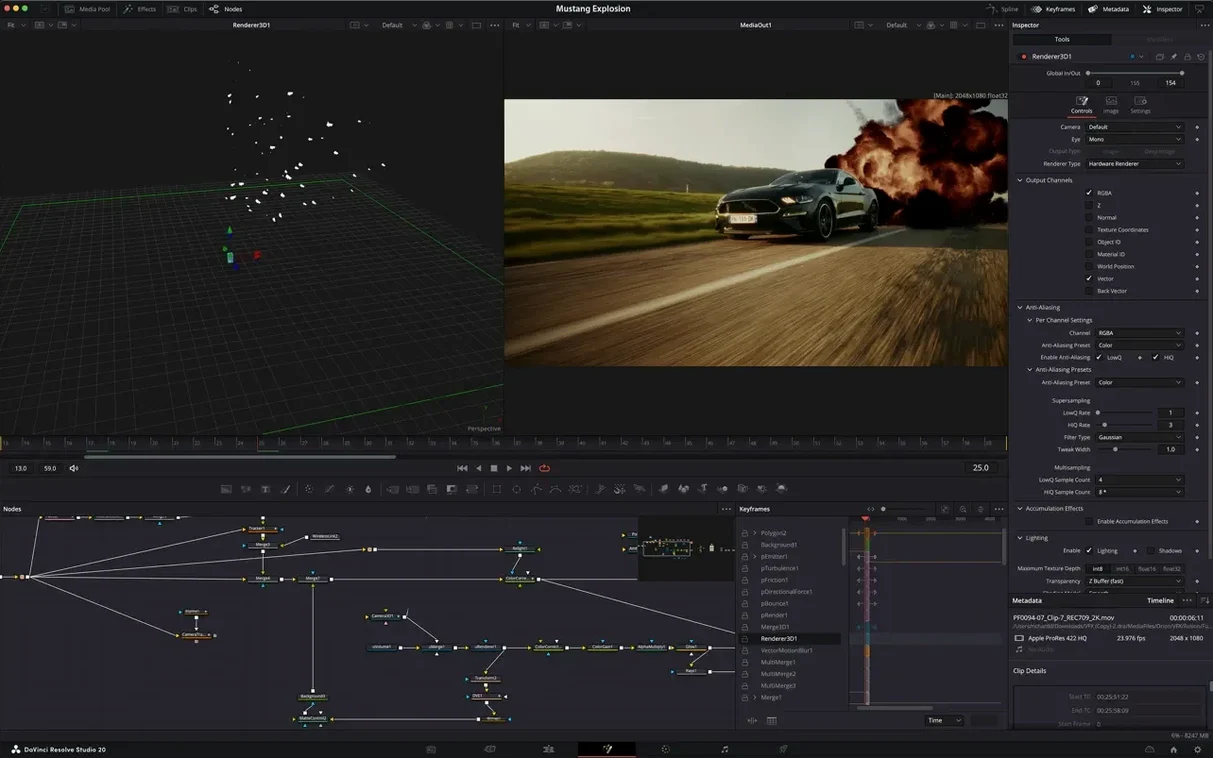
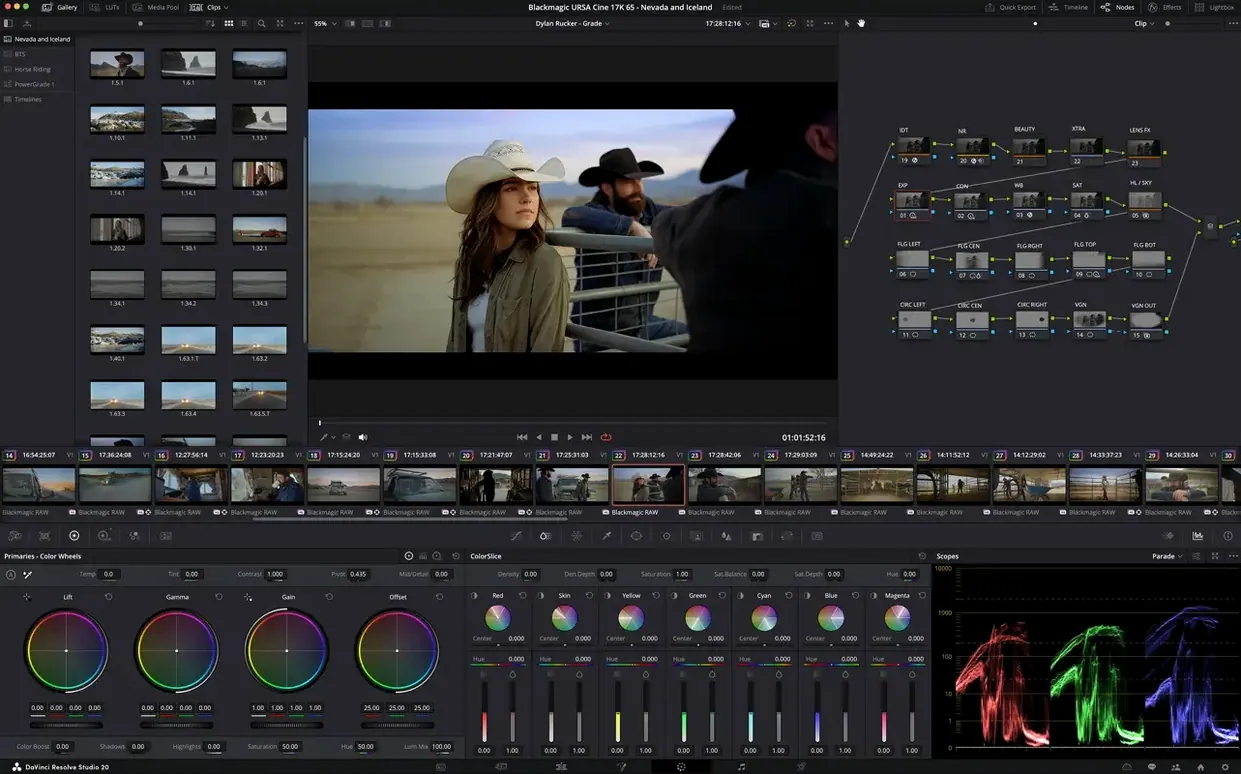
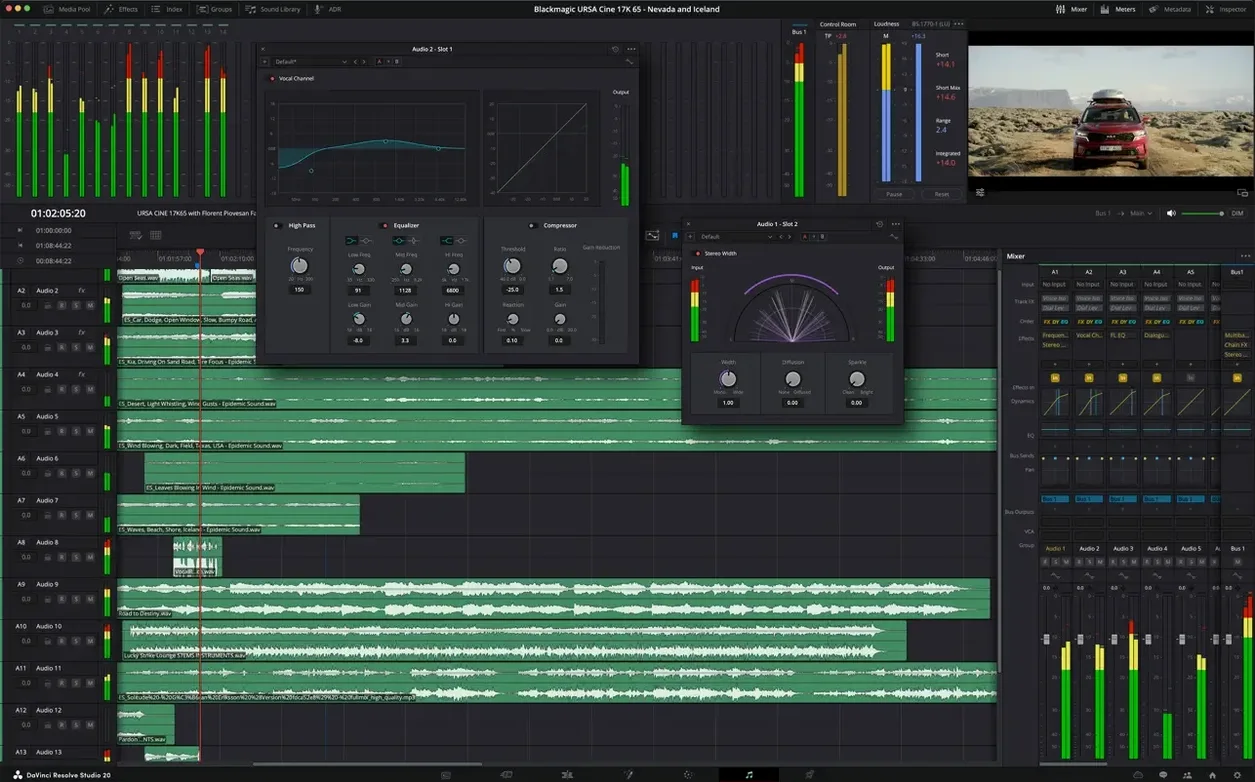
DaVinci Resolve Studio 21.1 runs on any Mac with macOS 15, whether you’re on Intel or Apple Silicon. That covers the M2 MacBook Air I use for DJ sets and edits, and the Mac Pro rigs in larger post houses.
AI assistant and 100+ new tools
- AI assistant integration – organise media and batch render without leaving the timeline.
- Over 100 new editing and color grading tools – more fine control for the jobs that matter.
- 20 new scripting APIs with built-in console support, so you can automate repetitive tasks.
- 25+ new Krokodove graphics tools – compositors get extra firepower.
- Expanded camera format support on the Photo page.
One app for the whole post pipeline
DaVinci Resolve Studio avoids bouncing between separate NLE, color, VFX and audio apps. Fairlight handles mixing and mastering inside the same project. HDR workflows are native. It’s the same toolkit used in Hollywood, and the 21.1 update keeps things moving without switching context.
Project settings changed halfway through
Jumping into a pro app like this, most people trip over the same things. Here are the ones I see most often.
- Change them halfway through a project and you’re redoing renders, reframing clips and fighting with mismatched settings. Open the Project Settings panel before you drop a single clip onto the timeline.
- Overloading the timeline with unoptimised media – dragging phone video or h.264 files straight from a camera works, but playback stutters. Use the Generate Optimised Media option (right-click a clip in the Media Pool) to create proxy files. It takes a few minutes and saves hours of frustration.
- Clicking everywhere instead of learning the pages – DaVinci Resolve Studio has dedicated pages for editing, colour, Fusion, Fairlight and delivery. Beginners often try to do everything on the Edit page. Force yourself to switch to the Colour page for grading, Fusion for effects, Fairlight for audio. Each page is built for its job.
- Skipping the Colour page entirely – a flat-looking timeline is usually a sign someone hasn’t touched the colour tools. Even a basic primary correction lifts the whole project. Don’t leave it all to the Edit page’s quick sliders.
- Not using the Cut page for fast assembly – the Cut page is designed for quick selects and rough cuts. Beginners think it’s a stripped-down version of Edit. It’s actually faster for first-pass editing, especially with keyboard shortcuts.
A colourist’s first session with a short film
Elena works as a junior colourist at a small production company in Manchester. She gets a three-minute short film shot on an ARRI Alexa. The director wants a warm, filmic look with deep shadows and soft highlights.
She opens the project, goes straight to the Colour page and creates a new node tree. On the first node she adjusts the white balance using the temperature and tint controls. On the second node she pulls down the shadows and lifts the midtones slightly to keep detail in the actor’s face. A third node gets a gentle power window around the subject’s skin, just to keep the exposure even during a tracking shot.
For the final scene, the director wants a teal-and-orange look. Elena adds a serial node, pulls the highlights toward orange and the shadows toward teal using the colour wheels. She saves a still of the grade as a reference for the rest of the scene. The whole session takes about an hour, and she exports a timeline-grade-only reference for the editor. No switching apps, no round-tripping – just the Colour page and the node editor.
Workflow: colour grading a talking-head interview from start to finish
This is the kind of task you’ll do repeatedly. Here’s a clean workflow.
- Import and organise – drag the interview clips into the Media Pool. Create a bin for the interview and a sub-bin for B-roll if you have it.
- Assemble the timeline – on the Cut page or Edit page, place the interview clips in order. Use the blade tool to trim pauses and mistakes. Don’t colour grade yet.
- First pass on the Colour page – select the first clip and go to the Colour page. Add a serial node. Use the colour wheels to set exposure: pull the lift down slightly, push the gain up a little, adjust the gamma so the subject’s face looks natural. Adjust temperature to match the lighting in the room.
- Match the rest of the clips – with the first clip graded, select the next clip. Right-click and choose “Match to Current Clip” (under the colour match options). DaVinci Resolve Studio analyses the shot and applies a similar grade. Fine-tune with the wheels if needed.
- Add a background treatment – if the background is a plain wall, add a power window on a new node and soften the edges. Drop the exposure slightly so the subject pops forward.
- Check on the timeline – switch back to the Edit page and play through the interview. If a shot looks off, go back to the Colour page and adjust that node. Do not add effects or text until the grade is locked.
- Deliver – go to the Delivery page. Choose a Master setting (H.264 for web, ProRes for broadcast). Add the timeline to the render queue and start it. The AI assistant in 21.1 can batch render multiple timelines if you have more than one interview to process.
Map keyboard and use Fairlight page
- Map your keyboard – DaVinci Resolve Studio has a keyboard customisation panel. Spend ten minutes setting shortcuts for the tools you use most: blade, razor, node, colour wheel toggle. It saves clicking through menus.
- Use the Fairlight page for any audio cleanup – even a simple interview benefits from a noise gate or a compressor. The Fairlight page has dedicated tools for dialogue processing. Don’t stay on the Edit page’s basic audio mixer.
- Learn the node editor – the Colour page’s node editor is where you build grades. Start with one serial node per adjustment. Avoid stacking everything on one node – that makes it hard to undo a single change.
- Save versions of your grade – on the Colour page, right-click a clip and choose “Save as New Version”. If you experiment and it doesn’t work, you can go back without rebuilding from scratch.
- Check the Photo page for stills – if you have a camera that shoots raw stills, the Photo page in 21.1 supports more formats. You can grade a still and use its look as a reference for your video timeline.
Fix stutter with Optimised Media
- Playback stutters or drops frames – this is almost always a media format issue. Generate Optimised Media (right-click in the Media Pool). Set the format to ProRes Proxy. If you’re on Apple Silicon, the HEIC decoding is hardware-accelerated in 21.1, so stills load faster.
- Colour grade doesn’t apply to the whole timeline – you probably graded only one clip. Select all clips on the timeline, go to the Colour page and use “Match to Current Clip” with the reference clip selected. Or copy the node tree and paste it onto the other clips.
- If it doesn’t match the source files, DaVinci Resolve Studio stretches or compresses audio to fit.
- Fairlight audio sounds thin – you might be using the Edit page’s mixer. Go to the Fairlight page, select the track and add a compressor from the Fairlight effects library. A simple dialogue compressor with a 3:1 ratio and a -20 dB threshold usually fixes it.
- Render fails halfway through – usually a corrupt clip or a setting mismatch. Open the render job, look at the error message. Common fixes: convert the offending clip to ProRes in a separate app, or change the render format to DNxHR. In 21.1, the AI assistant can help identify problematic media before you queue the render.
- Can’t find a tool – use the Workspace menu. DaVinci Resolve Studio lets you rearrange panels and toolbars. If a panel disappeared, go to Workspace > Layouts and choose a default layout. Or reset the workspace from the same menu.
- Added AI assistant integration for media organisation and batch rendering.
- Added expanded camera format support on the Photo page.
- Added over 25 new Krokodove graphics tools.
- macOS 15
- Intel or Apple Silicon
Kit check at a glance
| System | macOS 15 or later |
| Chip | Apple Silicon, Intel 64-bit |
| Download | 7.9 GB |
| Older pressings | 60 in the crate |







Chat from the booth
Sign in or grab a free account to leave a comment.
Nobody has said a word in the booth yet. If you played a set with this build, tell the next person how it went.