

- Build in the crate
- 12.1.0
- Made by the team at
- iZotope
- Menu languages offered
- English
- How you pay for it
- K'ed by TEAM HCiSO
- macOS it plays on
- macOS 13.7 or later
- CPU it runs on
- Apple Silicon, Intel 64-bit
Screenshots
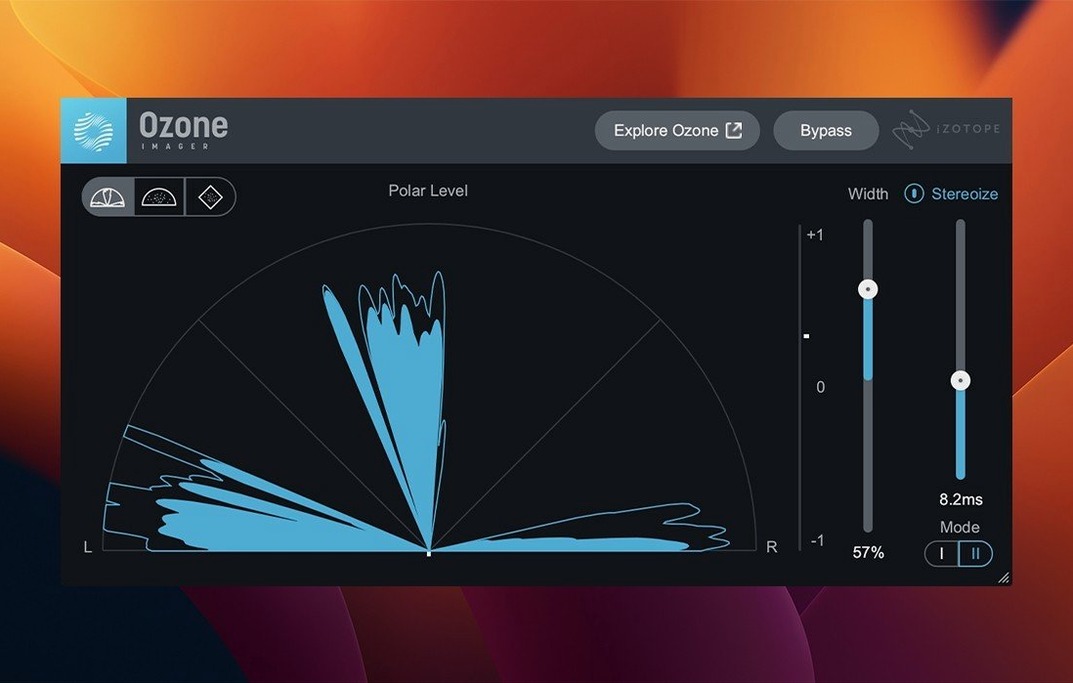
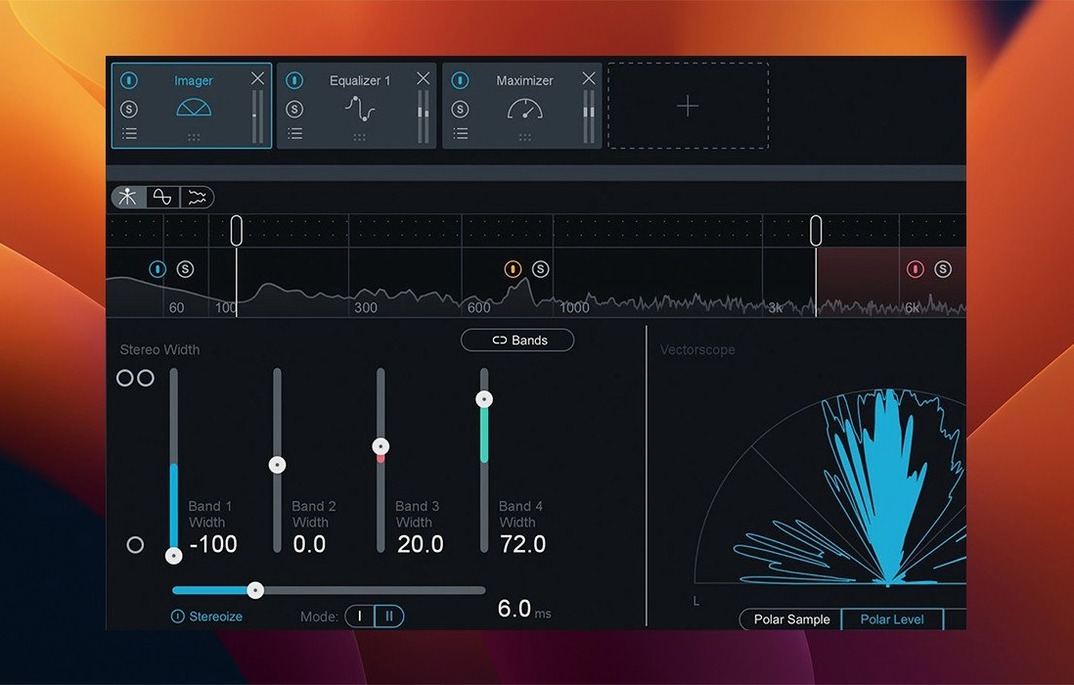
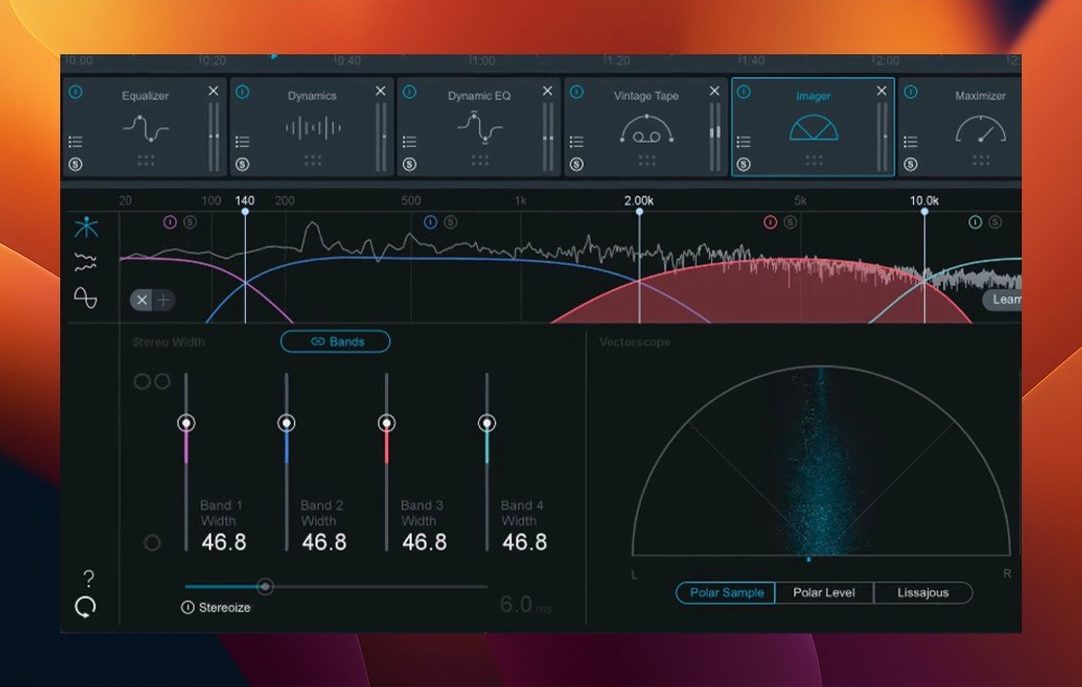
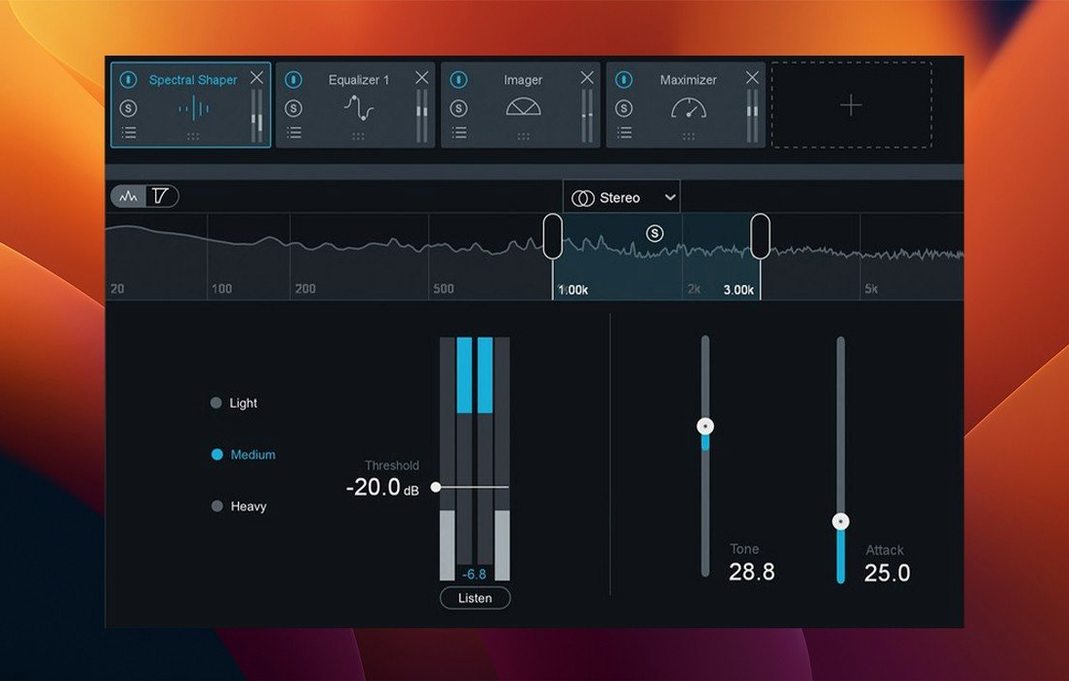
iZotope Ozone 12.1.0 ships as a mastering suite that runs as AU, AAX and VST3 plugins — 64-bit only, for macOS 13.7 and up. It fits neatly beside the DAW you already use, whether that’s Logic, Ableton Live, Cubase 15 or Pro Tools. The suite includes the Stabilizer module with 25 genre targets, Stem EQ and Bass Control, so you can shape a mix without jumping between separate tools.
On a Mac, the plugin format you pick depends on your host — AU for Logic, VST3 for Cubase or Live, AAX for Pro Tools. Ozone works on both Intel and Apple Silicon machines; the current version fixed slow UI loading and corrected stereo output handling for mono-to-stereo instances. That matters when you’re bouncing a final master on an M-series MacBook and don’t want delays.
It’s not a standalone app — it’s a plugin suite designed to live inside your existing workflow. If you already have a DAW and some basic EQ or compression, Ozone adds the mastering-specific modules (Bass Control, Stabilizer, Stem EQ) that turn a good mix into a finished one. The genre targets in Stabilizer give you a starting point without guessing.
Configure the AI assistant first
When you load Ozone 12 for the first time, the default layout works well enough, but a few settings save you time. The AI-powered assistant is the first thing to configure. Tell it whether you’re mastering a single track, an album or a stem — it changes how the Stabilizer and Maximiser behave. The genre target picker inside Stabilizer has 25 options, so pick the closest fit early. The assistant uses that info to set up a chain, and you can tweak from there.
Another setting to check is the output ceiling on the Maximiser. The default is usually fine, but if you’re delivering to a streaming platform, set it to -1 dB or -2 dB to avoid intersample peaks. The IRC 5 limiting mode in Maximiser is worth switching to if you want more transparent limiting — it handles short transients better than older modes. The plugin remembers these choices per session, so you don’t repeat them every time you load an instance.
If you work with mono sources, the 12.1.0 fix for mono-to-stereo processing means you can rely on Ozone to handle stereo widening without glitches. The Bass Control module has a crossover setting that you can adjust to suit the sub-bass content of your track — set it around 80 Hz for dance music, a bit lower for acoustic material.
A workflow for mastering a single track
Start with a rough mix that has some headroom — ideally peaking around -6 dB. Insert Ozone as a plugin on your master bus in Logic, Cubase or Pro Tools. Open the assistant and choose a single-track master. Select a genre that matches your material — say, electronic, rock or hip-hop. The assistant analyses the mix and builds a chain with modules like Stabilizer, EQ, Dynamics and Maximiser.
Listen to the result once. Then turn off the assistant and work module by module. Start with Stabilizer — it shows you the tonal balance compared to your genre target. If the low end is heavy, let Stabilizer pull it down a few decibels. Next, go to Stem EQ. This module lets you EQ individual stems (drums, bass, vocals) without affecting the whole mix. Pull out a boxy resonance in the vocal stem or add air to the top end of the drums.
After EQ, check Bass Control. If the low end is inconsistent, this module tightens it. Set the crossover and adjust the compression to keep the bass steady across the track. Finally, open Maximiser. Choose IRC 5 as the mode and set the threshold until you get about 2-3 dB of gain reduction. Adjust the output ceiling to -1 dB for streaming. Listen to the whole track again. Bounce it out and compare it to a reference track — you can import one into Ozone’s reference panel if you want to A/B.
Runs on macOS 13.7 and later, Intel and M-series
Ozone 12.1.0 runs on macOS 13.7 and later, including Ventura, Sonoma and Sequoia. It works on Intel Macs and Apple Silicon M-series machines. All three plugin formats — AU, AAX and VST3 — are 64-bit only, so your host needs to support 64-bit plugins. The installer is straightforward: follow the included instructions, enter the password provided with the release, and the plugins are ready to use in your DAW.
The suite includes 20 pro plugins in total, but they load as modules inside a single Ozone instance. That means you don’t have to manage 20 separate inserts on your master bus — everything lives in one window. The slow UI loading that was present in earlier versions is fixed in 12.1.0, so the interface opens quickly on both architectures. The plugins themselves are not lightweight — they process multiband dynamics, EQ and limiting in real time — but the system requirements are the same as your DAW’s. If your Mac runs Logic or Cubase without trouble, Ozone will run alongside it.
Opening a track that sat in the mix folder for two weeks
It’s a Wednesday evening and I’ve got a track that’s been sitting in the mix folder for two weeks. I open Logic, pull up the project and mute the mix bus processing. The track is a pop tune with a vocal that sits a bit low in the chorus. I insert Ozone 12 on the stereo out and click the assistant. I select pop as the genre, choose a single-track master and hit analyse. The assistant builds a chain in about 15 seconds — Stabilizer, a gentle EQ, a multiband compressor and Maximiser.
I listen once through. The vocal still feels a bit buried in the chorus, so I open Stem EQ and select the vocal stem. I add a 2 dB boost around 3 kHz. That brings the vocal forward without pushing the whole mix into harshness. Then I check Bass Control — the kick and bass are fighting in the verse. I set the crossover to 100 Hz and apply a small amount of compression to tighten the low end.
I switch to the Maximiser. The IRC 5 mode is already selected. I pull the threshold down until the meter shows about 2 dB of gain reduction. The track feels louder without pumping. I set the output ceiling to -1 dB and play the whole song from start to end. The chorus hits harder now, and the vocal sits clearly on top. I save the Ozone preset so I can recall it if I need to revise the master later. I bounce the track to a WAV file, drag it into a reference playlist and compare it to a commercial pop track. The tonal balance is close — I might come back tomorrow and tweak the Stabilizer target, but for tonight, it’s ready to send to the client.
- macOS 13.7 (Ventura, Sonoma or Sequoia)
- Intel or Apple Silicon Mac
- AU, AAX or VST3 host (64-bit only)
- Interface language: English
Kit check at a glance
| System | macOS 13.7 or later |
| Chip | Apple Silicon, Intel 64-bit |
| Download | 1.1 GB |
| Older pressings | 11 in the crate |







Chat from the booth
Sign in or grab a free account to leave a comment.
Nobody has said a word in the booth yet. If you played a set with this build, tell the next person how it went.