

- Build in the crate
- 4.18
- Made by the team at
- Eltima Software
- Menu languages offered
- Russian, English, German, Spanish, Italian, Chinese (Simplified), Korean, Portuguese, French, Czech, Japanese
- How you pay for it
- K'ed by TNT team
- macOS it plays on
- macOS 10.14 or later
- CPU it runs on
- Intel 64-bit
Screenshots
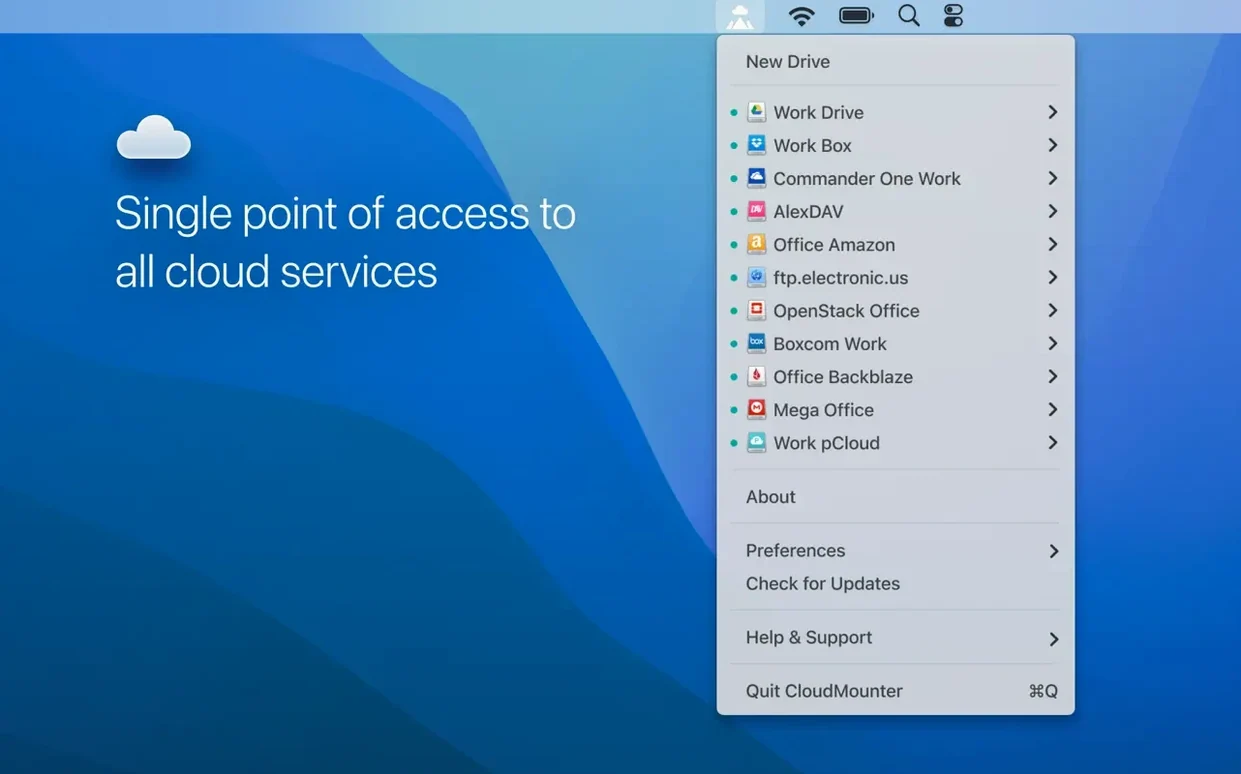
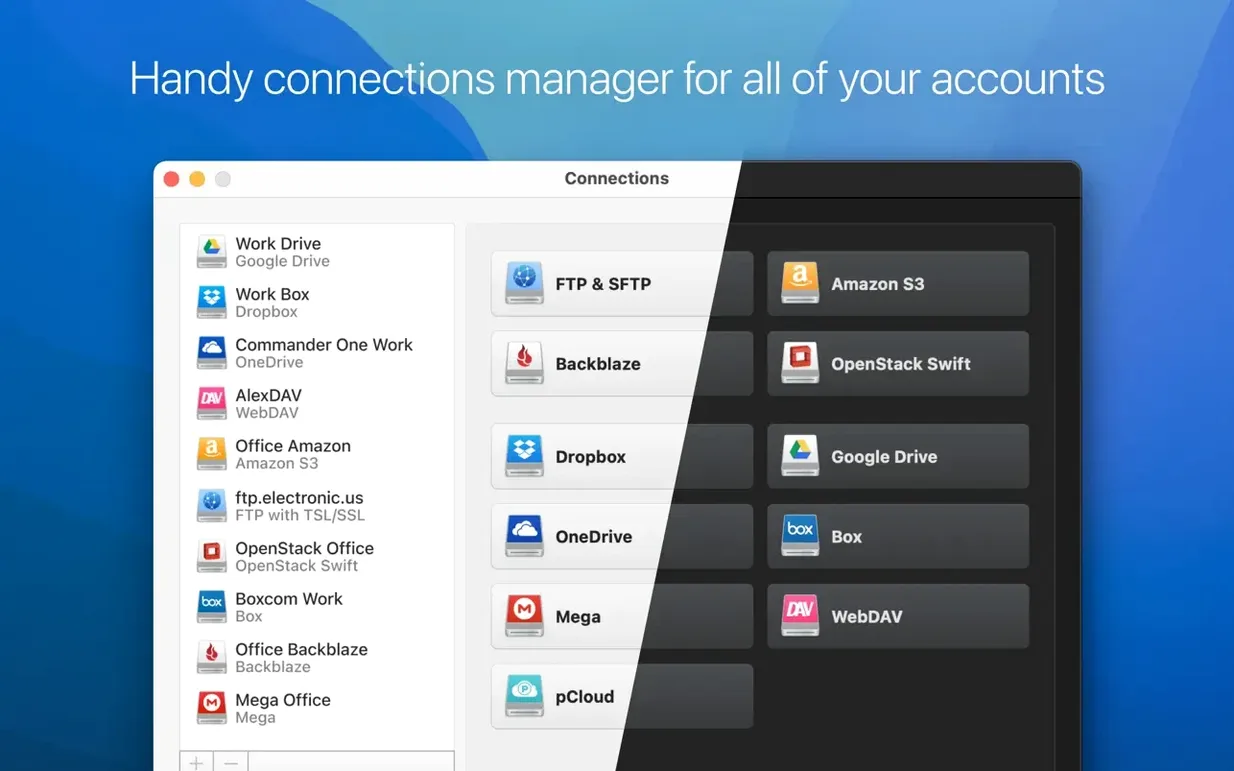
CloudMounter 4.18 handles up to several cloud accounts and remote connections in one window, then makes each one look like a local drive in Finder. It works with macOS 10.14 and later, Intel Macs only.
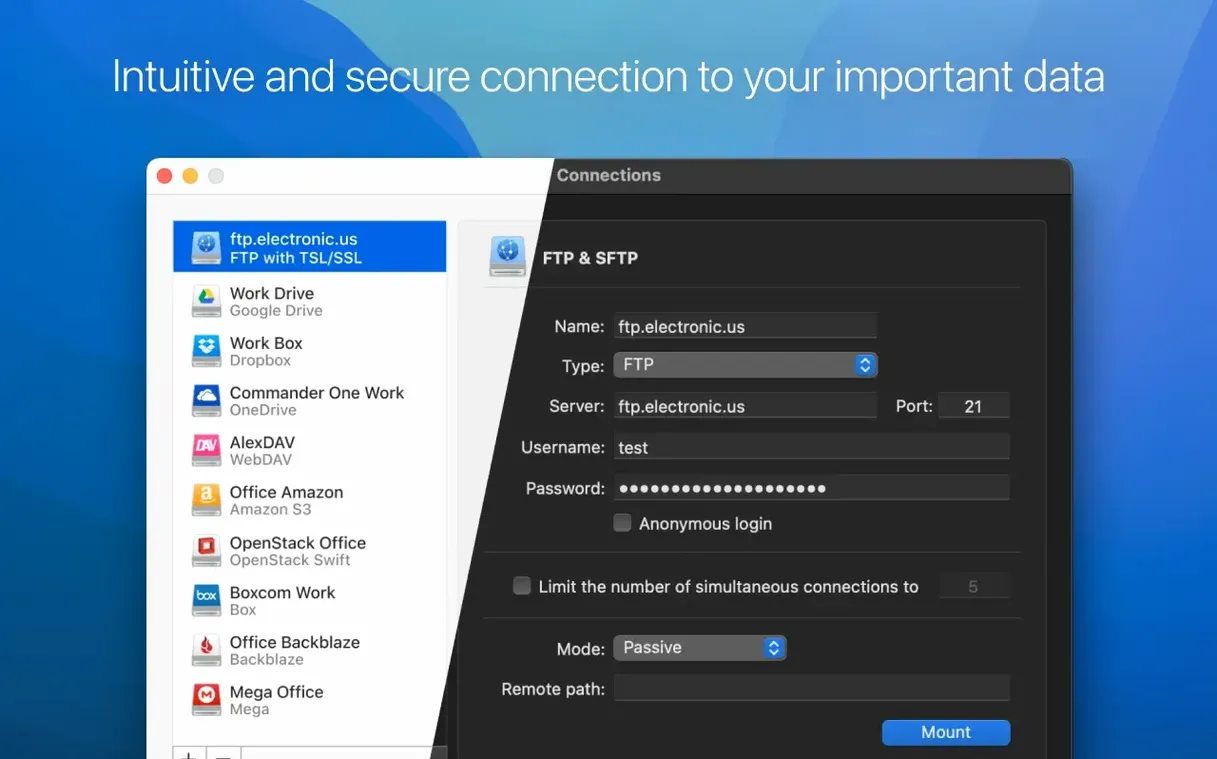
- Mounts Google Drive, Dropbox, OneDrive, Amazon S3, OpenStack Swift, and WebDAV as local drives.
- Connects to SFTP, FTP, and SMB servers directly from Finder.
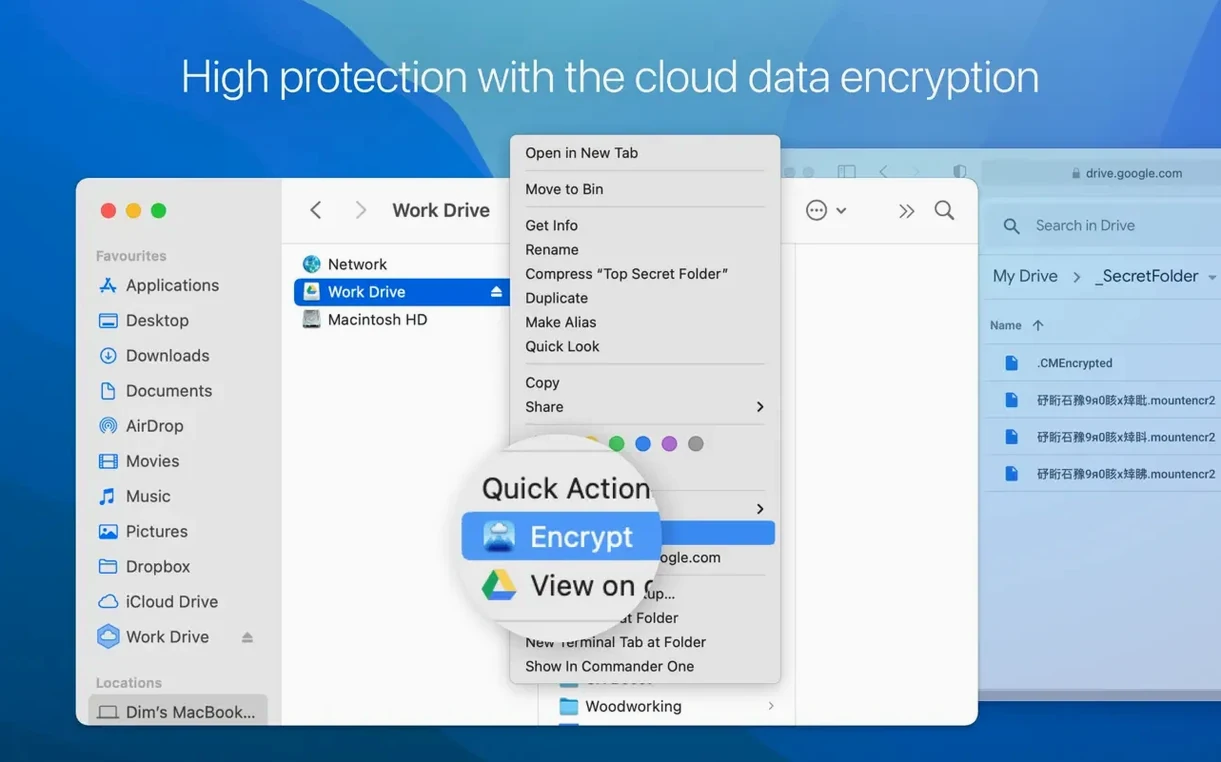
- Encrypts your cloud data with AES-256 before it leaves your Mac.
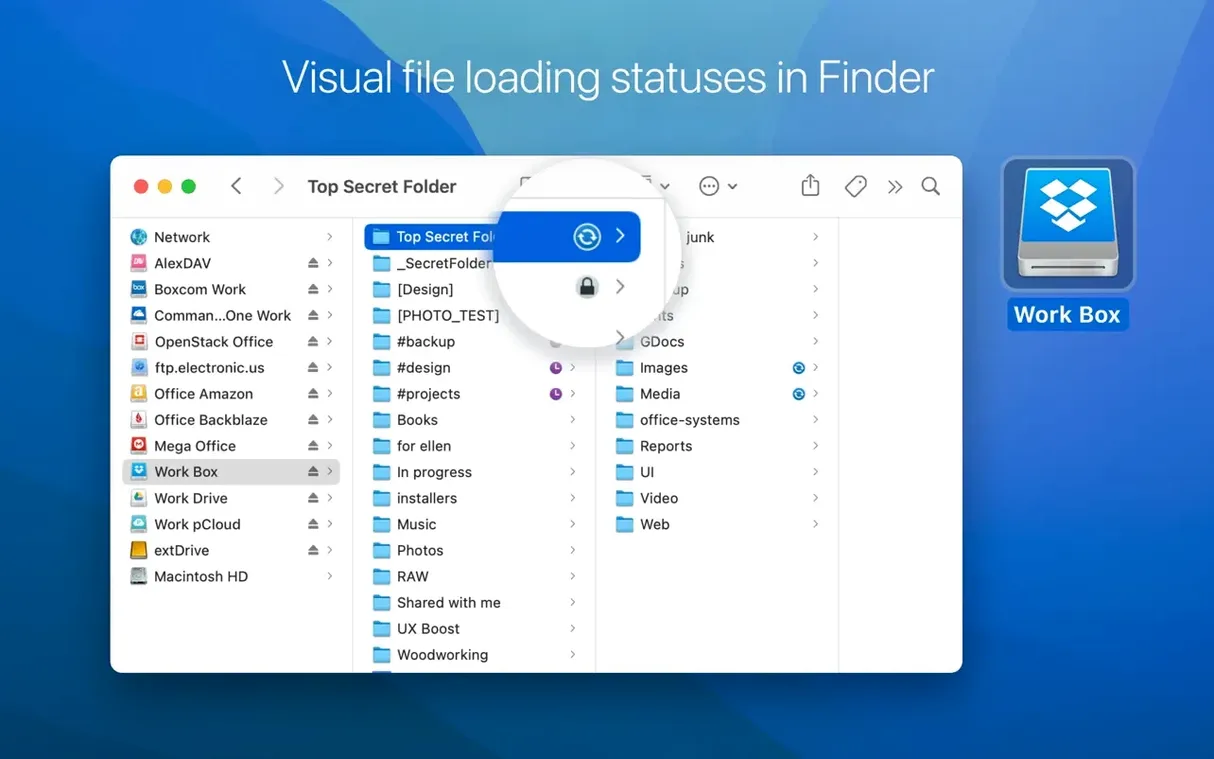
- Shows file transfer progress with status icons for uploads, downloads, moves and updates.
- Keeps multiple accounts for the same service in one app — no switching logins.
If you work with several cloud services or remote servers daily, this replaces the official sync clients with a single Finder view. No extra apps, no browser tabs.
Launch at login for always-on drives
When you first open CloudMounter, a few settings make the daily workflow noticeably better. Head to Preferences and check the startup behaviour — you can set CloudMounter to launch automatically when you log in. That way your mounted drives appear without you remembering to open the app first.
Another useful change is in the General tab: turn on "Show mounted volumes on the Desktop". By default they appear in Finder’s sidebar only, but having the icon on the Desktop feels more like a real external drive. If you prefer a clean Desktop, leave it off.
Under the Accounts section, you can rename each connection. Instead of "Google Drive – [email protected]", call it "Work Docs" or "Band Backups". That small change saves time when you have five accounts mounted at once.
If you use encryption, set a default encryption password in Preferences so you do not get prompted every time you mount a protected folder. The AES-256 encryption works per-connection, so you decide which data gets locked and which stays open.
More services than Mountain Duck, less than others
There are a few other apps that mount cloud storage as local drives on macOS. CloudMounter sits somewhere between them in terms of scope.
Mountain Duck does a similar thing — it mounts cloud services and servers in Finder. It supports many of the same providers, including S3, SFTP, and WebDAV. Mountain Duck also caches files locally for offline access, which CloudMounter does not. The trade-off is that Mountain Duck tends to use more disk space over time. CloudMounter keeps everything on the remote side unless you explicitly download a file, which suits users who want to save local storage.
ExpanDrive is another alternative. It is a mature app with broad protocol support and good performance. ExpanDrive also integrates with Finder and supports encryption. The main difference is that ExpanDrive focuses on being a full remote drive solution, while CloudMounter leans more toward being a cloud storage manager — the interface feels more like managing accounts than mounting drives. If you mainly use cloud storage rather than FTP or SMB servers, CloudMounter’s account-based layout feels more natural.
Transmit from Panic is a different beast. It is primarily an FTP/SFTP client with cloud storage support, but it does not mount drives in Finder. You use Transmit in its own window to transfer files. CloudMounter lets you work with files directly in Finder as if they were local, which means any app on your Mac can open and save to the remote location without extra steps.
Open cloud files directly in any Mac app
Because CloudMounter mounts drives in Finder, every app on your Mac can access your cloud files. That is the main advantage over using browser-based uploads or standalone sync clients. You can open a Logic Pro project straight from Google Drive, save an edited photo from Pixelmator Pro to OneDrive, or drag a sample pack from Dropbox into Ableton Live — all without leaving the app you are working in.
Spotlight indexes mounted volumes by default, so you can search for files inside your cloud accounts using Cmd+Space. That works well if you remember a file name but not which cloud service it lives on. Just type and Spotlight finds it.
Automator and Shortcuts can also act on mounted CloudMounter drives. You could set up a folder action that watches a mounted S3 bucket and runs a script when a new file appears. Or use a Quick Action in Finder to move files from one cloud service to another without opening a browser.
Time Machine ignores network volumes by default, but CloudMounter’s drives are not treated as network volumes in the same way — they appear as local mounts. That means if you want to back up a cloud folder to your Time Machine drive, you can copy files there manually. CloudMounter itself does not automate that, but the Finder integration makes it possible without extra software.
For users who work with multiple cloudmounter activation code files or want to set up a new machine quickly, the app remembers your connections. Once you add your accounts on one Mac, they are there after a reboot. No re-entering credentials unless the token expires.
- Improved uploading of large files
- Improved work with MEGA connections
- Fixed download cancellation for files on SFTP connections
- Fixed file downloading issues when cache volume is changed
- Fixed displaying of storage usage information for online connections
- macOS 10.14 or later
- Intel architecture
Kit check at a glance
| System | macOS 10.14 or later |
| Chip | Intel 64-bit |
| Download | 68 MB |
| Older pressings | 2 in the crate |








Chat from the booth
Sign in or grab a free account to leave a comment.
Nobody has said a word in the booth yet. If you played a set with this build, tell the next person how it went.