
- Build in the crate
- 3.4.15 [MAS]
- Made by the team at
- Pixelmator Team
- Menu languages offered
- Russian, English, German, Spanish, Italian, Chinese (Traditional), Chinese (Simplified), Korean, Portuguese, French, Japanese
- How you pay for it
- Included
- macOS it plays on
- macOS 13 or later
- CPU it runs on
- Apple Silicon, Intel 64-bit
Screenshots
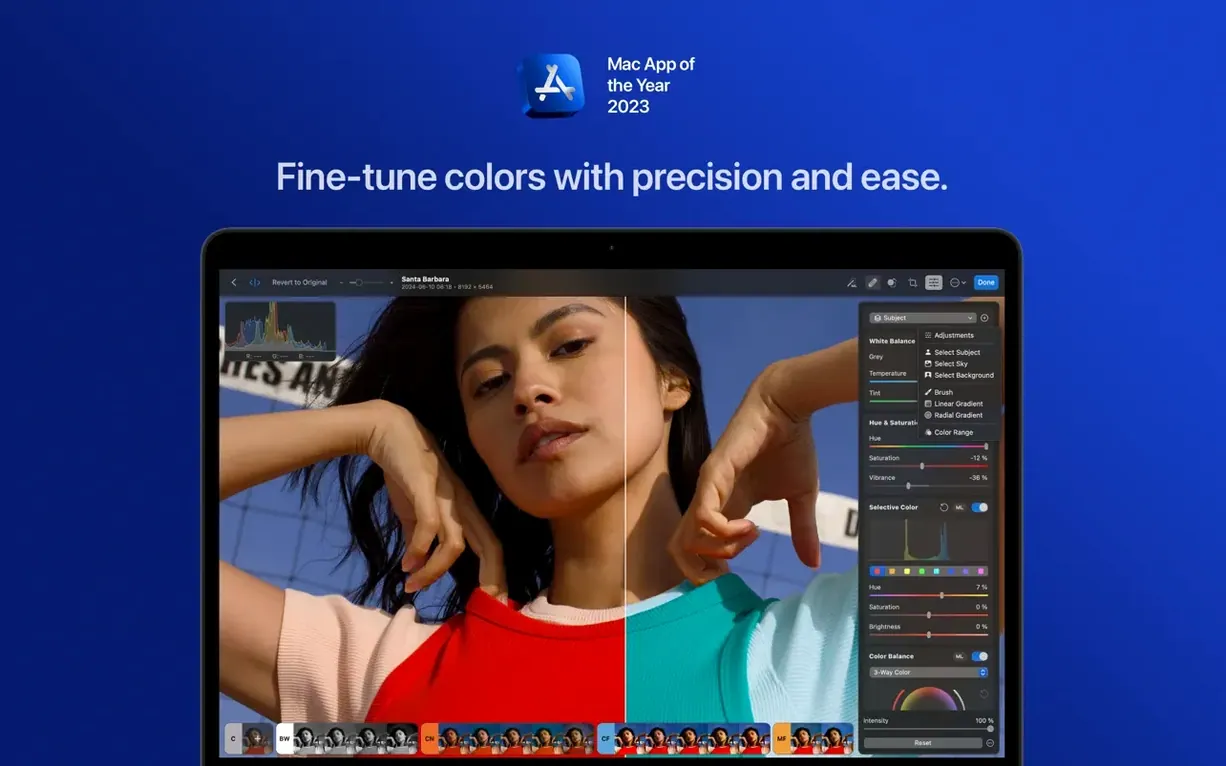
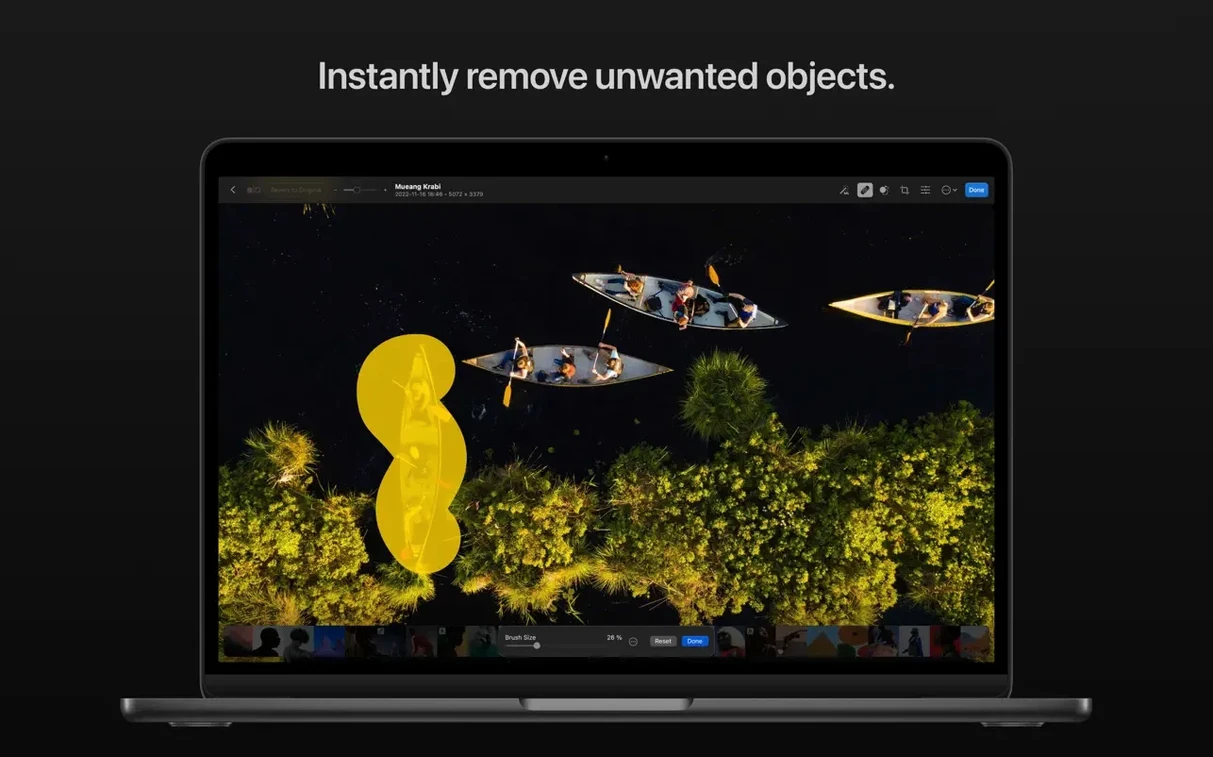
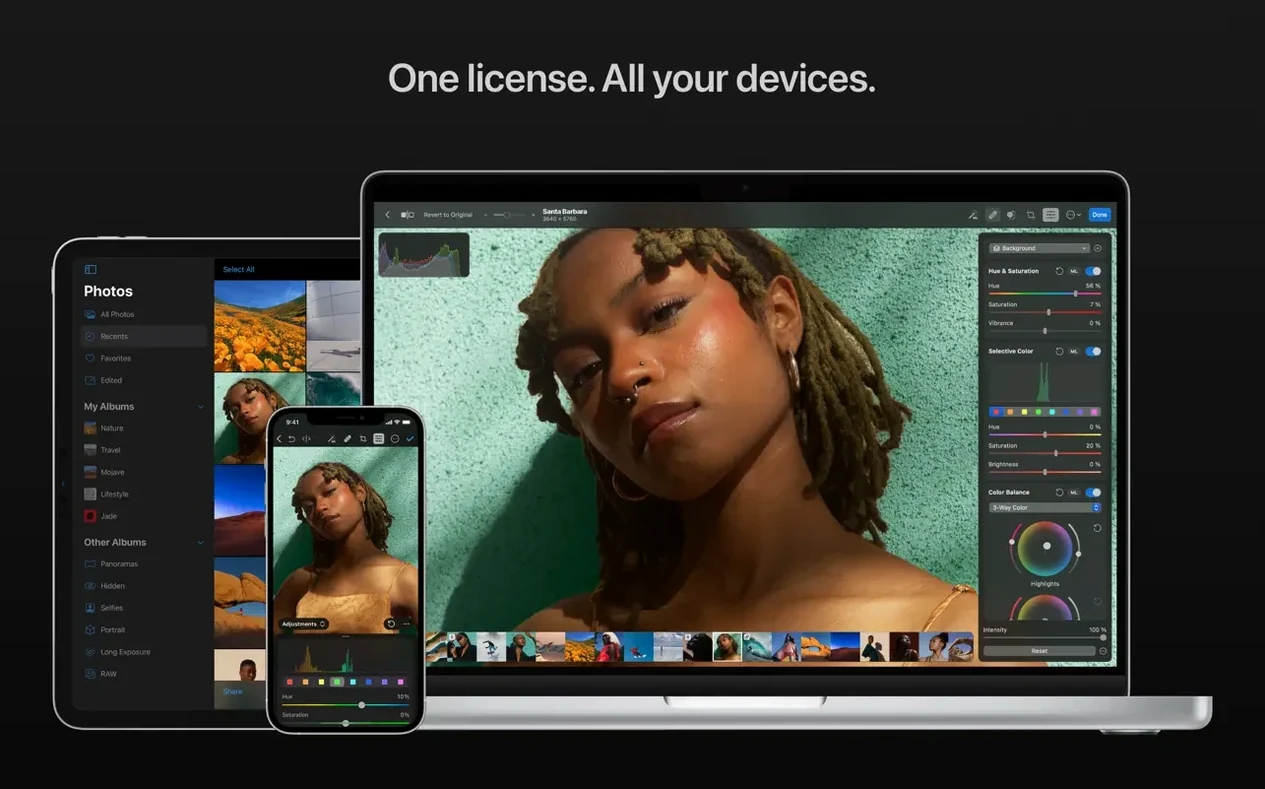
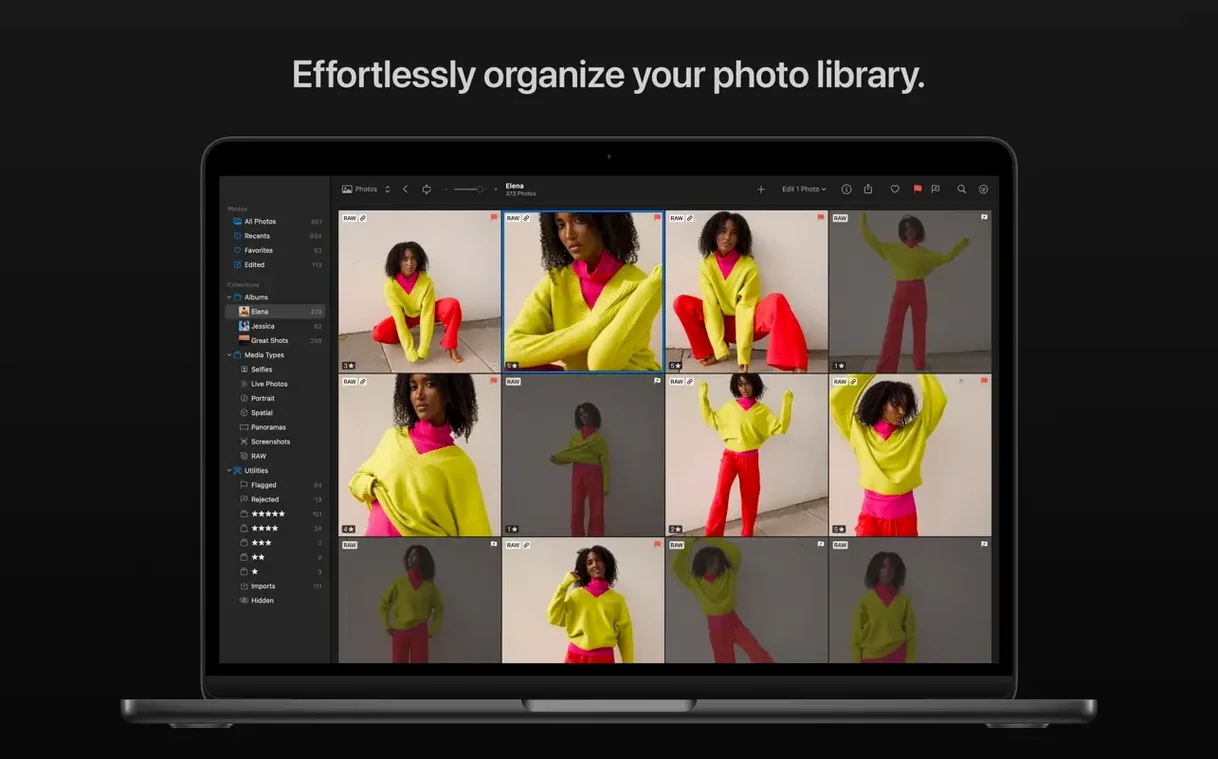
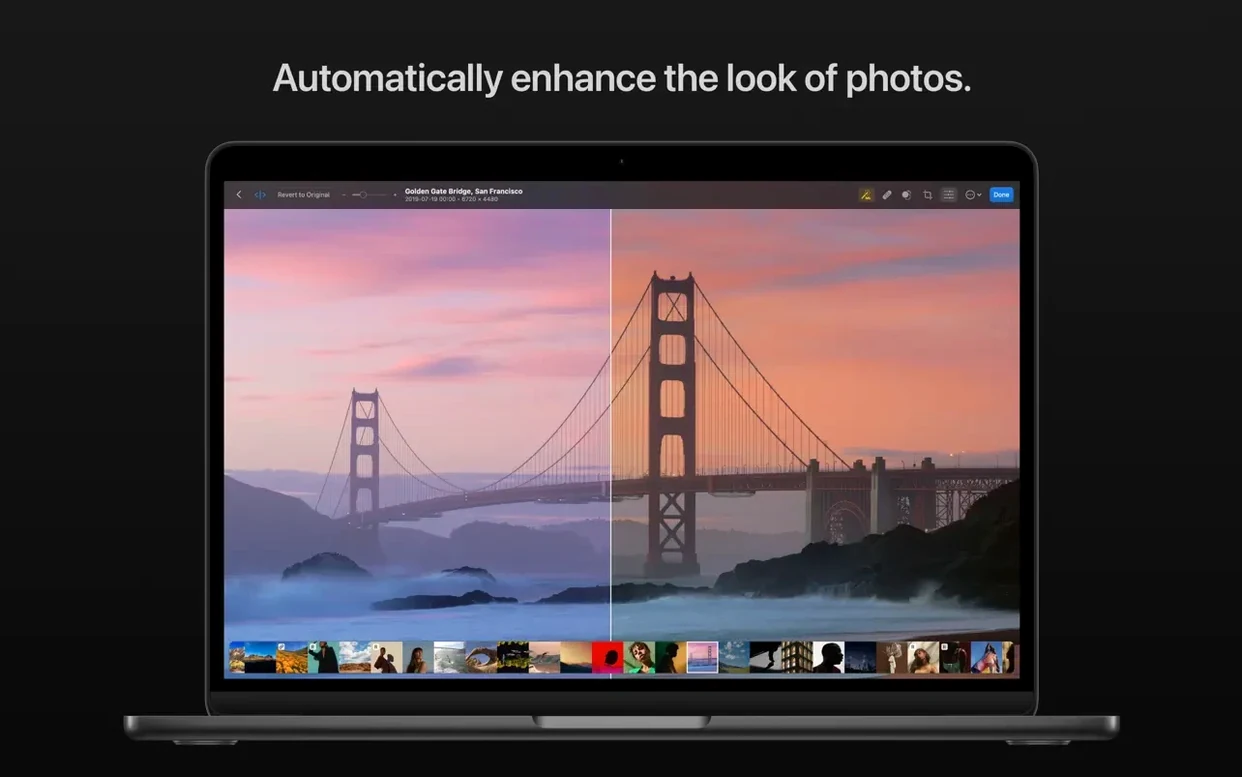
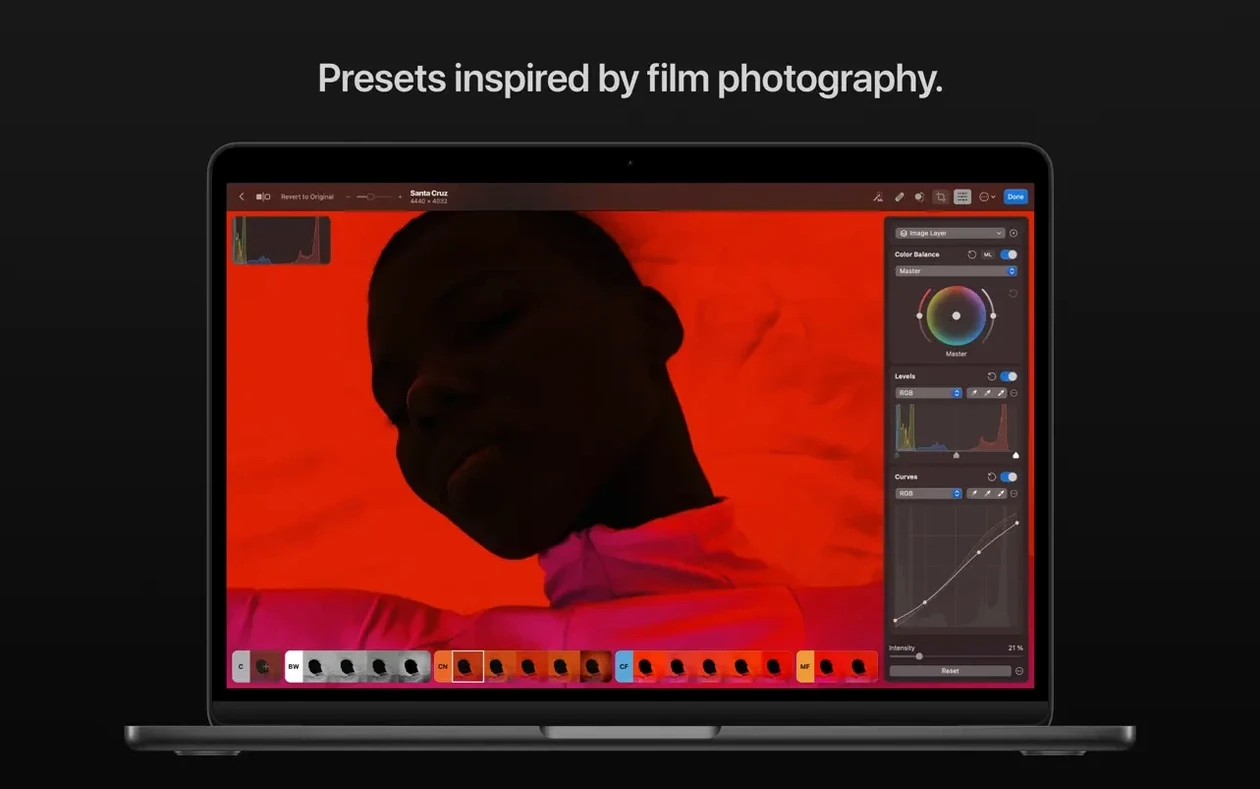
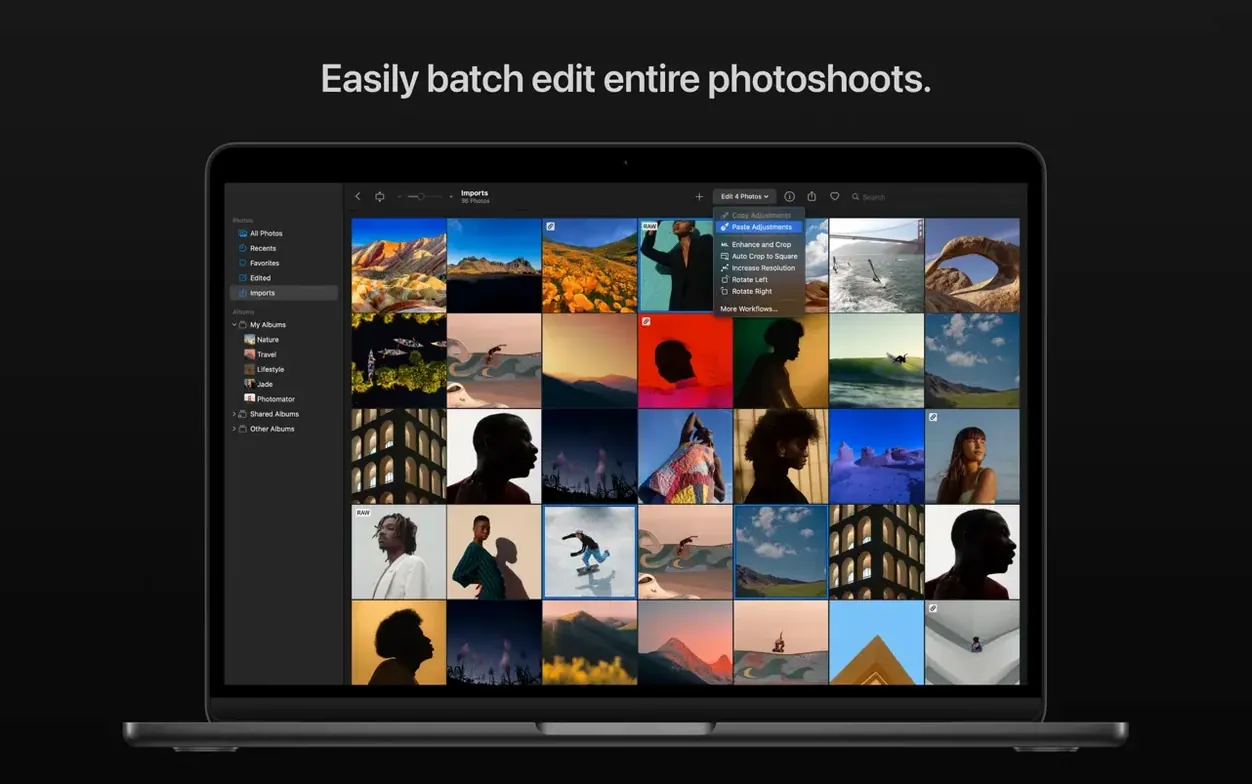
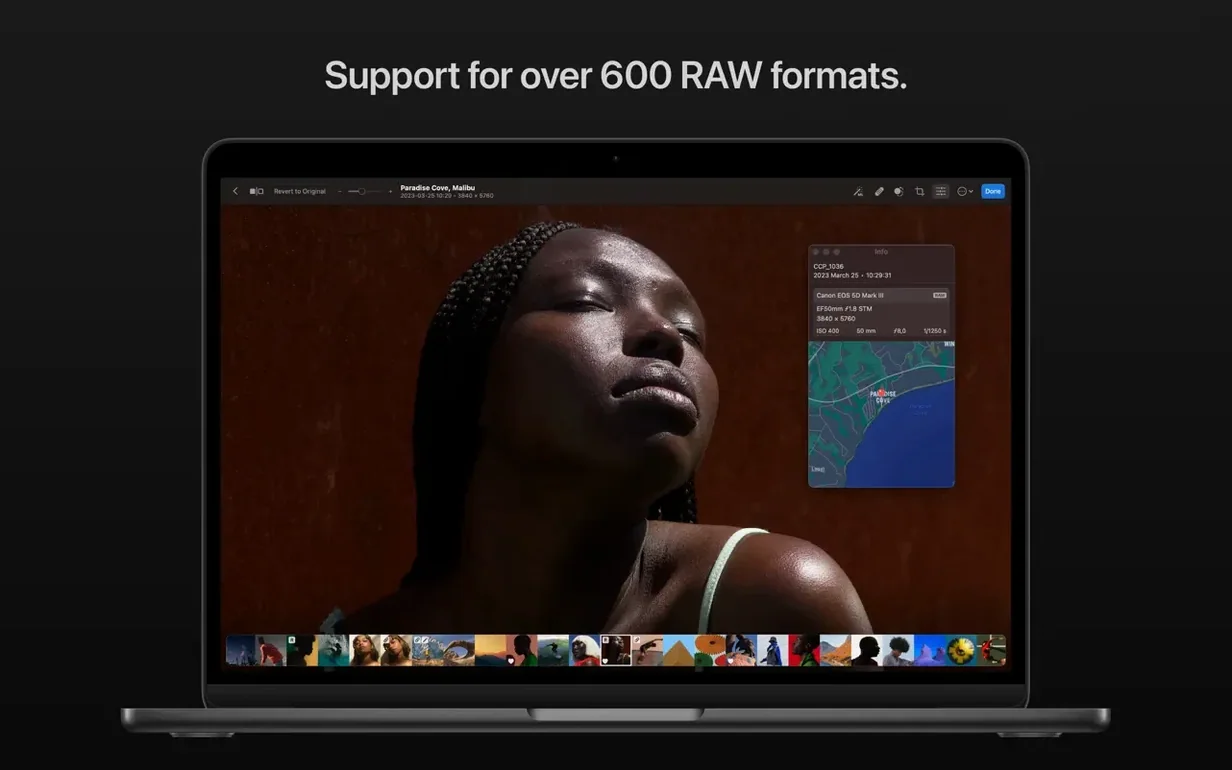
If you already use Pixelmator Pro, Photomator feels like a familiar friend. It’s a Mac-first photo editor that leans on Apple’s Metal, Core ML, and Core Image to keep things speedy. The current version, 3.4.15, focuses on polish and expanding camera support.
Matches colour and tone across photos
- Matching the colour and tone of one photo to another, handy when you shoot a series in changing light.
- Removing distractions with clone and repair tools.
- Fixing colour banding with Smart Deband.
- Working with raw files — over 650 formats supported, including Apple ProRAW and compressed Fujifilm RAW.
Integrates with macOS Ventura and batch editing
- It integrates with macOS Ventura, so it fits into the system photo workflow.
- Copying and pasting edits between shots saves time on batch edits.
- Presets cover landscape, black-and-white, and more.
- Version 3.4.15 adds raw support for Panasonic LUMIX DC-S1RM2 High Resolution captures, plus several Sony and Nikon cameras.
Auto-apply edits in preferences
When you start Photomator for the first time, a couple of tweaks make the daily grind easier. Head to the preferences and check the auto-apply edits option if you prefer seeing changes instantly rather than after pressing return. For anyone working with raw files, switching the default raw decode to standard instead of compatible gives you more headroom before highlights clip. The difference shows most clearly on high-contrast outdoor shots.
Another one: under export settings, set your preferred format and quality early. Photomator remembers it, so you avoid the oops, that went out as a TIFF moment when emailing a quick edit.
Frequent snags with clone and repair tools
A few things trip people up more often than they should. Here is what I see most.
Edits not syncing to Photos
If your changes are not appearing in the system Photos app, check that iCloud Drive is enabled on the Mac and that Photomator has permission to access it. Without that link, edits stay inside the app.
Batch edits skipping some files
When you select a folder with mixed formats, Photomator handles them fine, but the batch edit panel sometimes shows fewer images than expected. The fix is simple: switch the view to list mode instead of grid. That reveals every file in the batch.
Clone tool not painting
The clone and repair tools need a source point set first. Beginners tap and drag without setting one, then wonder why nothing happens. Option-click to define the source, then paint. If the brush is too small or too large, adjust the size in the tool options bar.
Match Look works across different scenes
Photomator hides a few things that save real time once you know them.
- Match Look works across completely different scenes. Shoot a portrait in golden hour light, then apply that same warmth to a flat midday shot. It is not perfect every time, but it gets you 80 per cent there with one click.
- Smart Deband is tucked inside the adjustments panel, not in a separate menu. Run it after heavy grading — it cleans up the colour bands that appear in gradients, especially skies.
- Copy and paste edits between images works across tabs and the main library. Select a photo, copy the edit set, open another, paste. No need to revisit each slider.
- When you upscale a photo, Photomator does it inside the same window. The result appears as a new layer or a duplicate, depending on your preference. No external export step.
Overusing auto-enhance on JPEGs
The most common one is overusing the auto-enhance button. It lifts shadows and saturation aggressively, which works for flat raw files but can make already-processed JPEGs look artificial. Use it as a starting point, not a final step.
Another is ignoring the undo history. Photomator keeps a full list of every adjustment. If you go too far with denoise or sharpening, step back through the history instead of starting over. Beginners often quit and reopen the file instead.
People also forget that crop and straighten is non-destructive. You can re-enter the crop tool later and adjust the framing again without losing quality. Same goes for perspective correction.
And finally: don't apply denoise to every photo. It uses Core ML and works well on high-ISO shots, but on clean images it softens texture unnecessarily. Reserve it for the noisy ones.
- Bug fixes and performance improvements.
- Support for compressed RAW from Sony Alpha ILCE-7M5, FUJIFILM GFX 100S II, and FUJIFILM GFX 100RF.
- Support for High Efficiency and High Efficiency Star RAW from Nikon Z5II and Z50II.
- Support for Panasonic LUMIX DC-S1RM2 High Resolution RAW.
- macOS 13 or later
- Works on both Intel and Apple Silicon Macs
Kit check at a glance
| System | macOS 13 or later |
| Chip | Apple Silicon, Intel 64-bit |
| Download | 662 MB |
| Older pressings | 1 in the crate |







Chat from the booth
Sign in or grab a free account to leave a comment.
Nobody has said a word in the booth yet. If you played a set with this build, tell the next person how it went.