

- Build in the crate
- 3.8.86
- Made by the team at
- smallblueprinter
- Menu languages offered
- English
- How you pay for it
- Included
- macOS it plays on
- OS X 10.7 or later
- CPU it runs on
- Apple Silicon, Intel 64-bit
Screenshots
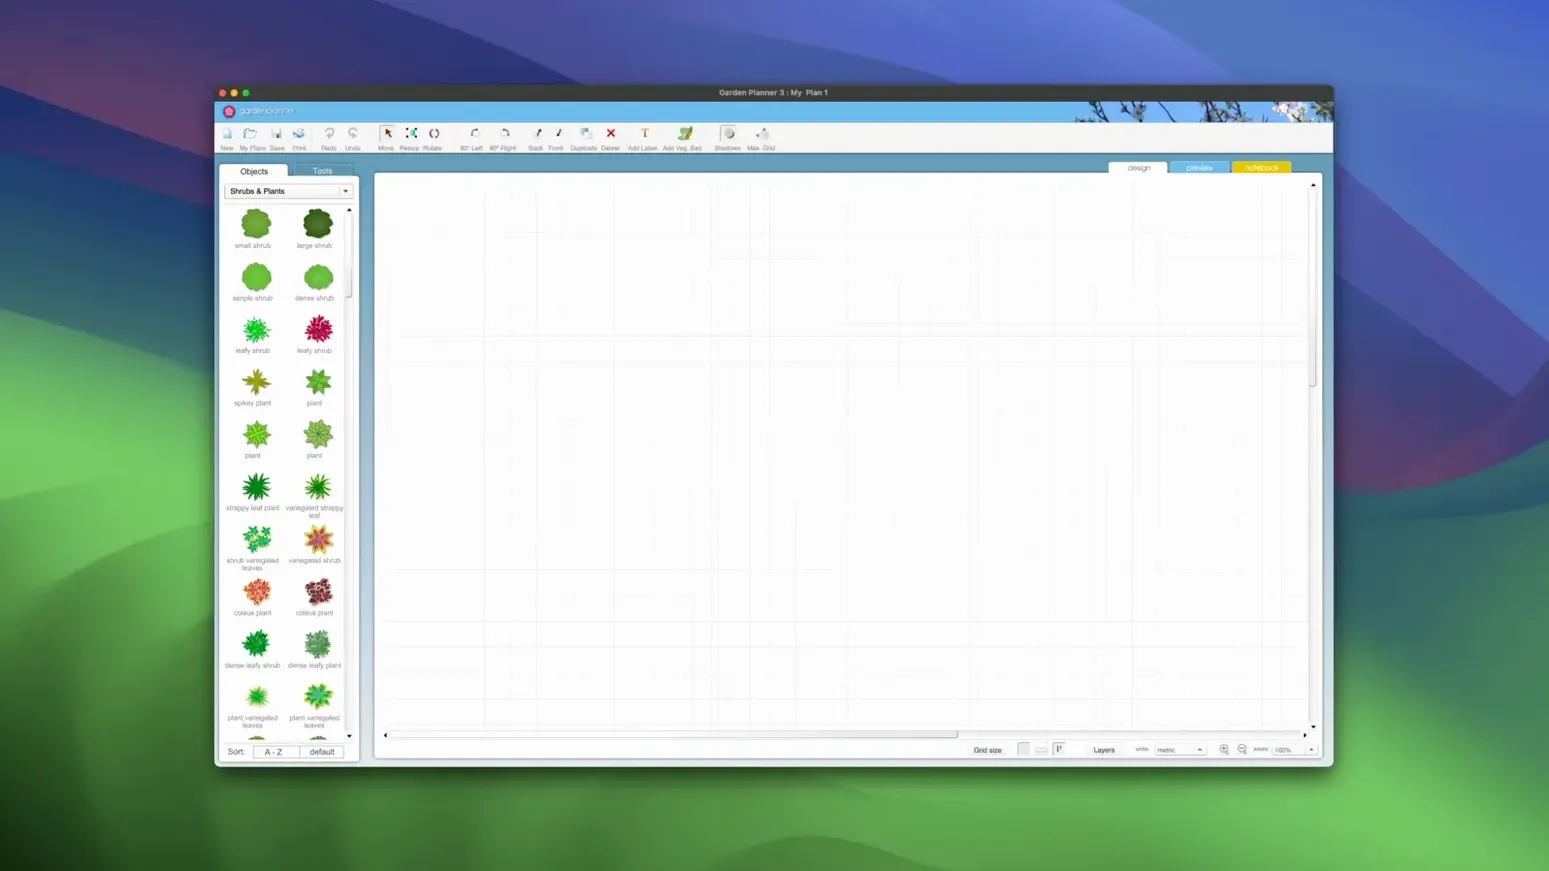
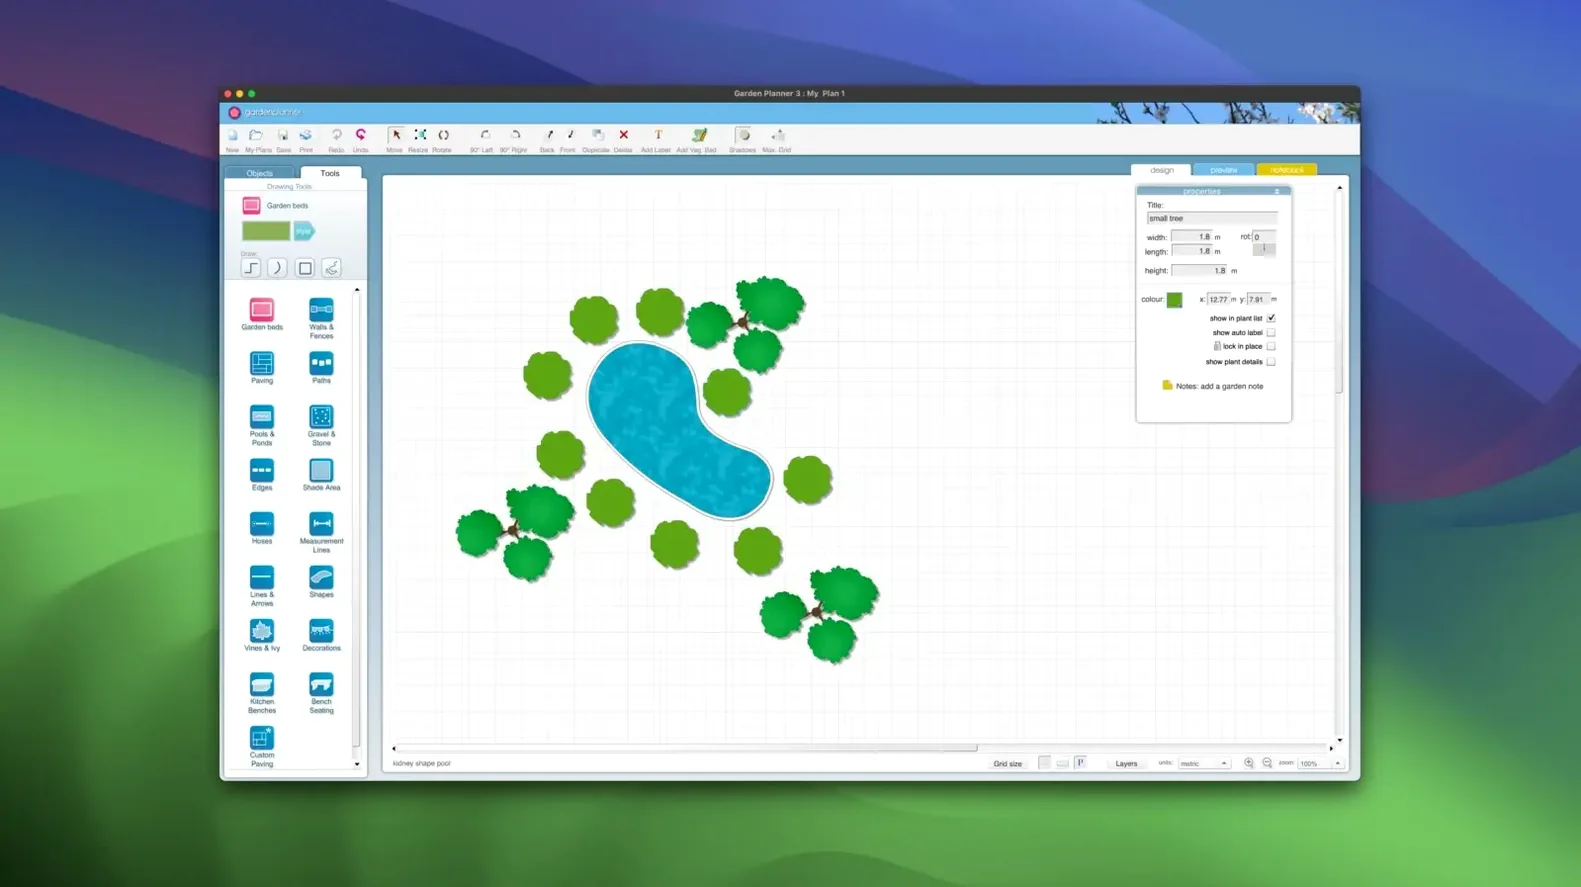
You’ve just moved into a house with a bare backyard. You want a patio, a pond, and a vegetable bed, but you’re not sure how it all fits. Garden Planner is the tool to sort that out before you dig a single hole.
It’s a straightforward Mac app for garden and landscape design. You drag plants, trees, buildings, and objects onto a 2D plan, then switch to a 3D view to walk around your design. Paths, paving, walkways, walls, fences, pools, and ponds all have their own drawing tools, so you can map out hard landscaping as precisely as the soft stuff. Every element can be rotated, duplicated, scaled, or reshaped to match your actual space.
The workflow is simple: start with a blank plot or a base plan, drop in the permanent structures, then add plants and features. Apply your own settings to library elements so the plan reflects your local conditions. When you’re happy, the 3D view gives you a sense of how the garden will feel to stand in.
Version 3.8.86 adds new path styles and a batch of improvements and bug fixes. It runs on OS X 10.7 or later, on both Intel and Apple Silicon Macs.
Between Vectorworks and free online tools
Garden Planner sits in a useful middle ground. On one side, you’ve got full CAD software like Vectorworks Landmark — powerful, but heavy and expensive, with a steep learning curve. On the other, there are free online tools like Planter or simple sketching apps that lack proper measurement tools or a 3D view. Garden Planner gives you the 3D walkthrough and the 1,200+ object library without forcing you to learn architectural drawing conventions.
Compared to something like Home Designer Suite, Garden Planner is more focused. Home Designer does whole houses and interiors; Garden Planner sticks to outdoor spaces. The plant library is much deeper, and the drag-and-drop approach feels faster for garden-specific tasks. You don’t get roof trusses or kitchen cabinets here — you get 1,200 plants and paving styles that matter for a garden.
Another option is SketchUp with landscaping plugins. Garden Planner keeps everything in one app: you draw, view in 3D, print, and export reports without extra downloads. For someone who wants garden design, not a general 3D modelling tool, it’s a more direct route.
Set your unit system before planting
Before you start placing plants, open the settings and adjust the unit system. The default might be imperial or metric depending on your region — set it to what you measure your garden in. It saves you converting every bed and path later.
Check the grid spacing too. A tighter grid (say 30 cm or 1 ft) helps you place objects accurately against real measurements from your garden. Wider grids work for rough concept sketches but cause problems when you try to fit a 2-metre-wide pond into a gap that looks big enough on screen.
Browse the library settings for your most-used plants. You can apply custom labels or colour tags to elements — useful if you want to mark which plants are in sun versus shade, or which ones need watering. Doing it early means every new drag-and-drop already carries that info.
Finally, set your print scale before you spend time on details. Garden Planner supports high-quality printing, and if you know you’ll need a 1:50 or 1:100 plan for a builder, set that in the document properties first. Rescaling later can shift annotations and labels out of alignment.
A workflow: design a small courtyard garden from start to finish
Let’s say you have a 6 x 8 metre courtyard. Start by drawing the boundary wall using the wall tool — trace the rectangle at actual size. Then add a gate opening on one side.
Next, mark the hard surfaces. Use the paving tool to lay a 3 x 4 metre patio in the corner nearest the house. Add a path from the gate to the patio using the new path styles from version 3.8.86 — choose a flagstone pattern that matches the paving. Draw a small pond (1.5 x 1 metre) in the opposite corner with the pond tool.
Now the plants. Open the library and filter by height — you want low plants near the patio so they don’t block the view, taller ones along the back wall. Drag in three lavender bushes near the seating area, a row of box hedging along the path, and a small tree (like a Japanese maple) beside the pond. Use the duplicate tool to repeat the box hedge every 40 cm.
Switch to 3D view and walk around. Check sightlines: can you see the pond from the patio? Is the tree too close to the wall when fully grown? Adjust positions in 2D, then check again in 3D. When you’re satisfied, generate the object report and export it as CSV — that list tells you exactly how many plants and paving tiles to buy.
- New path styles added.
- General improvements and bug fixes.
- macOS OS X 10.7 or later
- Architecture: Intel (x86 64-bit) and Apple Silicon (ARM)
- Interface language: English
Kit check at a glance
| System | OS X 10.7 or later |
| Chip | Apple Silicon, Intel 64-bit |
| Download | 225 MB |








Chat from the booth
Sign in or grab a free account to leave a comment.
Nobody has said a word in the booth yet. If you played a set with this build, tell the next person how it went.